Share your love
Efficient Way To Install and Configure Fail2ban on AlmaLinux 9

This tutorial intends to teach you to Install and Configure Fail2ban on AlmaLinux 9. Fail2Ban is arguably the best software to secure a Linux server and protect it against automated attacks. When enabled, it offers many customizable rules to ban source addresses that may try to gain access to your machine.
Now proceed to the following steps on the Orcacore website to install and configure Fail2ban on AlmaLinux 9.
Table of Contents
Steps To Install and Configure Fail2ban on AlmaLinux 9
To complete the Fail2ban configuration on AlmaLinux 9, log in to your server as a non-root user with sudo privileges and set up a basic firewall. To do this, you can follow our guide on Initial Server Setup with AlmaLinux 9.
1. Install Fail2ban on AlmaLinux 9
The Fail2ban package is available in the AlmaLinux 9 Under the Epel repository. First, update your local package index with the following command:
sudo dnf update -yInstall the Epel repository with the command below:
sudo dnf install epel-release -yThen install Fail2ban with the following command:
sudo dnf install fail2ban -yManage Fail2ban Service
When your installation is finished, you need to start and enable Fail2ban on AlmaLinux 9 with the following command:
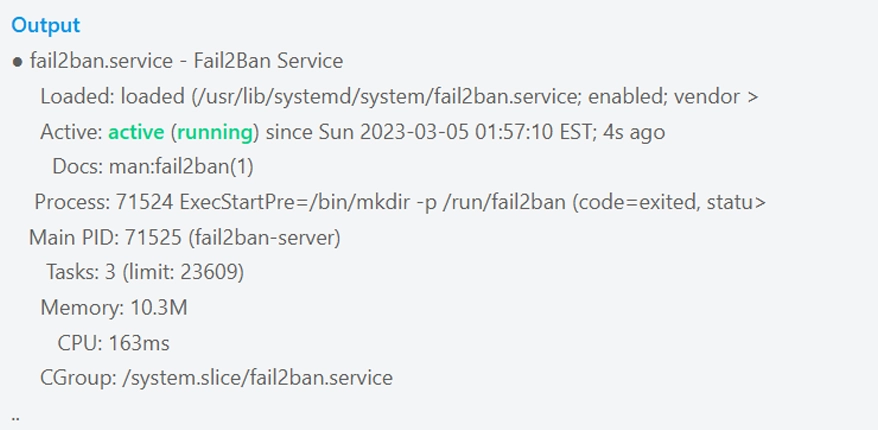
sudo systemctl enable --now fail2banVerify that your service is active and running on your server with the following command:
sudo systemctl status fail2banIn your output you will see:
Now you have Fail2ban up and running on AlmaLinux 9. Let’s start to configure it.
2. Fail2ban Configuration on AlmaLinux 9
The default Fail2ban installation comes with two configuration files, /etc/fail2ban/jail.conf and /etc/fail2ban/jail.d/00-firewalld.conf.
You need to create a “.local” configuration file from the default “jail.conf” file.
First copy the configuration file with the following command:
sudo cp /etc/fail2ban/jail.{conf,local}Then, open the local configuration file with your favorite text editor here we use the vi editor:
sudo vi /etc/fail2ban/jail.localIP addresses, IP ranges, or hosts that you want to exclude from banning can be added to the ignoreip directive.
At this point, you should add your local PC IP address and all other machines that you want to allow list.
Find the “ignoreip” line and uncomment it by removing the hashtag from it and adding your IP addresses separated by space:
ignoreip = 127.0.0.1/8 ::1 123.123.123.123 192.168.1.0/24Now find the “bantime” line, the duration for which the IP is banned, by default, it is set to 10m. You can change the value to your liking:
bantime = 1dTo permanently ban the IP, you can use a negative number.
The findtime is the duration between the number of failures before a ban is set.
The maxretry is the number of failures before an IP is banned. The default value is set to five, which should be fine for most users.
Fail2ban can send email alerts when an IP has been banned on AlmaLinux 9.
To receive email messages, you need to have an SMTP installed on your server and change the default action. It only bans the IP to this:
action = %(action_mw)sIf you want to receive the relevant logs too, you should set this to the:
action = %(action_mwl)sAlso, you can adjust the sending and receive email addresses:
destemail = admin@orcacore.com
sender = root@orcacore.com
Fail2ban jails Configuration
Fail2ban uses the concept of jails. A jail describes a service and includes filters and actions.
By default, on AlmaLinux 9, no Fail2ban jails are enabled. To enable it, find the [sshd] section and add the “enabled = true” after the jail title:
[sshd]
enabled = true
port = ssh
logpath = %(sshd_log)s
backend = %(sshd_backend)s
When you are done, save and close the file.
Now restart Fail2ban on AlmaLinux 9 with the following command to apply these changes:
sudo systemctl restart fail2banLet’s see how to use Fail2ban.
3. How To Use Fail2ban Service?
Fail2ban comes with a command-line tool named fail2ban-client. You can use this command to interact with the Fail2ban service.
You can list all available options with the following command:
fail2ban-client -hThis tool can be used to ban/unban IP addresses, change settings, restart the service, and more. Here are a few examples:
To check the status of jail you can use the following command:
sudo fail2ban-client status sshdAlso, you can unban an IP with the following command:
sudo fail2ban-client set sshd unbanip 23.34.45.56To ban an IP you can use the following command:
sudo fail2ban-client set sshd banip 23.34.45.56Conclusion
At this point, you have learned to Install and Configure Fail2ban on AlmaLinux 9. Also, you learn how to use it on your server.
Hope you enjoy it. Please subscribe to us on Facebook and Twitter.
Also, you may like to read the following articles:
Enable TCP BBR on Almalinux 9 command line
Install Apache Subversion on AlmaLinux 9
Postfix installation on AlmaLinux 9
Installing Notepad AlmaLinux 9