Share your love
Install and Configure Caddy on Debian 11
In this article, we want to teach you How To Install and Configure Caddy on Debian 11.
Caddy is a web server designed around simplicity and security that comes with several features that are useful for hosting websites. For example, it can automatically obtain and manage TLS certificates from Let’s Encrypt to enable HTTPS and includes support for HTTP/2.
You can now proceed to the guide steps below on the Orcacore website to set up the Caddy Web server on Debian 11.
Table of Contents
How To Install and Configure Caddy on Debian 11
To install Caddy on Debian 11, you need some requirements first.
You need to log in to your server as a non-root user with sudo privileges. To do this, you can follow our article The Initial Server Setup with Debian 11.
Also, you need a domain name that points to your server’s IP address.
Now follow the steps below to install Caddy on Debian 11.
Step 1. Add Caddy Repository
By default, Caddy is not available in the default Debian repository. You need to add the Caddy repository to your server.
First, update your local package index with the command below:
sudo apt updateThen, you need to install the required packages on Debian 11 with the following command:
sudo apt install -y curl debian-keyring debian-archive-keyring apt-transport-httpsNext, download and add the GPG key:
curl -1sLf 'https://dl.cloudsmith.io/public/caddy/stable/gpg.key' | sudo apt-key add -Now you can add the Caddy repository with the following command:
curl -1sLf 'https://dl.cloudsmith.io/public/caddy/stable/debian.deb.txt' | sudo tee /etc/apt/sources.list.d/caddy-stable.listStep 2. Install Caddy Web Server
At this point, you can install Caddy on your Debian 11:
# sudo apt update
# sudo apt install caddy -y
When your installation is completed, you can verify your Caddy version on Debian 11:
caddy versionOutput
v2.4.6 Now you need to allow the Caddy binary to connect to privileged ports like 80 and 443 with the following command:
sudo setcap 'cap_net_bind_service=+ep' /usr/bin/caddyStart and enable your Caddy service to start on boot with the commands below:
# sudo systemctl start caddy
# sudo systemctl enable caddy
Check your Caddy service is active and running on Debian 11 with the command below:
sudo systemctl status caddyIn your output, you will see:

Step 3. Install and Configure PHP for Caddy
At this point, you need to install PHP and its extensions on Debian 11 with the following command:
sudo apt install php-fpm php-mysql php-curl php-gd php-mbstring php-common php-xml php-xmlrpc -yThen, you need to edit the PHP-FPM configuration file and change the default user and group to Caddy.
Open the file with your favorite text editor; here, we use vi:
sudo vi /etc/php/7.4/fpm/pool.d/www.confIn the file, find the lines below and change their value to Caddy:
user = caddy
group = caddy
listen.owner = caddy
listen.group = caddy
When you are done, save and close the file.
Restart the PHP-FPM to apply the changes:
sudo systemctl restart php7.4-fpmStep 4. Configure Caddy on Debian 11
At this point, you need to edit the Caddy virtual host configuration file. The Caddy default virtual host configuration file is located at/etc/caddy/Caddyfile.
Open the file with your favorite text editor; here, we use vi:
sudo vi /etc/caddy/CaddyfileRemove the lines from the file and add the following lines to the file with your domain name:
your-domain-name:80 {
    root * /usr/share/caddy/
    encode gzip zstd
    php_fastcgi unix//run/php/php7.4-fpm.sock
}
When you are done, save and close the file.
Restart the Caddy service on Debian 11 to apply the changes:
sudo systemctl restart caddyThen, create a sample PHP file for Caddy with the following command:
sudo vi /usr/share/caddy/info.phpAdd the following content to the file:
<?php

phpinfo();
?>
When you are done, save and close the file.
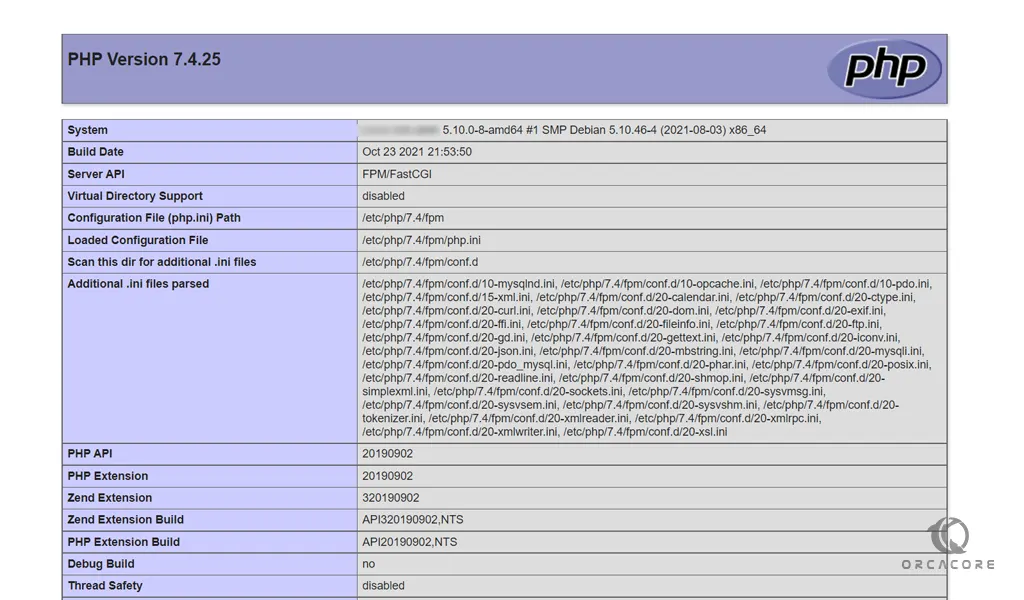
Here you can access the Caddy website by typing your domain name in your web browser, followed by info.php:
http://your-domain-name/info.phpYou should see your PHP info on Debian 11.
When you have finished reading your PHP info, it’s better to remove your PHP file for more security.
sudo rm -rf /usr/share/caddy/info.phpYou can always rebuild your file every time you need it.
Conclusion
At this point, you have learned to install and configure Caddy on Debian 11. Caddy is a web server used to serve websites and applications. It’s known for being easy to use, fast, and automatically handling HTTPS (SSL certificates).
Hope you enjoy it. For more information, you can check the Caddy Docs page.
You may also like to read the following articles:
Installation Steps of Flatpak on Debian 11