Share your love
Install and Configure phpMyAdmin on AlmaLinux 8

In this article, we want to teach you How To Install and Configure phpMyAdmin on AlmaLinux 8.
phpMyAdmin is an open-source software tool, which is written in PHP. Basically, it is a third-party tool to manage the tables and data inside the database.
It supports various types of operations on MariaDB and MySQL. The main purpose of phpMyAdmin is to handle the administration of MySQL over the web.
How To Install and Configure phpMyAdmin on AlmaLinux 8
Before you start to install phpMyAdmin on AlmaLinux 8, you need some requirements first.
Requirements
You need to log in to your server as a non-root user with sudo privileges and set up a basic firewall. To do this, you can follow our article the Initial Server Setup with AlmaLinux 8.
Also, you need to have the LAMP stack installed on your server. For this, you can check our article How To Install LAMP Stack on AlmaLinux 8.
When you are done with these requirements, you can follow the steps below to install phpMyAdmin on AlmaLinux 8.
Set up phpMyAdmin on AlmaLinux 8
Here we will install phpMyAdmin by downloading the zip file from the phpMyadmin Downloads page. Visit the page and check for the latest version and copy the link address of the all languages zip file.
First, install the wget tool with the following command:
sudo dnf install wget
Then, use the wget command to download the phpMyAdmin on AlmaLinux 8:
sudo wget https://files.phpmyadmin.net/phpMyAdmin/5.1.1/phpMyAdmin-5.1.1-all-languages.zip
Next, you need to install the unzip to extract your files:
sudo dnf install unzip
Now you can extract your downloaded file with the command below:
sudo unzip phpMyAdmin-*-all-languages.zip
Here you need to move your extracted files to the /usr/share/phpmyadmin directory:
sudo mv phpMyAdmin-*-all-languages /usr/share/phpmyadmin
Switch the phpMyAdmin directory on AlmaLinux 8 with the following command:
cd /usr/share/phpmyadmin
The sample configuration file for phpMyAdmin already exists in the directory. You just need to rename it with the following command:
sudo mv config.sample.inc.php config.inc.php
Also, you need to generate a secret string for the next steps. To do this run the following command:
openssl rand -base64 32
In your output, you will see something similar to this:
Output
GDYmO0eJo22+ZRHYGZ0+vB5EqdAYKt3HNk3/Zhyesug=
Configure phpMyAdmin
At this point, you need to make some configuration changes to the file that you have renamed before.
Open the file with your favorite text editor, here we use vi:
sudo vi config.inc.php
At the file, find the line below and enter the secret string that you have generated before in it:
$cfg['blowfish_secret'] = 'yourgeneratedstring';Next, find the ‘Directories for saving/loading files from server’ section and add the following line under this section:
$cfg['TempDir'] = '/tmp';
When you are done, save and close the file.
This temp directory that you have defined in the phpMyAdmin configuration file on AlmaLinux 8, is used to store the cache files.
Now use the following command to create it:
sudo mkdir /usr/share/phpmyadmin/tmp
Then, set the ownership and correct permissions with the commands below:
$ sudo chown -R apache:apache /usr/share/phpmyadmin
$ sudo chmod 777 /usr/share/phpmyadmin/tmp
Here you need to create an Apache configuration file for the phpMyAdmin files on AlmaLinux 8.
Create and open the file with your favorite text editor, here we use vi:
sudo vi /etc/httpd/conf.d/phpmyadmin.conf
Add the following contents to the file:
Alias /phpmyadmin /usr/share/phpmyadmin

<Directory /usr/share/phpmyadmin/>
   AddDefaultCharset UTF-8
   <IfModule mod_authz_core.c>
     # Apache 2.4
     <RequireAny>
      Require all granted
     </RequireAny>
   </IfModule>
</Directory>

<Directory /usr/share/phpmyadmin/setup/>
   <IfModule mod_authz_core.c>
# Apache 2.4
     <RequireAny>
       Require all granted
     </RequireAny>
   </IfModule>
</Directory>
When you are done, save and close the file.
Restart Apache to apply the changes:
sudo systemctl restart httpd.service
Access phpMyAdmin Web Interface
At this point, you can access the phpMyAdmin web interface by typing your server’s IP address in your web browser followed by /phpmyadmin:
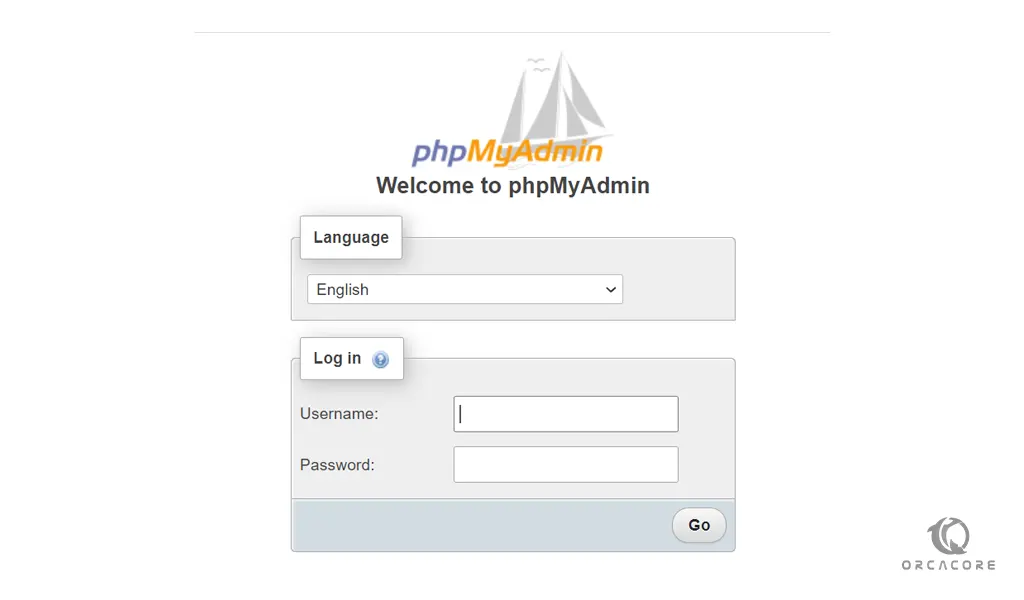
http://your-server-ip-address/phpmyadminYou will see the phpMyAdmin login screen:

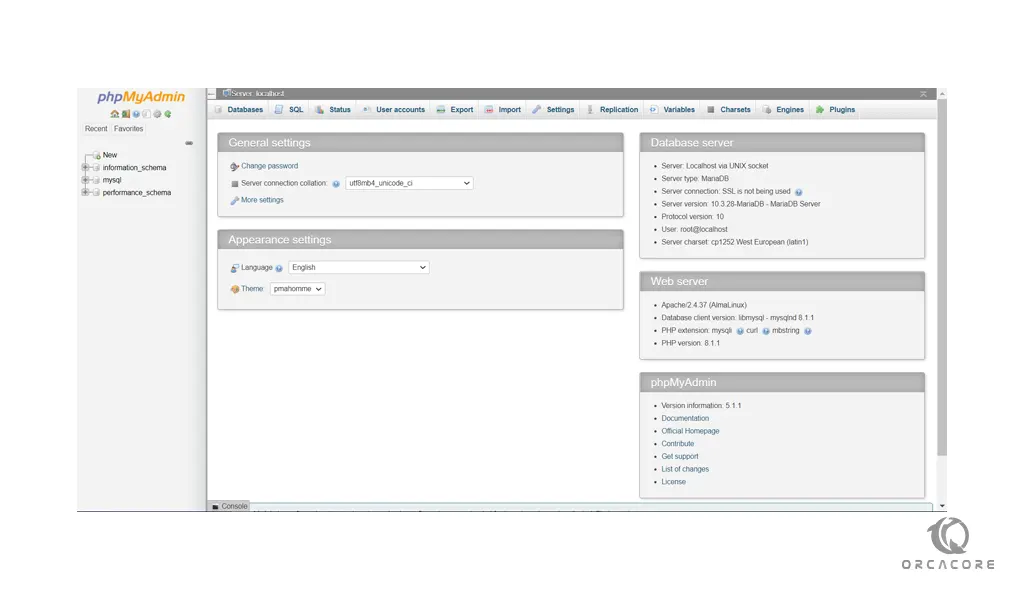
Enter your MySQL root user and password and press the Go button to see your phpMyAdmin dashboard.

Conclusion
At this point, you learn to set up and configure phpMyAdmin on AlmaLinux 8.
Hope you enjoy using it.
You may be interested in this article about How To Install and Secure phpMyAdmin on Debian 11.


