Share your love
How To Install and Secure phpMyAdmin on Debian 10

In this article, we want to teach you How to install and secure phpMyAdmin on Debian 10.
phpMyAdmin is a free web application that provides a convenient GUI for working with the MySQL database management system.
How To Install and Secure phpMyAdmin on Debian 10
Before you start to install and secure phpMyAdmin you need some requirements.
Requirements
- log in as a non-root user with sudo privileges to your server and a basic firewall setup. to do this you can check our article on the Initial server setup with Debian 10.
- Install the LAMP stack on your server by visiting the How to Install LAMP stack article for Debian 10.
- Secure your Apache web server and get your SSL certificate, You can check our article How to secure Apache with Let’s Encrypt on Debian 10.
When you are finished with these requirements you can start to install phpMyAdmin on Debian 10.
Install phpMyAdmin on Debian 10
First of all, you need to install a few PHP extensions into your server to enable certain functionalities and improve performance.
Update the local packages with the following command:
sudo apt update
Then, install the PHP extensions with the command below:
sudo apt install php-mbstring php-zip php-gd php-xml
Now you can install phpMyAdmin on Debian 10. Because it isn’t available in the Debian default repositories you need to download the source code from the phpMyAdmin site.
To do this, go to the phpMyAdmin downloads page and find the latest stable release, and copy the link ending with tar.gz.
Note: In this article, we will use the all-languages package to install phpMyAdmin on Debian 10. If you want to use it in English, you can install the English package.
Remember to replace the links and file names as necessary in the following commands.
Use the wget command to install the phpMyAdmin on Debian 10:
wget https://files.phpmyadmin.net/phpMyAdmin/5.1.1/phpMyAdmin-5.1.1-all-languages.tar.gz
Then extract the tarball with the following command:
tar xvf phpMyAdmin-5.1.1-all-languages.tar.gz
Here you need to move the phpMyAdmin-5.1.1-all-languages directory and all its subdirectories to the /usr/share/ directory. It will rename the directory to PHPMyAdmin.
Run the following command:
sudo mv phpMyAdmin-5.1.1-all-languages/ /usr/share/phpmyadmin
At this point, you installed phpMyAdmin into your server. but you need to make some configuration changes to be able to access phpMyAdmin through a web browser.
How to Configure phpMyAdmin on Debian 10
Because you installed phpMyAdmin from the source on Debian 10, you need to make configuration changes manually.
First, make a new directory for phpMyAdmin to store its temporary files with the following command:
sudo mkdir -p /var/lib/phpmyadmin/tmp
Set www-data — the Linux user profile that web servers like Apache use by default for normal operations in Ubuntu and Debian systems — as the owner of this directory with the following command:
sudo chown -R www-data:www-data /var/lib/phpmyadmin
Then, you need to make a copy of the files that you have extracted before in the /usr/share/phpmyadmin directory. and rename it to config.inc.php with the following command:
sudo cp /usr/share/phpmyadmin/config.sample.inc.php /usr/share/phpmyadmin/config.inc.php
Open the file with your favorite text editor:
sudo vi /usr/share/phpmyadmin/config.inc.php
By default, phpMyadmin uses the cookie authentication method that will allow you to log in to phpMyAdmin as any valid MariaDB user with the help of cookies.
In this method, the MariaDB user password is stored and encrypted with the AES algorithm in a temporary cookie.
For this purpose, phpMyAdmin instead used the Blowfish cipher, and this is still reflected in its configuration file.
Find the $cfg[‘blowfish_secret’] line, and in between the single quotes, enter a string of 32 random characters:
. . .
$cfg['blowfish_secret'] = 'ABWINGOFTHIRTYTWORANDOMCHARACTERS'; /* YOU MUST FILL IN THIS FOR COOKIE AUTH! */
. . .
Note: If the passphrase you enter here is shorter than 32 characters, It will cause the encrypted cookies to be less secure.
You can use the pwgen program to generate a truly random string of characters:
sudo apt install pwgen
pwgen -s 32 1
1 in the above command tells pwgen how many strings it should generate.
In the next step, find the comment reading /* User used to manipulate with storage */ line. then, uncomment the controluser and controlpass directives by removing the preceding slashes. After that, update the controlpass directive to point to a secure password of your choosing.
This part of the file should look like this after making the changes:
. . .
/* User used to manipulate with storage */
// $cfg['Servers'][$i]['controlhost'] = '';
// $cfg['Servers'][$i]['controlport'] = '';
$cfg['Servers'][$i]['controluser'] = 'pma';
$cfg['Servers'][$i]['controlpass'] = 'password';
. . .
Find another comment reading /* Storage database and tables */. then, uncomment each line in this part by removing the slashes at the beginning of each line so it should be like this:
. . .
/* Storage database and tables */
$cfg['Servers'][$i]['pmadb'] = 'phpmyadmin';
$cfg['Servers'][$i]['bookmarktable'] = 'pma__bookmark';
$cfg['Servers'][$i]['relation'] = 'pma__relation';
$cfg['Servers'][$i]['table_info'] = 'pma__table_info';
$cfg['Servers'][$i]['table_coords'] = 'pma__table_coords';
$cfg['Servers'][$i]['pdf_pages'] = 'pma__pdf_pages';
$cfg['Servers'][$i]['column_info'] = 'pma__column_info';
$cfg['Servers'][$i]['history'] = 'pma__history';
$cfg['Servers'][$i]['table_uiprefs'] = 'pma__table_uiprefs';
$cfg['Servers'][$i]['tracking'] = 'pma__tracking';
$cfg['Servers'][$i]['userconfig'] = 'pma__userconfig';
$cfg['Servers'][$i]['recent'] = 'pma__recent';
$cfg['Servers'][$i]['favorite'] = 'pma__favorite';
$cfg['Servers'][$i]['users'] = 'pma__users';
$cfg['Servers'][$i]['usergroups'] = 'pma__usergroups';
$cfg['Servers'][$i]['navigationhiding'] = 'pma__navigationhiding';
$cfg['Servers'][$i]['savedsearches'] = 'pma__savedsearches';
$cfg['Servers'][$i]['central_columns'] = 'pma__central_columns';
$cfg['Servers'][$i]['designer_settings'] = 'pma__designer_settings';
$cfg['Servers'][$i]['export_templates'] = 'pma__export_templates';
. . .
Now, add the following line to the bottom of the file.
. . .
$cfg['TempDir'] = '/var/lib/phpmyadmin/tmp';
phpMyAdmin will use this temporary directory as a template cache which allows for faster page loading.
When you are finished, save and close the file.
Create the phpMyAdmin storage database and tables
At this point, you need to create the phpMyAdmin storage database and tables on Debian 10 with the following command:
sudo mariadb < /usr/share/phpmyadmin/sql/create_tables.sql
Open the MariaDB console with the following command:
sudo mariadb
Then, run the following command to create the “pma” user and give it the correct permissions.
MariaDB [(none)]> GRANT SELECT, INSERT, UPDATE, DELETE ON phpmyadmin.* TO 'pma'@'localhost' IDENTIFIED BY 'password';
Note: Remember to replace the password with the password you defined in the config.inc.php file.
It’s recommended that you log in to your MariaDB using another account other than the pma user. If you haven’t created this before you can use the following command to create a MariaDB user:
MariaDB [(none)]> GRANT ALL PRIVILEGES ON *.* TO 'olivia'@'localhost' IDENTIFIED BY 'password' WITH GRANT OPTION;
Be sure to give it a strong password, then exit from the MariaDB shell with the following command:
MariaDB [(none)]> exit
phpMyAdmin is now fully installed and configured on your server.
Now you need to configure Apache to serve the phpMyAdmin.
How To Configure Apache to Serve phpMyAdmin
In this part, because you installed phpMyAdmin from the source on Debian 10, you need to create and enable the Apache configuration file in the /etc/apche2/conf-enabled/ directory.
First, create a file named phpmyadmin.conf in the /etc/apche2/conf-enabled/ directory with the following command:
sudo vi /etc/apache2/conf-available/phpmyadmin.conf
Then add the following content to the file:
# phpMyAdmin default Apache configuration

Alias /phpmyadmin /usr/share/phpmyadmin

<Directory /usr/share/phpmyadmin>
Options SymLinksIfOwnerMatch
DirectoryIndex index.php

<IfModule mod_php5.c>
<IfModule mod_mime.c>
AddType application/x-httpd-php .php
</IfModule>
<FilesMatch ".+\.php$">
SetHandler application/x-httpd-php
</FilesMatch>

php_value include_path .
php_admin_value upload_tmp_dir /var/lib/phpmyadmin/tmp
php_admin_value open_basedir /usr/share/phpmyadmin/:/etc/phpmyadmin/:/var/lib/phpmyadmin/:/usr/share/php/php-gettext/:/usr/share/php/php-php-gettext/:/usr/share/javascript/:/usr/share/php/tcpdf/:/usr/share/doc/phpmyadmin/:/usr/share/php/phpseclib/
php_admin_value mbstring.func_overload 0
</IfModule>
<IfModule mod_php.c>
<IfModule mod_mime.c>
AddType application/x-httpd-php .php
</IfModule>
<FilesMatch ".+\.php$">
SetHandler application/x-httpd-php
</FilesMatch>

php_value include_path .
php_admin_value upload_tmp_dir /var/lib/phpmyadmin/tmp
php_admin_value open_basedir /usr/share/phpmyadmin/:/etc/phpmyadmin/:/var/lib/phpmyadmin/:/usr/share/php/php-gettext/:/usr/share/php/php-php-gettext/:/usr/share/javascript/:/usr/share/php/tcpdf/:/usr/share/doc/phpmyadmin/:/usr/share/php/phpseclib/
php_admin_value mbstring.func_overload 0
</IfModule>

</Directory>

# Authorize for setup
<Directory /usr/share/phpmyadmin/setup>
<IfModule mod_authz_core.c>
<IfModule mod_authn_file.c>
AuthType Basic
AuthName "phpMyAdmin Setup"
AuthUserFile /etc/phpmyadmin/htpasswd.setup
</IfModule>
Require valid-user
</IfModule>
</Directory>

# Disallow web access to directories that don't need it
<Directory /usr/share/phpmyadmin/templates>
Require all denied
</Directory>
<Directory /usr/share/phpmyadmin/libraries>
Require all denied
</Directory>
<Directory /usr/share/phpmyadmin/setup/lib>
Require all denied
</Directory>
This is the default phpMyAdmin Apache configuration file found on Ubuntu installations, though it will be enough for a Debian setup as well.
save and close the file when you are finished. Then enable it with the following command:
sudo a2enconf phpmyadmin.conf
Then reload the Apache to apply these changes:
sudo systemctl reload apache2
At this point, you can access the phpMyAdmin login screen:
https://your-domain-name/phpmyadmin
You should see:
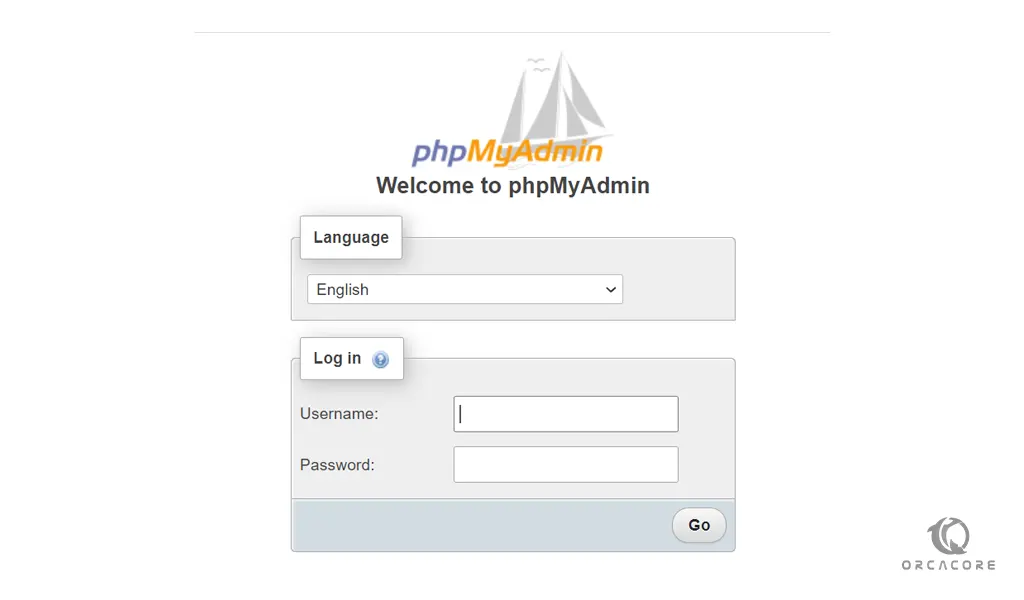
Now, enter your MariaDB user and password that you have created before. After you log in, you should see something similar to this:
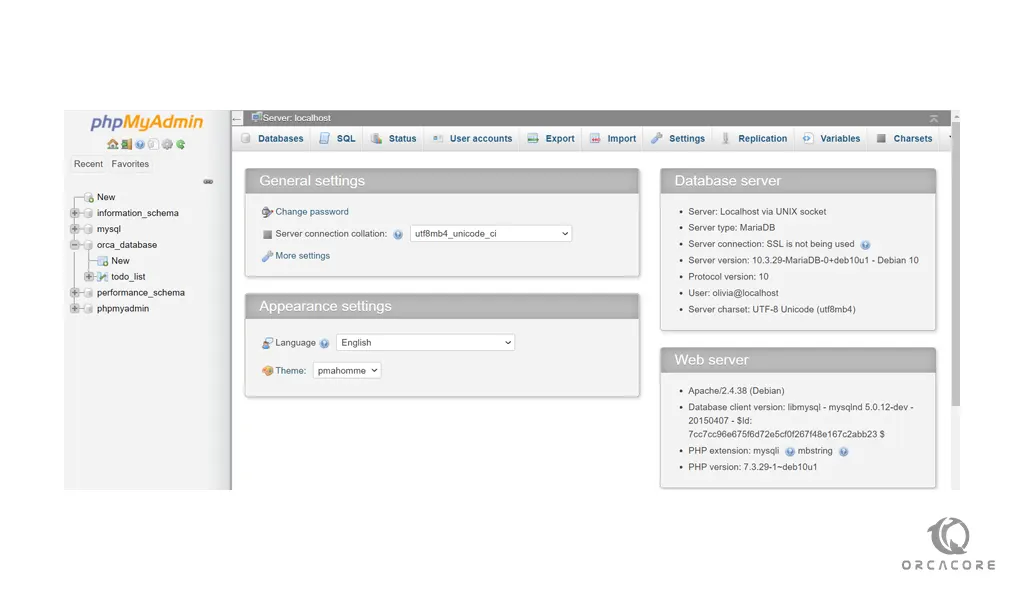
Now you are finished with connecting and interacting with phpMyAdmin.
Let’s secure your phpMyAdmin.
How to Secure phpMyadmin on Debian 10
phpMyAdmin is a popular target for attackers. One way to be safe from attackers is to place a gateway in front of the entire application by using Apache’s built-in “.htaccess” authentication and authorization functionalities.
First, you need to enable the use of .htaccess file overrides by editing your Apache configuration file:
sudo vi /etc/apache2/conf-available/phpmyadmin.conf
Then, add the “AllowOverride All” directive into the <Directory /usr/share/phpmyadmin> part in the file:
<Directory /usr/share/phpmyadmin>
Options FollowSymLinks
DirectoryIndex index.php
AllowOverride All

<IfModule mod_php5.c>
. . .
When you are finished, save and close the file.
To apply the changes restart Apache with the following command:
sudo systemctl restart apache2
Now that you have enabled “.htaccess”, you can create the necessary file with the following command:
sudo vi /usr/share/phpmyadmin/.htaccess
Then, enter the following content into the file:
AuthType Basic
AuthName "Restricted Files"
AuthUserFile /usr/share/phpmyadmin/.htpasswd
Require valid-user
When you are finished, save and close the file.
At this point, you can create the file that you have selected for your password with an initial user with the following command:
sudo htpasswd -c /usr/share/phpmyadmin/.htpasswd username
You will be asked to enter a new password for the user you are creating.
If you want to enter an additional user, run the following command:
sudo htpasswd /etc/phpmyadmin/.htpasswd additionaluser
Now you can access the phpMyAdmin login screen again:
https://your-domain-name/phpmyadmin
You will see something similar to this:
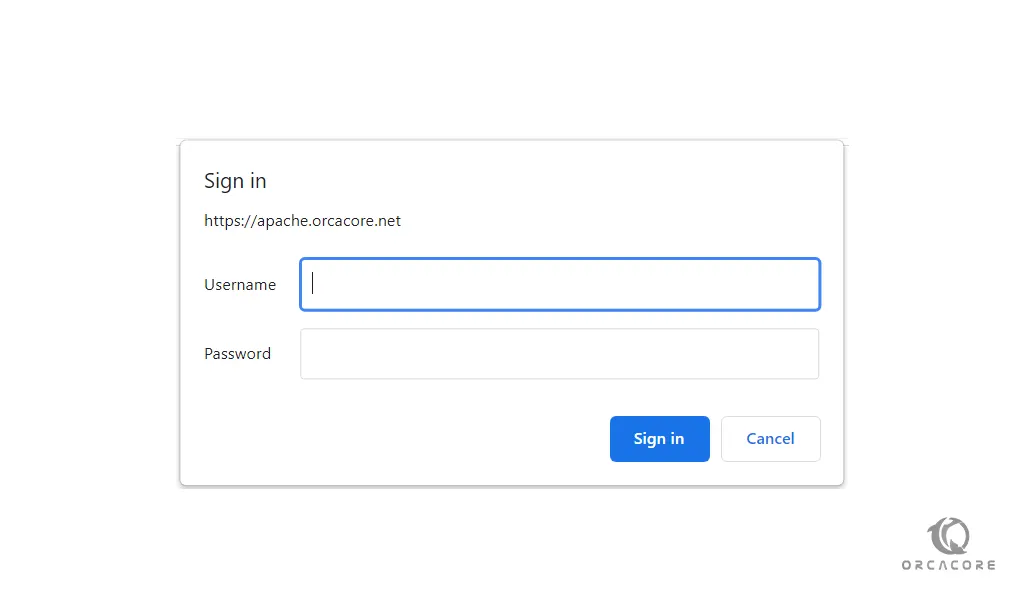
After you enter the Apache authentication, you will be taken to the phpMyAdmin login screen.
Conclusion
At this point, you learn to install, configure, and use phpMyAdmin on Debian 10. Also, you can easily secure your phpMyAdmin to be protected from attackers.
Hope you enjoy this article about How to install and secure phpMyadmin on Debian 10.