
Share your love
Install and Configure WordPress on Debian 12 with Easy Steps
In this guide, we want to teach you to Install and Configure WordPress on Debian 12. As you know, WordPress is a free and open-source content management system (CMS) that is written in PHP.
Now you can follow the steps below on the Orcacore website to Install and Configure WordPress on Debian 12 by using the LAMP Stack.
Table of Contents
Steps To Install and Configure WordPress on Debian 12
To Install and Configure WordPress on Debian 12, you need some requirements. Let’s see what we need.
Requirements for WordPress Setup
You must log in to your server as a non-root user with sudo privileges and set up a basic firewall. For this purpose, you can follow this guide on Initial Server Setup with Debian 12 Bookworm.
Then, you need to install LAMP Stack on your server. You can follow this guide on How To Install LAMP Stack on Debian 12.
Also, you must secure your Apache web server with SSL. To do this, you can visit this guide on Secure Apache with Let’s Encrypt on Debian 12.
When you are done, proceed to the steps below to Install and Configure WordPress on Debian 12.
Step 1 – Create WordPress Database and User on Debian 12
To Install and Configure WordPress on Debian 12, you must create a WordPress database and database user. To do this, log in to your MariaDB shell with the command below:
sudo mariadb -u root -pFrom your MariaDB shell run the command below to create your WordPress database:
MariaDB [(none)]> CREATE DATABASE wordpressdb DEFAULT CHARACTER SET utf8 COLLATE utf8_unicode_ci;Then, create a database user with a strong password and grant all privileges to it with the following command:
MariaDB [(none)]> GRANT ALL ON wordpressdb.* TO 'wordpressuser'@'localhost' IDENTIFIED BY 'password';Next, flush the privileges and exit from the MariaDB shell:
MariaDB [(none)]> FLUSH PRIVILEGES;
MariaDB [(none)]> EXIT;
Step 2 – Install PHP Extensions for WordPress
To Install and Configure WordPress on Debian 12, you need to install some PHP exertions for your WordPress on Debian 12. To do this, run the command below:
sudo apt install php-curl php-gd php-mbstring php-xml php-xmlrpc php-soap php-intl php-zip -yNow you need to reload Apache to apply for the new extensions:
sudo systemctl restart apache2Next, you need to make some configuration changes for Apache.
Step 3 – Apache Configuration for WordPress on Debian 12
From the requirements, you should have a configuration file for your site in the /etc/apache2/sites-available/ directory.
To Install and Configure WordPress on Debian 12, you need to open the Apache configuration file with your favorite text editor, here we use vi:
sudo vi /etc/apache2/sites-available/your-domain.confAdd the following block inside the virtual host block in your configuration file:
Be sure to use the correct webroot directory.
<Directory /var/www/your-domain/>
AllowOverride All
</Directory>
When you are finished, save and close the file.
Now you need to enable the rewrite module with the following command:
sudo a2enmod rewriteMake sure that you haven’t made any syntax errors:
sudo apache2ctl configtestIn your output you will see:
Output
Syntax OK
Then, restart Apache to apply the new changes:
sudo systemctl restart apache2Step 4 – Download Latest WordPress Package on Debian 12
At this point, you can download WordPress from its official site in the latest version to Install and Configure WordPress on Debian 12.
First, switch to the /tmp directory:
cd /tmpThen, use the curl command to download WordPress on Debian 12:
sudo curl -O https://wordpress.org/latest.tar.gzExtract your downloaded file with the following command:
sudo tar xzvf latest.tar.gzNow you need to add a dummy “.htaccess” file, that will be available for WordPress to use later. To do this, run the following command:
sudo touch /tmp/wordpress/.htaccessNext, copy over the sample configuration file to the filename that WordPress actually reads:
sudo cp /tmp/wordpress/wp-config-sample.php /tmp/wordpress/wp-config.phpAlso, you need to create an “upgrade” directory for WordPress that doesn’t get into trouble with permissions issues when trying to do this on its own following an update to its software:
sudo mkdir /tmp/wordpress/wp-content/upgradeHere you should copy the entire contents of the directory into your document root with the following command:
sudo cp -a /tmp/wordpress/. /var/www/your-domainStep 5 – WordPress Configuration on Debian 12
At this point, that you have successfully installed WordPress onto your web server, you need to make some configuration changes in the WordPress directory.
First, update the ownership with the following command:
sudo chown -R www-data:www-data /var/www/your-domainThen, you need to set the correct permissions on the WordPress directories and files on Debian 12:
# sudo find /var/www/your-domain/ -type d -exec chmod 750 {} \;
# sudo find /var/www/your-domain/ -type f -exec chmod 640 {} \;
Now you need to get secure values from the WordPress secret key generator with the following command:
sudo curl -s https://api.wordpress.org/secret-key/1.1/salt/In your output, you will get unique values similar to this:

Note: It is important that you request unique values each time. Do NOT copy the values shown above.
Now you need to open the WordPress main configuration file on Debian 12 and paste the values directly to the file to set secure keys.
Open the file with your favorite text editor, here we use vi:
sudo vi /var/www/your-domain/wp-config.phpFind the section that contains the dummy values for those settings.
. . .
define('AUTH_KEY',         'put your unique phrase here');
define('SECURE_AUTH_KEY',  'put your unique phrase here');
define('LOGGED_IN_KEY',    'put your unique phrase here');
define('NONCE_KEY',        'put your unique phrase here');
define('AUTH_SALT',        'put your unique phrase here');
define('SECURE_AUTH_SALT', 'put your unique phrase here');
define('LOGGED_IN_SALT',   'put your unique phrase here');
define('NONCE_SALT',       'put your unique phrase here');
. . .
Delete the line and paste the unique values that you have copied from the command line.
Then, in the database connection settings at the top of the file, you need to set the database name, database user, and password.
. . .
define('DB_NAME', 'wordpressdb');
/** MySQL database username */
define('DB_USER', 'wordpressuser');
/** MySQL database password */
define('DB_PASSWORD', 'password');
. . .
Next, add the following line to the database connection settings or anywhere else that you want:
define('FS_METHOD', 'direct');When you are done, save and close the file.
Step 6 – Access WordPress Web Interface
At this point, you can complete your WordPress installation on Debian 12 through the web interface.
Type your domain name or your server’s IP address in your web browser:
https://server_domain_or_IPOn the first page, you need to select your desired language and click on continue.

In the next window, you will see the main setup page.
Select a name for your WordPress site and choose a username (it is recommended not to choose something like “admin” for security purposes). A strong password is generated automatically. Save this password or select an alternative strong password.
Enter your email address and select whether you want to discourage search engines from indexing your site.
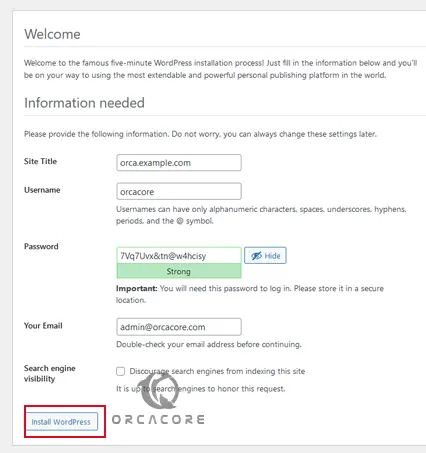
Click on the install WordPress, you will see the page where you can log in to your WordPress.
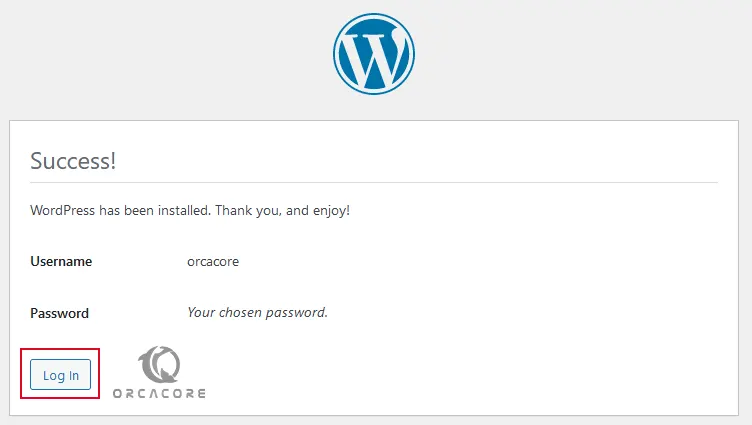
Enter your WordPress user and password and click Login.

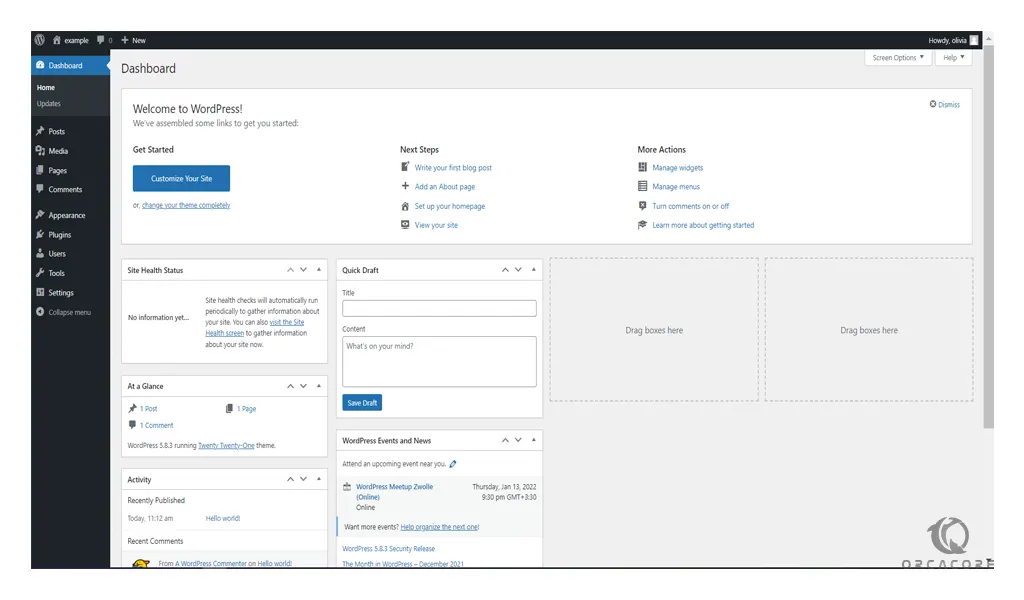
Now you should see your WordPress dashboard on Debian 12.
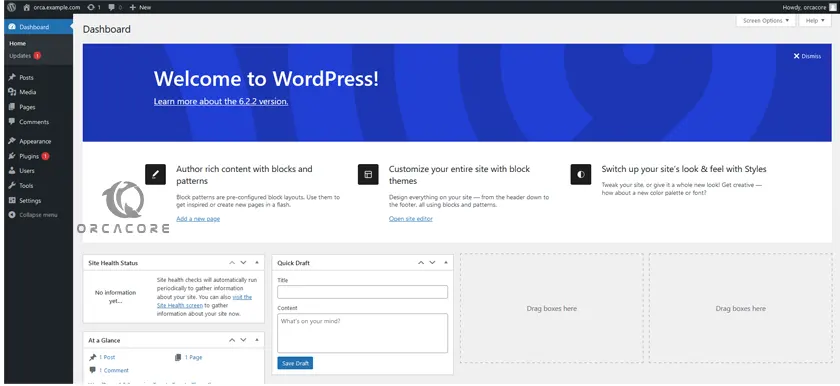
From there, you can manage your website.
For more information, you can visit the WordPress Official Website.
Conclusion
At this point, you have learned to Install and Configure WordPress CMS on Debian 12 with LAMP Stack and secure your installation by generating the SSL certificates from Let’s Encrypt and accessing your WordPress dashboard through a Web interface.
Hope you enjoy it. You may also like these articles too:
I always was interested in this topic , thank you for putting up.
Hello! I simply wish to provide a large thumbs up for any fantastic information you could have here about this post. I will be returning to your blog site to get more soon.