Share your love
Set up and Configure GlassFish on Debian 11

In this article, we want to teach you How To Set up and Configure GlassFish on Debian 11.
GlassFish is a Java application server project that allows many developers to generate enterprise technologies that are convenient and scalable.
It is a free, dual-licensed software under the GNU General Public License (GPL) and the Common Development and Distribution License (CDDL).
How To Set up and Configure GlassFish on Debian 11
Before you start to install GlassFish on Debian 11, you need to log in to your server as a non-root user with sudo privileges, To do this, you can follow our article the Initial Server Setup with Debian 11.
Now follow the steps below to set up GlassFish on your Debian 11.
Install Java on Debian 11
To install GlassFish you need to have Java installed on your Debian 11. First, update your local package index with the following command:
sudo apt update && sudo apt upgrade
Then, install Java with the following command:
sudo apt install default-jdk
Verify your Java installation by checking its version:
java -version
In your output you will see:
Output
openjdk version "11.0.13" 2021-10-19
OpenJDK Runtime Environment (build 11.0.13+8-post-Debian-1deb11u1)
OpenJDK 64-Bit Server VM (build 11.0.13+8-post-Debian-1deb11u1, mixed mode, sharing)
Install GlassFish on Debian 11
GlassFish is not available in the default Debian repository. You need to download the GlassFish installer from the GlassFish Downloads Page.
You can use the wget command to download the latest version of GlassFish:
wget https://download.eclipse.org/ee4j/glassfish/glassfish-6.2.3.zip
Now extract your downloaded file to the /opt directory with the following command:
unzip glassfish-6.2.3.zip -d /opt/
Here you need to create a systemd unit file for GlassFish on Debian 11. You can create and open the file with your favorite text editor, here we use vi:
sudo vi /usr/lib/systemd/system/glassfish.service
Add the following content to the file:
[Unit]
Description = GlassFish Server v6.2.3
After = syslog.target network.target

[Service]
User = root
ExecStart = /usr/bin/java -jar /opt/glassfish6/glassfish/lib/client/appserver-cli.jar start-domain
ExecStop = /usr/bin/java -jar /opt/glassfish6/glassfish/lib/client/appserver-cli.jar stop-domain
ExecReload = /usr/bin/java -jar /opt/glassfish6/glassfish/lib/client/appserver-cli.jar restart-domain
Type = forking

[Install]
WantedBy = multi-user.target
When you are done, save and close the file.
Next, reload the systemd daemon to apply the new changes with the following command:
sudo systemctl daemon-reload
Start your GlassFish service with the command below:
sudo systemctl start glassfish
If you want to enable GlassFish to start at boot, you can use the following command:
sudo systemctl enable glassfish
You can check that your GlassFish service is active and running on your Debian 11 with the command below:
sudo systemctl status glassfish
In your output you will see:
Output
glassfish.service - GlassFish Server v6.2.3
Loaded: loaded (/lib/systemd/system/glassfish.service; enabled; vendor pre>
Active: active (running) since Mon 2021-12-13 06:27:06 EST; 58s ago
Main PID: 4244 (java)
Tasks: 100 (limit: 2340)
Memory: 358.4M
CPU: 17.382s
CGroup: /system.slice/glassfish.service
└─4244 /usr/lib/jvm/java-11-openjdk-amd64/bin/java -cp /opt/glassf>
Configure GlassFish on Debian 11
By default, you can access GlassFish without any password. Here for more security, we show you how to set up a new password for your GlassFish.
To set up a password, you can use the following command:
/opt/glassfish6/bin/asadmin --port 4848 change-admin-password
You will be asked to provide the admin username as shown below:
Enter admin user name [default: admin]>admin
Enter the default admin username and press enter.
Then, you will be asked to provide the existing admin password:
Enter the admin password>
Just press enter to continue. Here you will be asked to enter the new admin password. Enter your password and press enter. In your output you will see:
Output
Command change-admin-password executed successfully.
It’s recommended to enable the HTTPs on GlassFish. To do this, you can use the following command:
/opt/glassfish6/bin/asadmin --port 4848 enable-secure-admin
You will be asked to enter your admin username and the password you have set for the GlassFish.
After entering your username and password, in your output you will see:
Output
Command enable-secure-admin executed successfully.
To apply the changes, restart GlassFish on Debian 11 with the following command:
sudo systemctl restart glassfish
Access GlassFish Web Interface
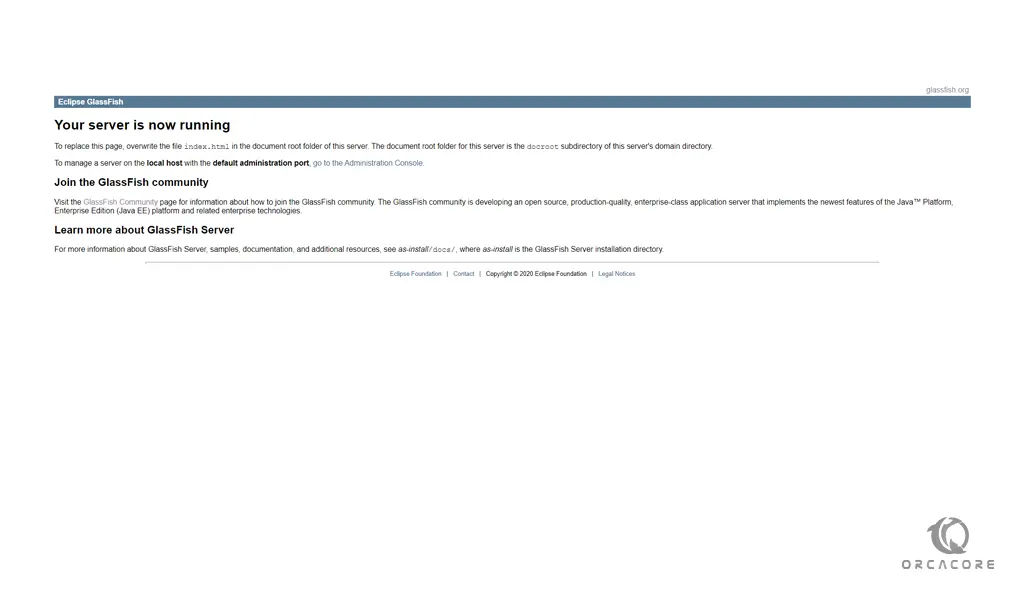
At this point, you can access the GlassFish web interface by typing your server’s IP address in your web browser followed by 8080:
http://your-server-ip:8080
You will see:
Also, you can access the GlassFish admin interface by typing your server’s IP address followed by 4848:
https://your-server-ip:4848
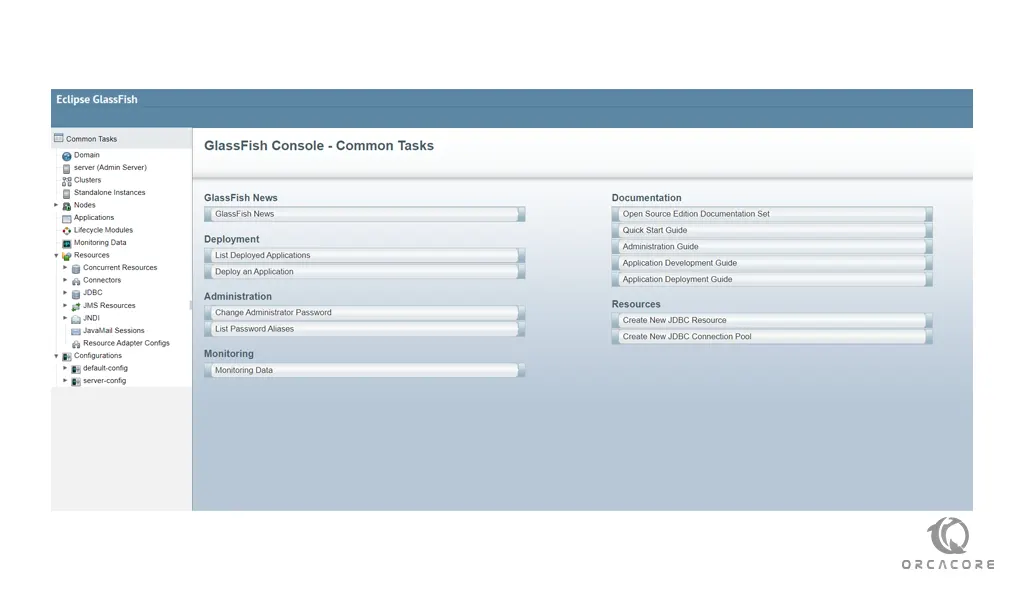
You will see the GlassFish Administration console login screen.
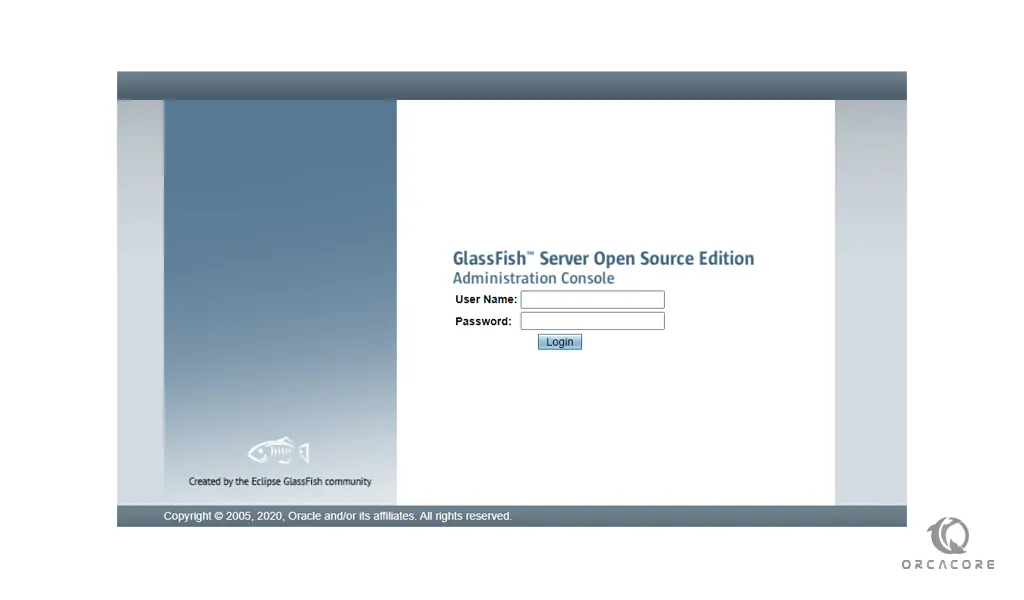
Enter your admin username and password, you will see the GlassFish Admin interface.
Conclusion
At this point, you learn to install and configure GlassFish on Debian 11.
I hope you enjoy using it.