Share your love
How To Set up Nessus Scanner on Debian 11
In this article, we want to teach you How To Set up Nessus Scanner on Debian 11.
Nessus is an open-source network vulnerability scanner that uses the Common Vulnerabilities and Exposures architecture for easy cross-linking between compliant security tools. In fact, Nessus is one of the many vulnerability scanners used during vulnerability assessments and penetration testing engagements, including malicious attacks. Nessus is a tool that checks computers to find vulnerabilities that hackers COULD exploit.
It works by testing each port on a computer, determining what service it is running, and then testing this service to make sure there are no vulnerabilities in it that could be used by a hacker to carry out a malicious attack.
How To Set up Nessus Scanner on Debian 11
Before you start to set up Nessus on Debian 11, you need to log in to your server as a root or non-root user with sudo privileges and set up a basic firewall. To do this, you can follow our article the Initial Server Setup with Debian 11.
Now you can follow the steps below to install Nessus Scanner on Debian 11.
Install Nessus Scanner on Debian 11
First, you need to update your local package index with the following command:
sudo apt update
Then, you need to visit the Nessus Downloads page and download the latest 64-bit Debian binary installer with the following command:
wget -O nessus.deb https://www.tenable.com/downloads/api/v1/public/pages/nessus/downloads/15803/download?i_agree_to_tenable_license_agreement=trueYou need to name your file as your wish and copy the URL address of the installer in the wget command.
Next, use the following command with the name of your downloaded file to install Nessus Scanner on your server:
dpkg -i nessus.deb
Now you can start your Nessus service on Debian 11 with the command below:
/bin/systemctl start nessusd.service
Also, you can enable the Nessus service to start on boot:
systemctl enable nessusdVerify that Nessus service is active and running on Debian 11:
systemctl status nessusdOutput nessusd.service - The Nessus Vulnerability Scanner Loaded: loaded (/lib/systemd/system/nessusd.service; enabled; vendor prese> Active: active (running) since Sat 2022-03-19 04:53:13 EDT; 7min ago Main PID: 1872 (nessus-service) Tasks: 13 (limit: 2340) Memory: 109.0M CPU: 1min 12.075s CGroup: /system.slice/nessusd.service ├─1872 /opt/nessus/sbin/nessus-service -q └─1873 nessusd -q
At this point, we assumed that you have enabled UFW firewall. Now you need to allow Nessus port 8834 through the UFW firewall on Debian 11 with the following command:
ufw allow 8834/tcpAccess Nessus Scanner Web Interface
At this point, you can access your Nessus web interface by typing your server’s IP address in your web browser followed by 8834:
https://server-ip:8834
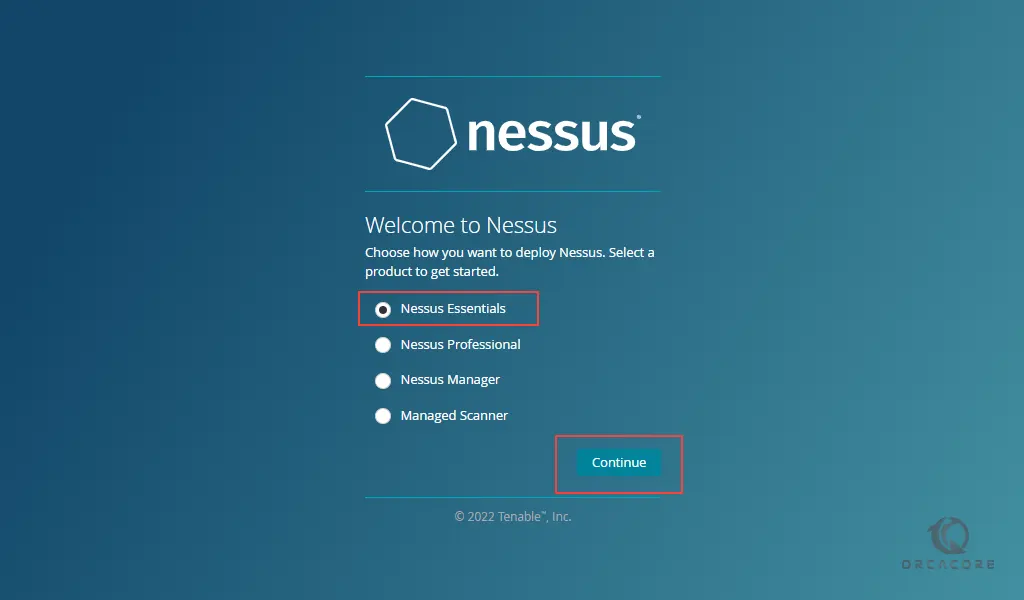
You will see the Nessus Scanner welcome page.
Here, the first product option you get is free to use where the rest are paid but available with a trial period.
1-Nessus Essentials – The free version for educators, students, and hobbyists
2-Nessus Professional– The de-facto industry standard vulnerability assessment solution of security practitioners.
3-Nessus Manager – The enterprise solution for managing Nessus Agent at scale.
4-Managed Scanner – Link your scanner to another Tenable solution such as Tenable.io and Tenable. sc.
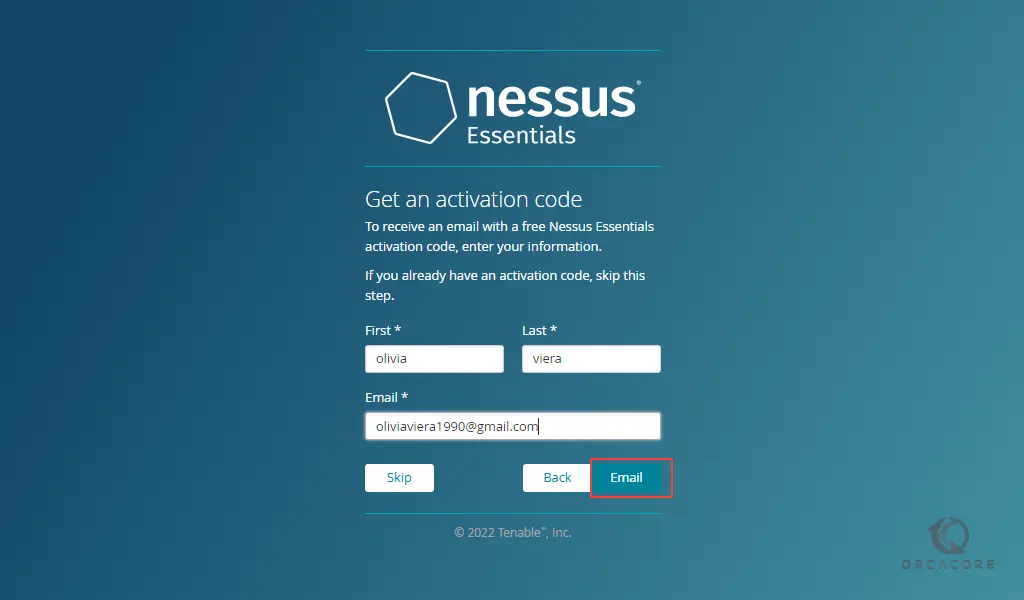
Then, you need to enter your information to register and get an activation code from Nessus.
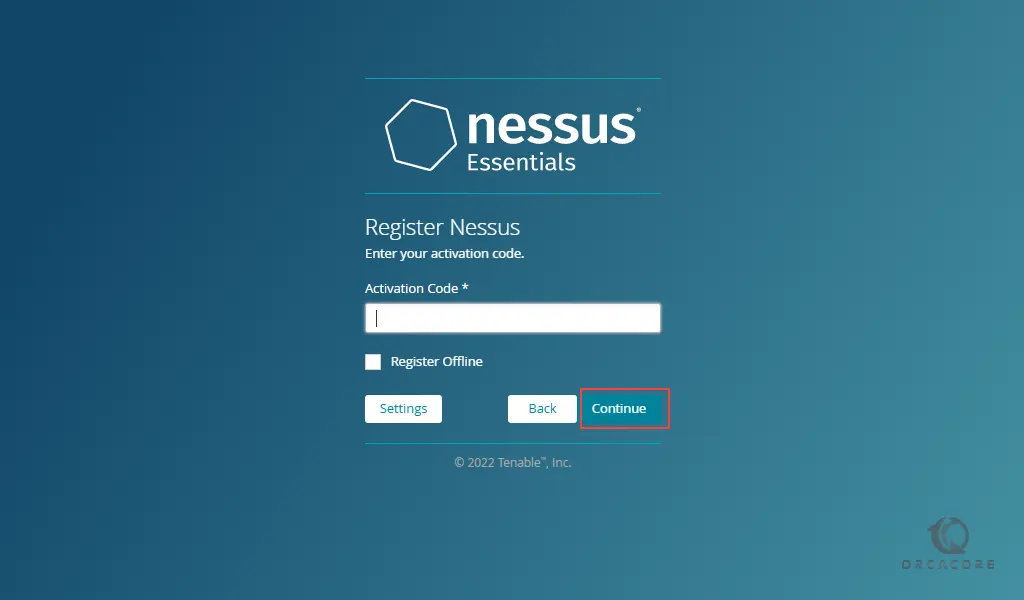
After that, you need to enter the Nessus activation code that you have received and click continue.
Next, you need to create a Nessus admin user account and click submit.
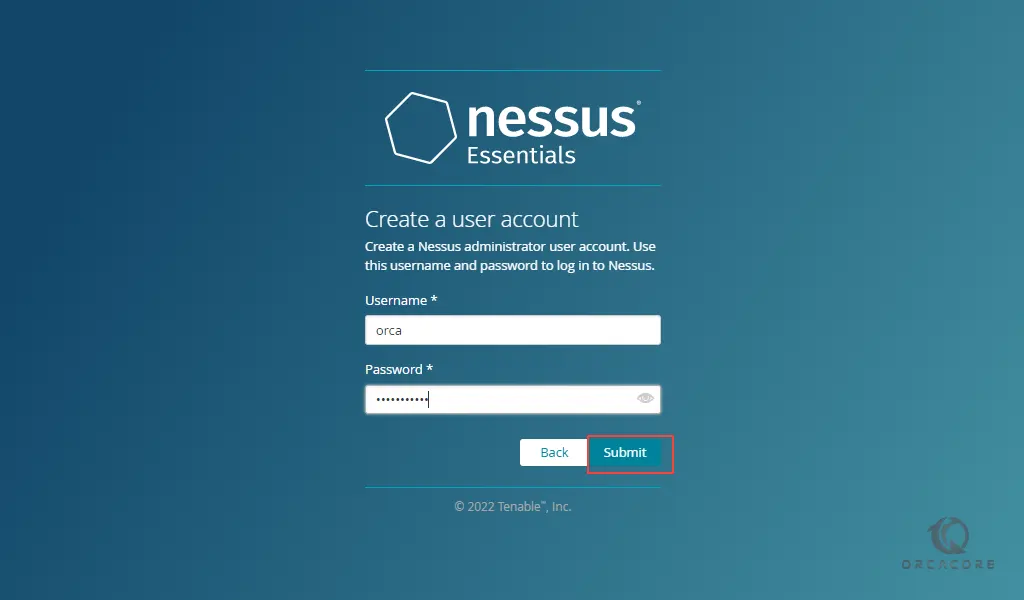
At this point, you need to wait while Nessus prepares the files to scan your assets.
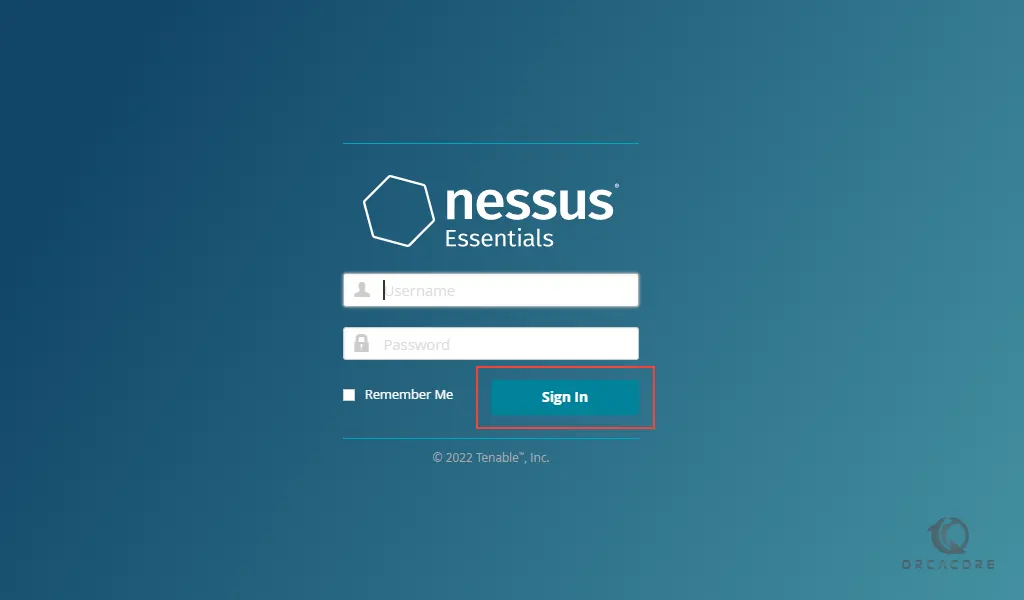
When it is completed, you will see your Nessus login screen. Enter your Nessus admin username and password and click Sign in.
You will see your Nessus scanner dashboard.
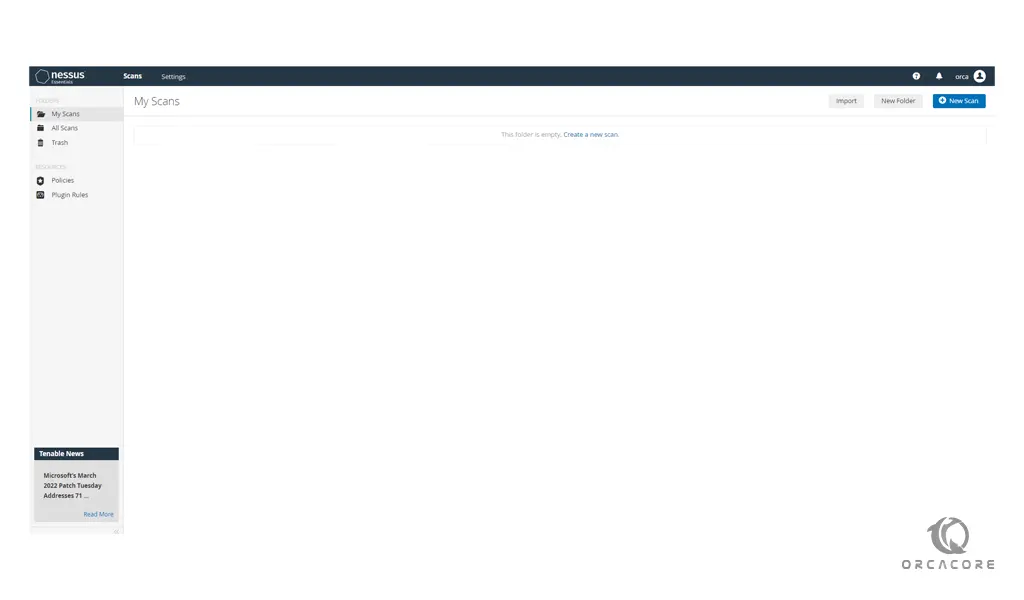
From there you can create your new scan.
Conclusion
At this point, you learn to Set up Nessus Scanner on Debian 11.
Hope you enjoy it.


