Share your love
WineHQ LTS Setup on Fedora Linux 39

This guide will show you WineHQ or Wine LTS Setup Installation on Fedora Linux 39. Also, you will learn to Run an Windows app with Wine on your Fedora 39. Wine is a popular platform that you can use to run Windows applications on your Linux server. You can proceed to the following steps to get the latest stable version of Wine and start to install it in Fedora 39.
WineHQ or Wine LTS Setup Installation on Fedora Linux 39
Before you start your Wine installation in Fedora, remember to log in to your server as a non-root user with udo privileges. Then, follow the steps below to complete this guide.
Step 1 – Enable Wine Repository on Fedora 39
First, you must run the system update by using the following command:
sudo dnf update -yThen, you can enable the WineHQ Fedora repository that includes the latest build version. To do this, you can run the following command:
sudo dnf config-manager --add-repo https://dl.winehq.org/wine-builds/fedora/38/winehq.repo
Note: At the current time, you can use the Fedora 38 Wine repo for the Fedora 39.
Step 2 – Command for WineHQ Installation on Fedora 39
At this point, you can easily use the DNF package manager to install the latest version of Wine on your Fedora Linux.
To install the Stable release, you can run the command below:
sudo dnf install winehq-stable -yYou can also install the beta or staging release with the following command:
sudo dnf install winehq-staging -yAdvanced users and developers can use the development release with the command below:
sudo dnf install winehq-devel -yIn this guide, we use the stable release of Wine on Fedora 39.
When your installation is completed, very it by checking the Wine version:
wine --versionIn your output, you will see:

Step 3 – Configure Wine on Fedora Linux 39
At this point, you must configure your WineHQ installation in Fedora 39. To do this, run the following command as a regular user:
winecfg
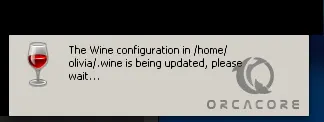
Wait until your Wine configuration is updated.
Then, you will be asked to set up the Wine Mono installer. Click on the Install button.

It will automatically begin downloading and installing Mono and related components.
Next, you will see the following screen. From there you can adjust your desired settings and continue.
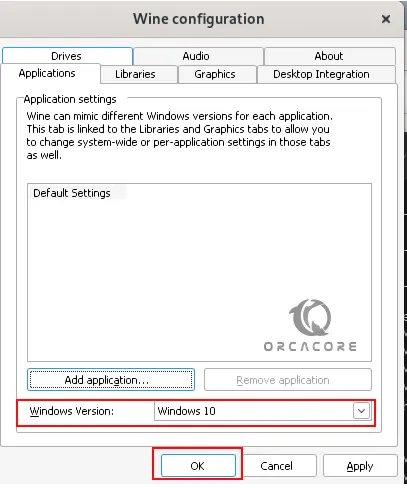
When it is completed, you will now be able to run Windows applications in Fedora 39.
Step 4 – Run an Application with Wine on Fedora Linux 39
At this point, we want to show you how to use Wine to run the Windows applications in Fedora Linux 39. As an example, we downloaded the Notepad ++ installer from its official site to show you how to run the Windows app with WineHQ.
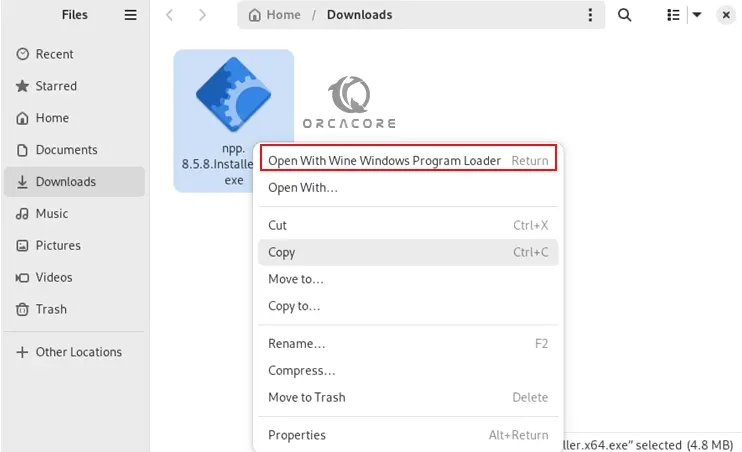
Then, to run it with Wine, right-click on the app and select Open with Wine Windows Program Loader.
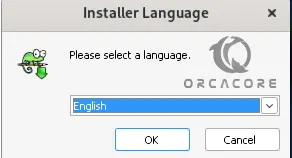
It will open the installer setup for you. Choose your desired language and click Ok.
Click Next on the Welcome screen.
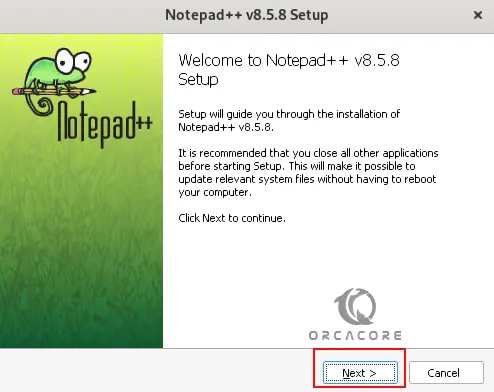
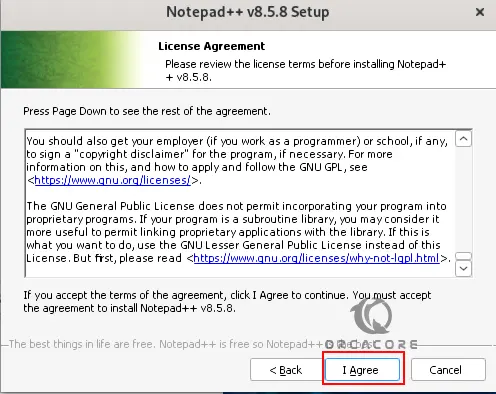
Accept the license agreement and click I Agree.
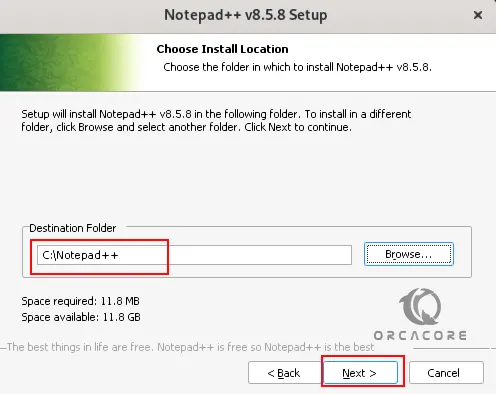
Next, choose the destination of your folder and click Next.
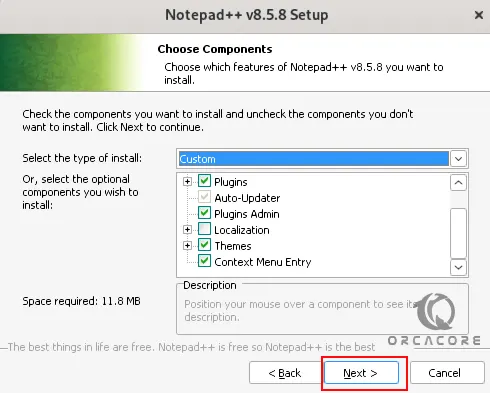
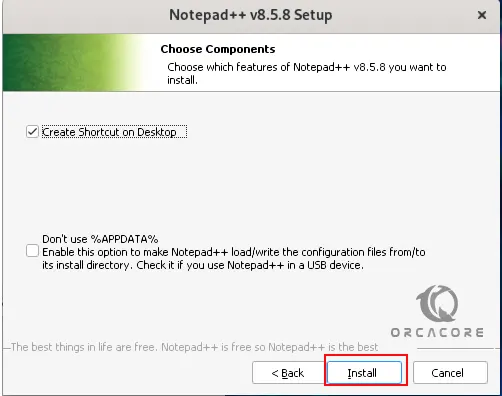
Choose the components you want to install and click Next.
Then, click on Install to complete the process.
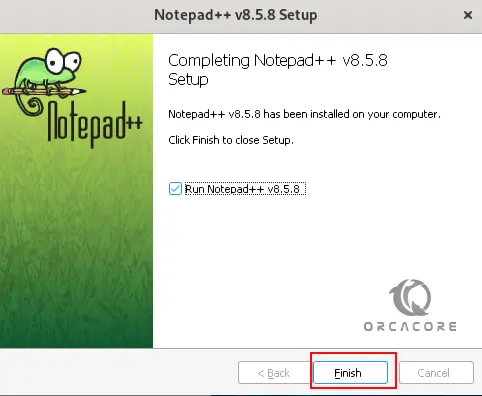
Finally, click Finish.
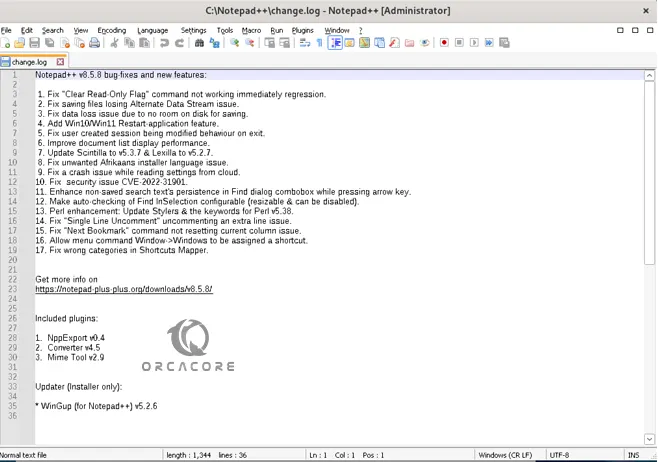
At this point, you will see your Notepad ++ app in Fedora Linux 39. You can easily run your applications with WineHQ in Linux distros.
Step 5 – Update WineHQ in Fedora Linux
To get the latest versions of Wine, you can easily update your app from the terminal. To do this, you can simply run the command below:
sudo dnf upgrade --refreshStep 6 – Uninstall WineHQ from Fedora Linux
If you no longer want to use Wine in your Fedora Linux 39, you can easily remove it by using the command below:
sudo dnf remove winehq-stableNote: If you use other branches, replace the name of winehq-stable.
To remove the WineHQ repository, you can run the following command:
sudo rm /etc/yum.repos.d/winehq.repoConclusion
At this point, you have learned WineHQ or Wine LTS Setup Installation on Fedora Linux 39, configure it, and start using it by running a Windows app with Wine.
Hope you enjoy using it. Also, you may like to read the following guides:


