Share your love
How to Allow a Specific Port for a Particular IP in CSF
In this article, we want to teach you How to Allow a Specific Port for a Particular IP in CSF.
ConfigServer Firewall (CSF) is a Firewall software installed on your server to keep it secure. It provides an advanced and easy-to-use web-based interface to manage firewall settings. You can also manage your firewall settings/configuration via the Secure Shell.
With this firewall service, you can:
- Control traffic flowing into your server space.
- Prevent DDoS attacks.
- Track network connections.
CSF comes with a child service called Login Failure Daemon (LFD). This service watches the activity of the users configured on the server for excessive login failures. That behavior is commonly seen during brute force attacks.
The full list of supported operating systems and features can be found on ConfigServer’s website.
How to Allow Specific Port for a Particular IP in CSF
In this guide, you will learn to open a specific port for a particular IP in CSF from your WHM and CLI.
To enable CSF on your cPanel, you can follow our article about Install and Configure CSF Firewall on cPanel.
Now follow the steps below to complete this guide.
Open a specific port for a particular IP in CSF from WHM
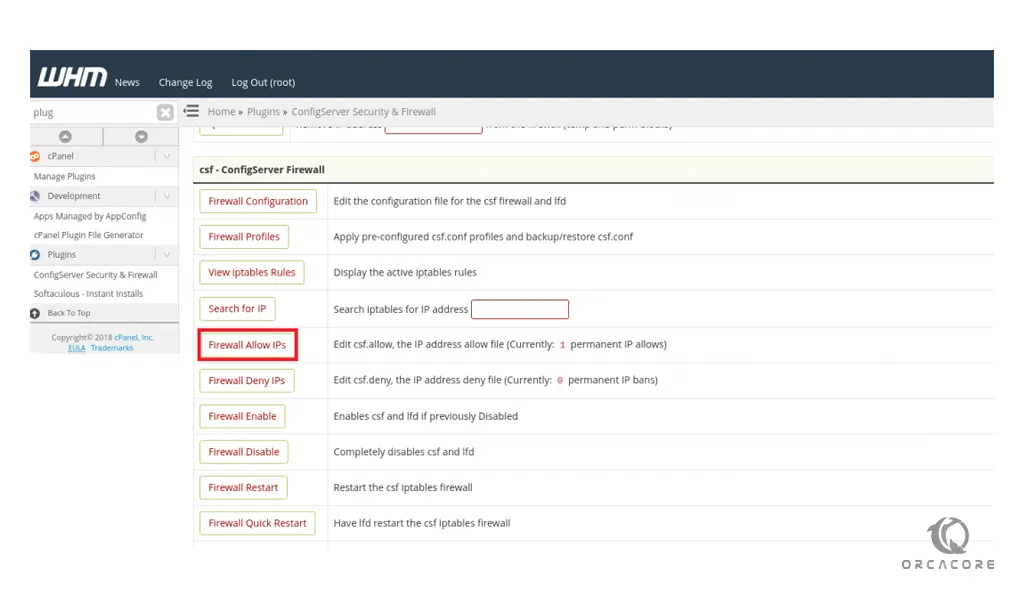
First, you need to log in to your WHM as root. And from the Plugins section select the ConfigServer Security & Firewall.
Then, click on the Firewall Allow IPs.
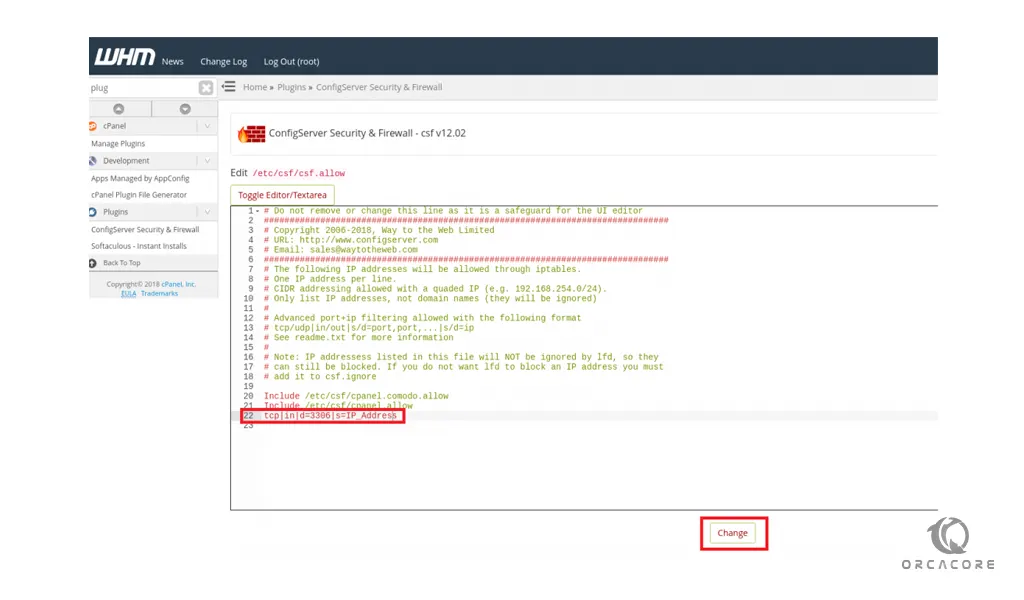
Here you need to add the rule to allow a specific port for a particular IP.
For example, you can allow inbound MySQL connections from your particular IP with the command below:
tcp|in|d=3306|s=IP_Address
In this command, the “in” option defines the inbound traffic to your server, “d” to specify the port number, and “s” to determine the IP.
Note: Just remember to replace the phrase IP address with your desired particular IP.
After adding the rule, click on the Change button.
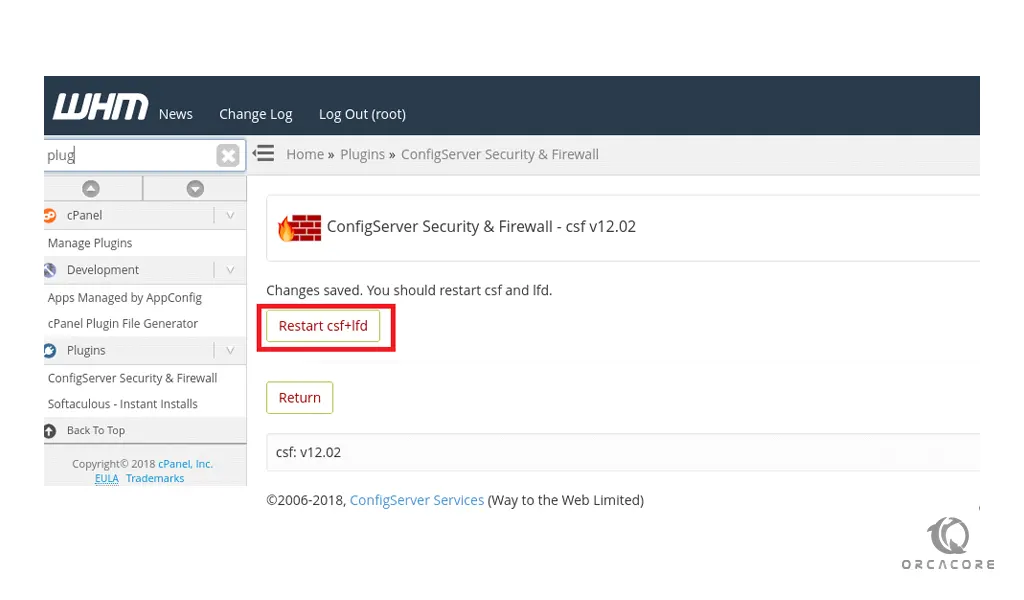
At this point, you need to click on the restart CSF+LFD button to apply the new rules.
At this point, you can access the specific port from that particular IP address.
Now we want to show you how to do it from the command line.
Open a specific port for a particular IP in CSF from the CLI
First, you need to log into your server as a root user via SSH.
Then, you need to open the csf.allow file with your favorite text editor, here we use vi:
vi /etc/csf/csf.allow
Now you can add the same rule to the file.
tcp|in|d=3306|s=IP_Address
When you are done, save and close the file.
To apply the changes, restart your CSF with the following command:
csf -r
That’s it, you can now access the specific port from that particular IP address.
Conclusion
At this point, you learn to Allow a Specific Port for a Particular IP in CSF.
Hope you enjoy it.