Share your love
Install LAMP Stack on Debian 11
In this article, we want to teach you How to Install LAMP Stack on Debian 11.
LAMP stands for Linux, Apache, MySQL, and PHP. In this article, we use MariaDB instead of MySQL. You can follow the instructions and get the installation steps of LAMP Stack on the Debian 11 server. You can use this software for your web development.
Learn To Install LAMP Stack on Debian 11
Before you start to learn how to install the LAMP stack on Debian 11, you need to log in to your server as a non-root user with sudo privileges and a basic setup for the firewall. To do this, you can check this article about the Initial server setup with Debian 11.
After you are done with these requirements, you can start your installation.
Step 1 – Install Apache and Update the Firewall on Debian 11
First of all, You need to update and upgrade the APT packages of Debian 11. run the following command:
sudo apt update
sudo apt upgrade
Apache Web Server Installation
Then, install Apache on Debian 11 with the following command:
sudo apt install apache2 -yHere we assumed that you completed the requirements part for setting up a UFW firewall.
UFW Firewall Configuration for LAMP Stack
You can list UFW available applications with the following command:
sudo ufw app listYour output should be similar to this:
Output
Available applications:
. . .
  WWW
  WWW Cache
  WWW Full
  WWW Secure
. . .
You need to enable traffic to ports 80 and 443, you can see it in WWW Full info:
sudo ufw app info "WWW Full"Output
Profile: WWW Full
Title: Web Server (HTTP,HTTPS)
Description: Web Server (HTTP,HTTPS)
Ports:
80,443/tcpNow allow the incoming HTTP and HTTPS traffic for this profile with the following command:
sudo ufw allow in "WWW Full"Now you can test your Apache Debian default page by typing your IP address in your web browser.
If you don’t have your IP address you can use the following command to get it:
hostname -IThen type your server’s IP address in your web browser to see the Apache Debian default page.
http://your_server_ipIt should look similar to this:
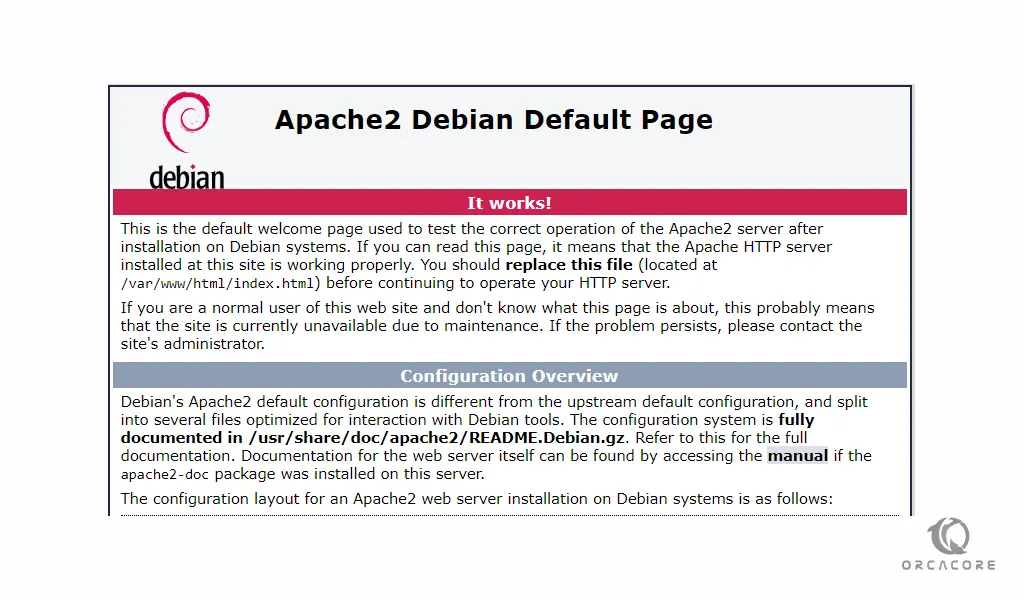
If you see this page, means that your web server is up and running.
Now the installation Apache part of the LAMP stack on Debian 11 is completed. Let’s see how to install MariaDB on Debian11.
Step 2 – LAMP Stack – Install MariaDB on Debian 11
For installing MariaDB, it is suggested to install the actual MariaDB package. run the following command to install MariaDB on Debian11:
sudo apt install mariadb-server -yWhen your installation is completed. it’s better to run a security script that comes pre-installed with MariaDB.
sudo mysql_secure_installationYou will be asked some questions. The first is to enter the current root password, and press Enter to leave it blank. because you haven’t made any changes yet. Then you will be asked to set a root password. From here, you can press ‘Y’ to accept the default for other questions.
MariaDB Configuration
When you are finished, you can log into the MariaDB console with the following command:
sudo mariadb -u root -pIn your output you will see something similar to this:
Output
Welcome to the MariaDB monitor.  Commands end with ; or \g.
Your MariaDB connection id is 50
Server version: 10.5.11-MariaDB-1 Debian 11
Copyright (c) 2000, 2018, Oracle, MariaDB Corporation Ab and others.
Type 'help;' or '\h' for help. Type '\c' to clear the current input statement.
MariaDB [(none)]>
For more security, it’s better to have committed user accounts with less extensive privileges set up for every database, especially if you plan on having multiple databases hosted on your server.
To create a new database, run the following command on your MariaDB console:
Here we use the orca_database name you can change it with your own.
MariaDB [(none)]> CREATE DATABASE orca_database;Now you can create a new user and give them full privileges on the custom database you’ve just created.
MariaDB [(none)]> GRANT ALL ON orca_database.* TO 'olivia'@'localhost' IDENTIFIED BY 'password' WITH GRANT OPTION;Note: remember to replace the password value with a secure password that you have to choose.
Here you should flush the privileges that are saved and available in the current session with the following command:
MariaDB [(none)]> FLUSH PRIVILEGES;Exit from the MariaDB shell with:
MariaDB [(none)]> exitNow you can log in to your MariaDB console with your custom user, type the following command:
Replace the user that you have defined in the previous step.
mariadb -u olivia -pEnter the password that you have chosen for it.
Confirm you have access to the orca_database with the following command:
MariaDB [(none)]> SHOW DATABASES;Your output should be like this:
Output
+--------------------+
| Database           |
+--------------------+
| information_schema |
| orca_database      |
+--------------------+
2 rows in set (0.002 sec)
Type this to exit from the shell:
MariaDB [(none)]> exitLet’s start installing PHP in the last part of the LAMP stack on Debian11.
Step 3 – LAMP Stack – Install PHP on Debian 11
PHP is a server-side scripting language. that is used to develop Static websites Dynamic websites or Web applications.
Run the following command to install PHP and some helper packages on Debian 11:
sudo apt install php libapache2-mod-php php-mysqlNote: If a user requests a directory from the server, Apache will first look at a file named index.html. We want to Apache look for an index.php first.
For this, open the dir.conf file with your favorite text editor like vi editor or nano editor:
sudo vi /etc/apache2/mods-enabled/dir.confIt should be like this:
<IfModule mod_dir.c>
DirectoryIndex index.html index.cgi index.pl index.php index.xhtml index.htm
</IfModule>
Move the index.php file after DirectoryIndex. It should be like this:
<IfModule mod_dir.c>
DirectoryIndex index.php index.html index.cgi index.pl index.xhtml index.htm
</IfModule>
When you are finished save and close the file. Then, you need to reload the Apache, and run the following command:
sudo systemctl reload apache2To check that Apache is active and running run the following command:
sudo systemctl status apache2Output
apache2.service - The Apache HTTP Server
Loaded: loaded (/lib/systemd/system/apache2.service; enabled; vendor prese>
Active: active (running) since Sun 2021-09-05 03:57:59 EDT; 1min 53s ago
Docs: https://httpd.apache.org/docs/2.4/
Process: 12151 ExecStart=/usr/sbin/apachectl start (code=exited, status=0/S>
Main PID: 12156 (apache2)
Tasks: 6 (limit: 2340)
Memory: 12.3M
CPU: 87ms
...At this point, the installation of your LAMP stack on Debian 11 is completed. Let’s get a look at how to create an Apache virtual host.
Step 4 – Create an Apache virtual host on Debian 11
Virtual hosts enable us to keep multiple websites hosted on a single Apache server. Here you are going to create a virtual host for testing your PHP environment.
First, create a root web directory for your domain with the following command:
sudo mkdir /var/www/lamp.orcacore.netNote: Replace the lamp.orcacore.net with your domain name server.
Then set ownership of the directory with the $USER environment variable with the following command:
sudo chown -R $USER:$USER /var/www/lamp.orcacore.netYou need to be sure the permissions of your web roots should be correct. You can use the following command:
sudo chmod -R 755 /var/www/lamp.orcacore.netNow you need to create a sample index.html page with your favorite text editor. Here we use the Vi text editor:
vi /var/www/lamp.orcacore.net/index.htmlAdd the following sample HTML to your file:
<html>
<head>
<title>Welcome to lamp.orcacore.net!</title>
</head>
<body>
<h1>Success! The lamp.orcacore.net virtual host is working!</h1>
</body>
</html>
Save and close the file when you are finished.
You need to open a new configuration file in Apache’s sites-available directory with the following command:
sudo vi /etc/apache2/sites-available/lamp.orcacore.net.confAdd the following configuration script to your file:
<VirtualHost *:80>
    ServerName lamp.orcacore.net
    ServerAlias www.lamp.orcacore.net
    ServerAdmin webmaster@localhost
    DocumentRoot /var/www/lamp.orcacore.net
    ErrorLog ${APACHE_LOG_DIR}/error.log
    CustomLog ${APACHE_LOG_DIR}/access.log combined
</VirtualHost>
Save and close the file.
Now enable the virtual host with the following command:
sudo a2ensite lamp.orcacore.net.confYou might want to disable the default website that comes installed with Apache. To do this, run the following command:
sudo a2dissite 000-defaultYou need to be sure your configuration file doesn’t have syntax errors run the following command:
sudo apache2ctl configtestOutput
synax okReload Apache to apply the changes:
sudo systemctl reload apache2At this point, you can learn how to test your PHP processing on your web server on Debian 11. To do this, proceed to the next step.
Step 5 – LAMP Stack – Test PHP processing on your web server
Here you need to create a simple PHP test script to confirm that Apache is able to handle and process requests for PHP files.
Run the following command to create an info.php file in your webroot folder:
vi /var/www/lamp.orcacore.net/info.phpAdd the following text to your file:
<?php
phpinfo();
Then, save and close the file.
Next, type your domain name in your web browser followed by info.php:
http://lamp.orcacore.net/info.phpYou should see a page like this:
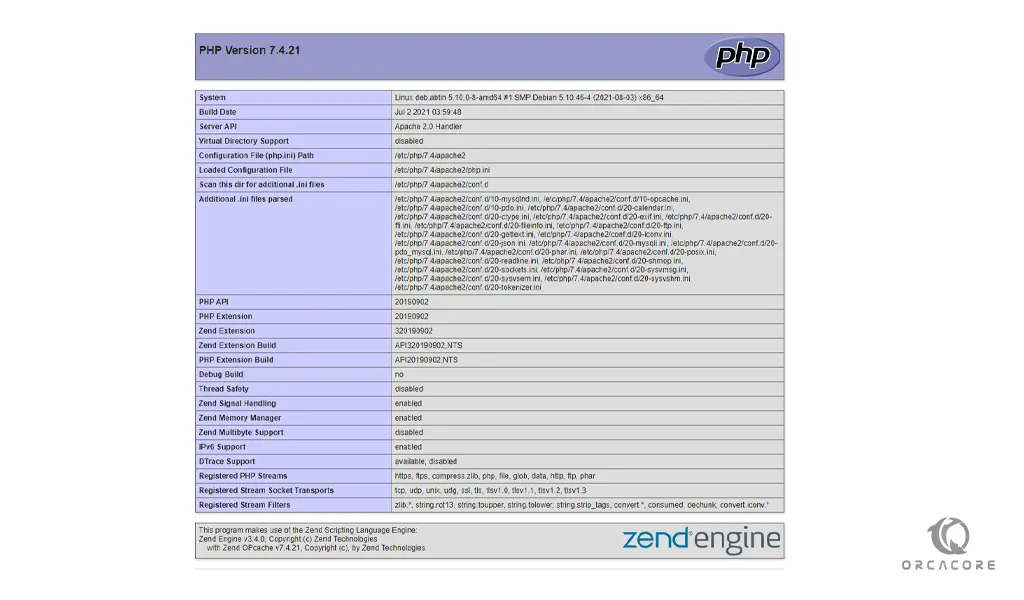
If you see this page means that your PHP installation is working correctly.
After you check your PHP information it is better to remove the file with the following command:
sudo rm /var/www/lamp.orcacore.net/info.phpHere you are done with installing LAMP Stack on Debian 11 completely. It is suggested to test the database connection from PHP.
Step 6 – LAMP Stack – Test Database Connection from PHP
If you want to test that PHP is able to connect to MariaDB and execute database queries, you can create a test table with dummy data and query for its contents from a PHP script.
Connect to the MariaDB on Debian 11 with the database user you created before:
mariadb -u olivia -pNow create a table named todo_list:
MariaDB [(none)]> CREATE TABLE orca_database.todo_list (
item_id INT AUTO_INCREMENT,
content VARCHAR(255),
PRIMARY KEY(item_id)
);
Then, insert a few rows of content in the test table with the following command:
MariaDB [(none)]> INSERT INTO orca_database.todo_list (content) VALUES ("My first important item");Note: You can repeat this command to enter more rows with different values.
Run the following command to confirm that the data was successfully saved to your table:
MariaDB [(none)]> SELECT * FROM orca_database.todo_list;In your output you will see something similar to this:
Output
+---------+-------------------------+
| item_id | content                 |
+---------+-------------------------+
|       1 | my first important item |
+---------+-------------------------+
1 row in set (0.001 sec)
Now you can exit from your shell:
MariaDB [(none)]> exitAt this point, you need to create a new PHP file that will connect to MariaDB and query for your content. To do this, you can run the command below:
vi /var/www/lamp.orcacore.net/todo_list.phpAdd the following content to your file:
<?php
$user = "olivia";
$password = "password";
$database = "orca_database";
$table = "todo_list";

try {
$db = new PDO("mysql:host=localhost;dbname=$database", $user, $password);
echo "<h2>TODO</h2><ol>";
foreach($db->query("SELECT content FROM $table") as $row) {
echo "<li>" . $row['content'] . "</li>";
}
echo "</ol>";
} catch (PDOException $e) {
print "Error!: " . $e->getMessage() . "<br/>";
die();
}Note: Remember to replace the values with your own.
When you are finished, save and close the file.
Then type this in your web browser:
http://lamp.orcacore.net/todo_list.phpYou should see a page like this, showing the content you’ve inserted in your test table:
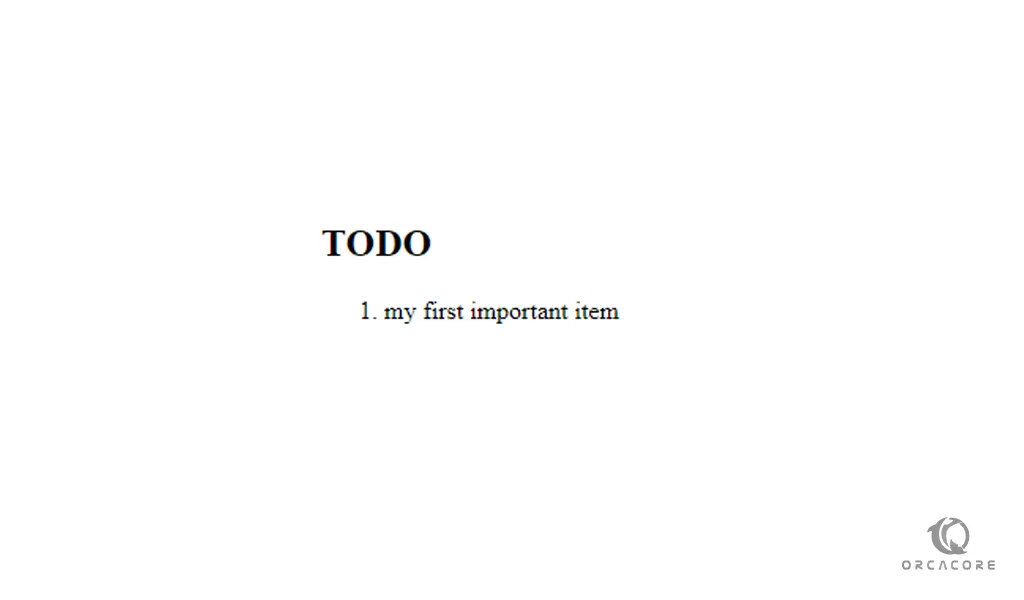
If you see this page, means your PHP environment is ready to connect and interact with your MariaDB server.
Conclusion
At this point, you have learned how to install Apache, MariaDB, and PHP on Debian 11. Also, you set up Apache virtual host and test PHP processing on your web server. And for more information, you have learned how to test database connections from PHP.
Hope you enjoy this guide on Install LAMP Stack on Debian 11.
Related content published on the Orcacore that you may be interested in: