Share your love
Work with nano editor step-by-step

In this article from the series of Linux tutorials, we will teach you step-by-step how to work with the nano editor.
Nano Editor is a complete editor for the Linux command line environment, which is much easier to work with than editors such as Vi Editor and VIM Editor. But the nano editor is very practical and fast at the same time, and it has become a popular editor today.
Join us now by learning how to work with Nano editor and install it in different Linux distributions.
Working with nano editor in Linux
The nano editor is installed by default in new versions of Ubuntu and Debian distributions, and you don’t need to enter a command to install it, but some proprietary versions or RHEL distributions need to install the nano editor first.
So, Let’s check the command for the installation Nano editor first.
Install Nano editor on AlmaLinux, Rocky Linux, CentOS, RHEL
If you use Linux like Almalinux, Rocky Linux, or CentOS Which uses dnf or yum package manager, you can use the below command for installation of Nano editor.
#Nano editor installation with yum
yum install -y nano

#Nano editor installation with dnf
dnf install -y nano
Note: If you want to know the difference between these two package managers, you can refer to the Differences between YUM and DNF package managers.
Install Nano Editor on Debian, Ubuntu
Buy if you use Debian or Ubuntu or other Linux distributions that use apt or apt-get command for package manager. you can use the below command.
#Nano editor installation with apt
apt install -y nano

#Nano editor installation with apt-get
apt-get install -y nano
Note: If you do not know the difference between apt and apt-get, you can check our article about apt vs apt-get Which One Should We Use
Nano Editor tutorial in Linux
After installing the Nano editor, by simply entering the nano command, this editor will open for you.
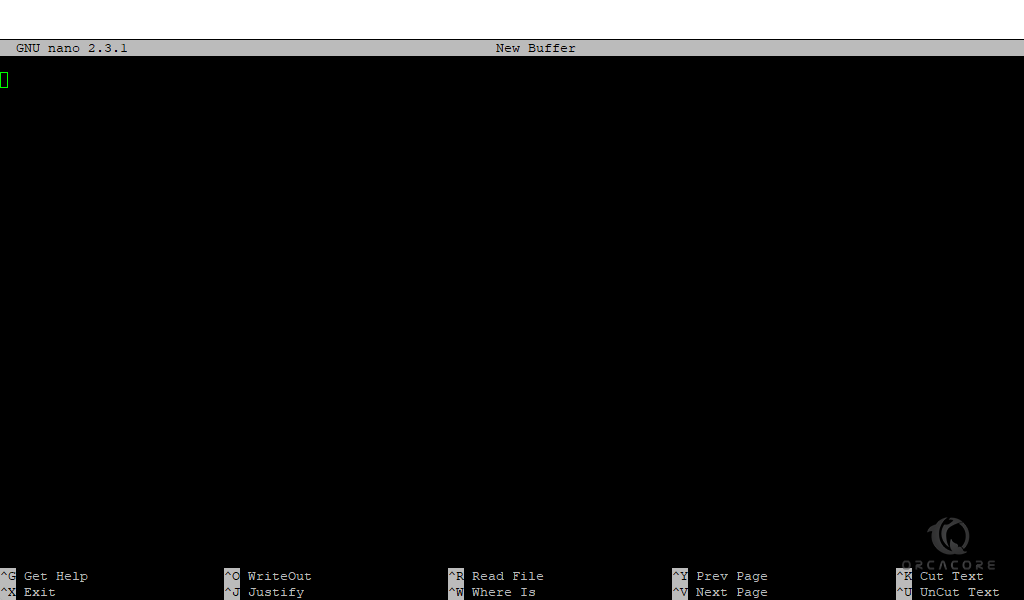
nanoAfter entering this command, the nano editor will open for you, Like the below image in the buffer.

To create a file with a specific name as a text file or any other extensions you have in mind, you need to enter the nano command along with the file name. such as below
nano orca.txtNote: By entering the above command, a file will not be created and only the nano editor with this name will be opened in the buffer for you, after saving, this file will be created with this name.
Shortcuts for working with Nano Editor
As you can see in the picture above, after opening the nano editor, you will see some shortcuts at the bottom of the terminal that have many uses. which are as follows:
Ctrl+G: Display nano editor help
Ctrl+O: Save and write the current file
Ctrl+W: Search word or words on the current file
Ctrl+K: Cut the current line and store it on the buffer
Ctrl+J: Justify the current line
Ctrl+C: Show cursor position
Ctrl+U: Paste or Uncut like from the buffer
Ctrl+B: Curser moves back to the previous character
Ctrl+F: Curser moves forward to the next character
Ctrl+Left or right arrow key: Move the cursor to the next or previous word
Ctrl+X: Exit the Nano editor
Ctrl+R: Insert another file into the current file
Ctrl+\: Replace the word or words
Ctrl+G: Go to line or column number
All these shortcuts mentioned are by pressing the CTRL button along with the letters written. Now we will introduce some practical shortcuts using the Alt button
ALT+U: Undo
Alt+E: Redo
Alt+A: Mark text
ALT+W: Repeat the last search
ALT+Arrow up or down: Search next occurrence backward or forward
These shortcuts are used with the ALT button and are very practical if you use the Nano editor.
Now, for a better understanding of Nano Editor, we are going to give some examples
Practical examples for Nano editor
Here are some practical examples of working with nano editor on Linux with the SSH terminal
Execute the command and insert the output into the current file
1- create or Open the file with nano
nano orca.txt2- Then press Ctrl+R
3- After the command line shows on the button of the terminal, you need to press CTRL+X and enter the command.
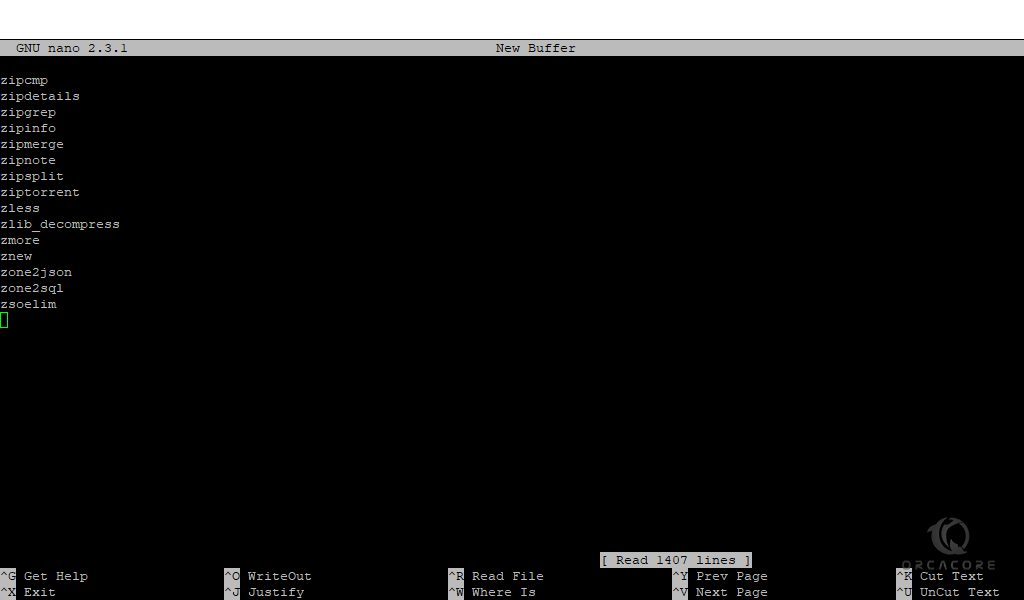
After you Enter the command, you will see the output of the command on your buffer.
For example, we entered the ls /bin command, and as you can see in the image below, the output of the command is inserted into the file.

Also, before you press CTRL+X on step 3, you can press ALT+F and insert another file into this file.
Select all on the Nano editor
If you want to select some text or all text in the nano editor, you must follow the below steps:
1- Open file with Nano editor
2- Press ALT+A to mark text enabled.
3- Then you can select any amount of the file you want with the arrow keys on the keyboard.
Copy and paste text on the Nano editor
After you select the text in the last step, just you need to press ALT+6 on your keyboard.
Then move the cursor to the line you want to paste the text, and press CTRL+U
Frequently Asked Questions about Nano Editor
What is the difference between VIM and Nano editor?
In general, both of them are file editors, but Nano is a handy and simple editor for editing files that is generally used by normal users and has limited features.
But in contrast to the Vim editor, it is a very professional editor with many features that are generally used by Linux administrators and programmers.
Do programmers use the Nano editor?
Nano editor is generally used as a simple editor, so Linux programmers and administrators generally use Vim to write scripts or programs.
Is Nano editor popular among Linux users?
maybe yes, maybe not, It depends on the type of use and the user’s needs for the editor.
Conclusion
In this article about working with the Nano editor, we talked about installing Nano in different Linux distributions and then introduced the environment and its shortcuts.
We also tried to mention practical examples by combining several shortcuts so that you can get to know more about the capabilities of this editor.
If you need more examples or questions about this editor, leave us a comment.


