Share your love
Install and Configure Mattermost on Debian 11

In this article, we want to teach you How To Install and Configure Mattermost on Debian 11. Mattermost is an open-source workplace messaging system for the web, PCs, and phones. It provides many features such as:
- archiving
- searching
- and integration with hundreds of line-of-business applications.
How To Install and Configure Mattermost on Debian 11?
Before you start to install Mattermost on Debian 11, you need to log in to your server as a non-root user with sudo privileges. To do this, you can follow our article the Initial Server Setup with Debian 11.
Now you can follow the steps below to complete this guide:
Step 1 – Set up MariaDB for Mattermost
To install Mattermost on Debian 11, you need to have MariaDB or MySQL installed on your server.
First, update your local package index with the following command:
sudo apt updateThen, you can use the following command to install MariaDB on Debian 11:
sudo apt install mariadb-serverNow you can run the script below to secure your MariaDB installation:
sudo mysql_secure_installationThis script will be asked you some questions, you can answer them as shown below:
Enter current password for root (enter for none): Press [Enter] since no password is set by default
Set root password? [Y/n]: N (Optional)
Remove anonymous users? [Y/n]: Y
Disallow root login remotely? [Y/n]: Y
Remove test database and access to it? [Y/n]: Y
Reload privilege tables now? [Y/n]: Y
At this point, you need to create a database for the Mattermost.
Create Mattermost Database User
Log in to your MariaDB shell with the command below:
sudo mysql -u root -pYou need to enter your root user password if you have set it before. And you will see the MariaDB console.
Now run the following commands from your MariaDB shell to create your Mattermost database and user:
MariaDB [(none)]> CREATE DATABASE mattermost;
MariaDB [(none)]> CREATE USER 'orca'@'%';
MariaDB [(none)]> SET PASSWORD FOR 'orca'@'%' = PASSWORD('strongpassword');
Here we named the database Mattermost and choose orca for our user. You can choose your own names.
Then, you need to give all the privileges to the Mattermost database with the command below:
MariaDB [(none)]> GRANT ALL ON mattermost.* TO 'orca'@'%' IDENTIFIED BY 'strongpassword' WITH GRANT OPTION;Next, flush the privileges:
MariaDB [(none)]> FLUSH PRIVILEGES;Now you can exit from your MariaDB console:
MariaDB [(none)]> EXIT;Step 2 – Install Mattermost on Debian 11
To download and install Mattermost on your server, first, you need to create a user and group that will run on your Mattermost server.
To do this, you can run the following command:
sudo useradd --system --user-group mattermostAt the time of writing this article, the latest version of Mattermost is 6.0.2. You can check the latest version from the Mattermost Release page. And use the following wget command to download it:
sudo wget https://releases.mattermost.com/6.0.2/mattermost-6.0.2-linux-amd64.tar.gzThen, extract your downloaded file to the opt directory with the command below:
sudo tar xvzf mattermost-6.0.2-linux-amd64.tar.gz -C /opt/Next, make a directory to store your Mattermost files on Debian 11 with the following command:
sudo mkdir /opt/mattermost/dataSet the ownership of the Mattermost with the command below:
sudo chown -R mattermost:mattermost /opt/mattermostAfter that, set the correct permissions with the following command:
sudo chmod -R g+w /opt/mattermostStep 3 – Configure Mattermost on Debian 11
Here you need to edit the Mattermost configuration file. Open the file with your favorite text editor, here we use vi:
sudo vi /opt/mattermost/config/config.jsonAt the file, you need to define your site URL and database settings as shown below:
"SiteURL": "http://mattermost.example.com", "DriverName": "MySQL", "DataSource": "orca:strongpassword@tcp(localhost:3306)/mattermost?charset=utf8mb4,utf8&readTimeout=30s&writeTimeout=30s",When you are done, save and close the file.
Now reload the systemd service to apply the changes:
sudo systemctl daemon-reloadStep 4 – Start and Enable Mattermost Service
Next, use the following commands to start and enable your service to start at boot:
# sudo systemctl start mattermost
# sudo systemctl enable mattermost
Verify that your Mattermost service is active and running on Debian 11:
sudo systemctl status mattermostIn your output you will see:
Output
mattermost.service - Mattermost
Loaded: loaded (/lib/systemd/system/mattermost.service; enabled; vendor preset: enabled)
Active: active (running) since Tue 2021-12-28 04:38:36 EST; 1min 1s ago
Main PID: 5027 (mattermost)
Tasks: 33 (limit: 2340)
Memory: 268.2M
CPU: 12.306s
CGroup: /system.slice/mattermost.service
├─5027 /opt/mattermost/bin/mattermost
├─5054 plugins/com.mattermost.plugin-channel-export/server/dist/plugin-linux-amd64
├─5055 plugins/com.mattermost.nps/server/dist/plugin-linux-amd64
└─5068 plugins/focalboard/server/dist/plugin-linux-amd64
Step 5 – Configure Apache as a Reverse Proxy for Mattermost
At this point, that you have installed Mattermost on Debian 11, you need to configure Apache as a reverse proxy for Mattermost.
First, install Apache on Debian 11 with the following command:
sudo apt install apache2Then, you need to enable Apache modules with the commands below:
sudo a2enmod rewrite
sudo a2enmod proxy
sudo a2enmod proxy_http
sudo a2enmod proxy_wstunnel
Next, you need to create an Apache virtual host configuration file. Create and open the file with your favorite text editor, here we use vi:
sudo vi /etc/apache2/sites-available/mattermost.confAdd the following contents to the file:
<VirtualHost *:80>

ServerAdmin admin@example.com
ServerName mattermost.example.com

ProxyPreserveHost On

RewriteEngine On
RewriteCond %{REQUEST_URI} /api/v[0-9]+/(users/)?websocket [NC]
RewriteCond %{HTTP:UPGRADE} ^WebSocket$ [NC]
RewriteCond %{HTTP:CONNECTION} \bUpgrade\b [NC]
RewriteRule .* ws://127.0.0.1:8065%{REQUEST_URI} [P,QSA,L]

<Location />
Require all granted
ProxyPass http://127.0.0.1:8065/
ProxyPassReverse http://127.0.0.1:8065/
ProxyPassReverseCookieDomain 127.0.0.1 mattermost.example.com
</Location>

</VirtualHost>
Remember to replace the domain names with your own in the file.
When you are done, save and close the file.
Now activate Apache virtual host file with the following command:
sudo ln -s /etc/apache2/sites-available/mattermost.conf /etc/apache2/sites-enabled/mattermost.confRestart Apache to apply the changes:
sudo systemctl restart apache2Step 6 – How To Access Mattermost Dashboard?
At this point, you can access the Mattermost web interface by typing your server’s IP address or your domain name in your web browser:
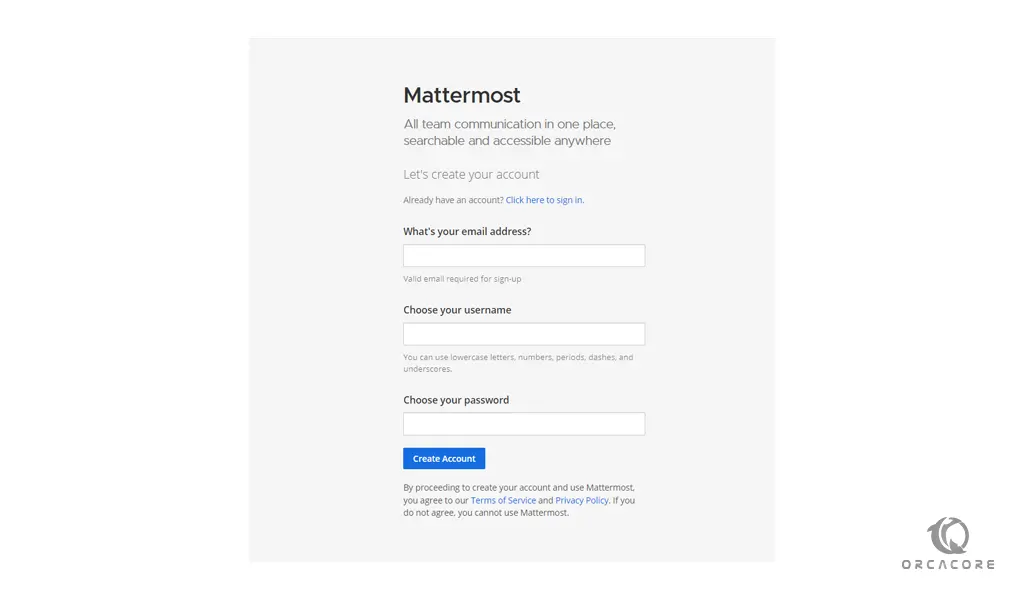
http://your-domain-nameYou will see the Mattermost create account screen, fill in the options and click on create account:
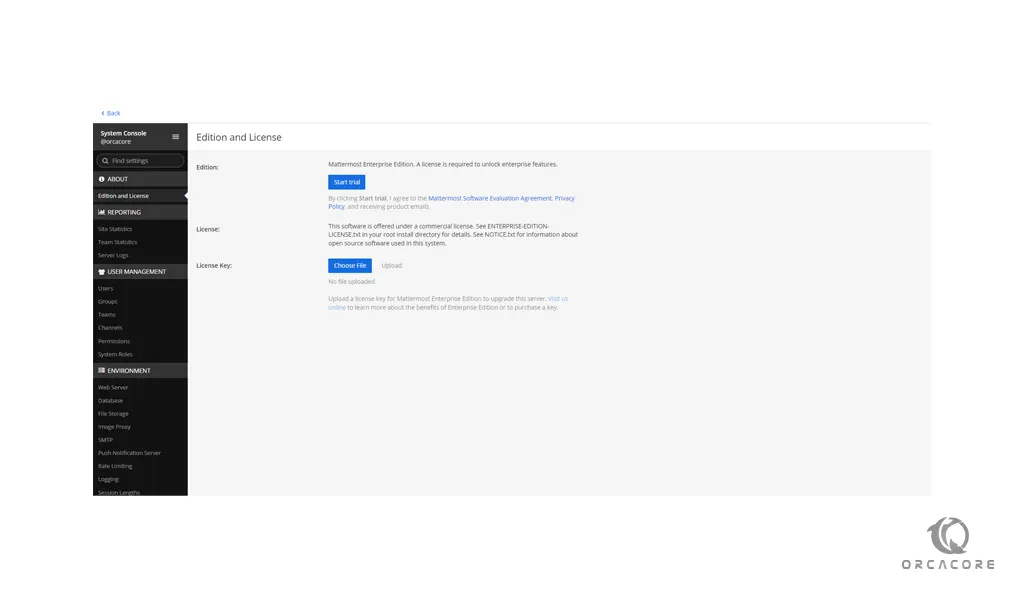
In the next window, you can create a team or go to your system console:

If you click on the system console you will see your Mattermost system console:
That’s it you’re done.
Conclusion
Mattermost is open source based, providing the extensibility, flexibility, and control necessary to enable permissionless innovation. At this point, you have learned to Install and configure Mattermost on Debian 11.
Hope you enjoy using it. You may be like these articles too: