Share your love
Install and Configure XAMPP on Rocky Linux 8

In this guide, we want to teach you How To Install and Configure XAMPP on Rocky Linux 8.
XAMPP is a software distribution that provides the Apache web server, MySQL database (actually MariaDB), Php, and Perl (as command-line executables and Apache modules) in one package. It is available for Windows, MAC, and Linux systems. No configuration is necessary to integrate Php with MySQL.
It is an excellent fit for this course and provides a relatively painless installation and way to manage the configuration changes. Also offered is PhpMyadmin which gives a GUI tool for managing your MySQL databases.
How To Install and Configure XAMPP on Rocky Linux 8
To install the XAMPP server, you must log in to your server as a non-root user with sudo privileges. To do this, you can follow our guide the Initial Server Setup with Rocky Linux 8.
Now follow the steps below to complete this guide.
Set up XAMPP Server on Rocky Linux 8
First, you need to update your local package index with the following command:
sudo dnf -y updateThen, install the required packages by running the command below:
sudo dnf install libnsl wgetNow you need to visit the XAMPP Downloads page and get the latest release of XAMPP matching desired PHP version for your application requirements.
wget https://downloadsapachefriends.global.ssl.fastly.net/8.1.6/xampp-linux-x64-8.1.6-0-installer.run
When your download is completed, set the correct permissions for it with the following command:
sudo chmod a+x xampp-linux-*-installer.runAt this point, use the following command to run the XAMPP script installer on Rocky Linux 8:
sudo ./xampp-linux-x64-8.1.6-0-installer.run
Select components to install:
Output
----------------------------------------------------------------------------
Welcome to the XAMPP Setup Wizard.
----------------------------------------------------------------------------
XAMPP Core Files : Y (Cannot be edited)
XAMPP Developer Files [Y/n] :y
Is the selection above correct? [Y/n]: y
----------------------------------------------------------------------------
Installation Directory
XAMPP will be installed to /opt/lampp
Press [Enter] to continue:
----------------------------------------------------------------------------
Setup is now ready to begin installing XAMPP on your computer.
Do you want to continue? [Y/n]: y
----------------------------------------------------------------------------
Please wait while Setup installs XAMPP on your computer.

Installing
0% ______________ 50% ______________ 100%
#########################################

----------------------------------------------------------------------------
Setup has finished installing XAMPP on your computer.
At this point, you need to allow everyone to access the XAMPP server on Rocky Linux 8.
Open the /opt/lamp/etc/extra/httpd-xampp.conf file and add a line ” Require all granted” and comment out or delete the line “Require local“.
vi /opt/lampp/etc/extra/httpd-xampp.conf
<Directory "/opt/lampp/phpmyadmin">
    AllowOverride AuthConfig Limit
    Require all granted
    ErrorDocument 403 /error/XAMPP_FORBIDDEN.html.var
</Directory>
When you are done, save and close the file.
Installation files of XAMPP are inside the /opt/lampp directory on Rocky Linux 8:
cd /opt/lamppTo list the usage options, run the command below:
sudo ./xampp --help
Output
Usage: xampp <action>
start Start XAMPP (Apache, MySQL and eventually others)
startapache Start only Apache
startmysql Start only MySQL
startftp Start only ProFTPD

stop Stop XAMPP (Apache, MySQL and eventually others)
stopapache Stop only Apache
stopmysql Stop only MySQL
stopftp Stop only ProFTPD

reload Reload XAMPP (Apache, MySQL and eventually others)
reloadapache Reload only Apache
reloadmysql Reload only MySQL
reloadftp Reload only ProFTPD

restart Stop and start XAMPP
security Check XAMPP's security

enablessl Enable SSL support for Apache
disablessl Disable SSL support for Apache

backup Make backup file of your XAMPP config, log and data files

oci8 Enable the oci8 extenssion

panel Starts graphical XAMPP control panel
To start the XAMPP server, use the following command:
$ cd /opt/lampp
$ sudo ./xampp start
You will get the following output:
Output
Starting XAMPP for Linux 8.1.6-0...
XAMPP: Starting Apache...ok.
XAMPP: Starting MySQL...ok.
XAMPP: Starting ProFTPD...ok.
Access XAMPP Web Interface
At this point, you can access your XAMPP on Rocky Linux 8 through the web interface. Type your server’s IP address in your web browser:
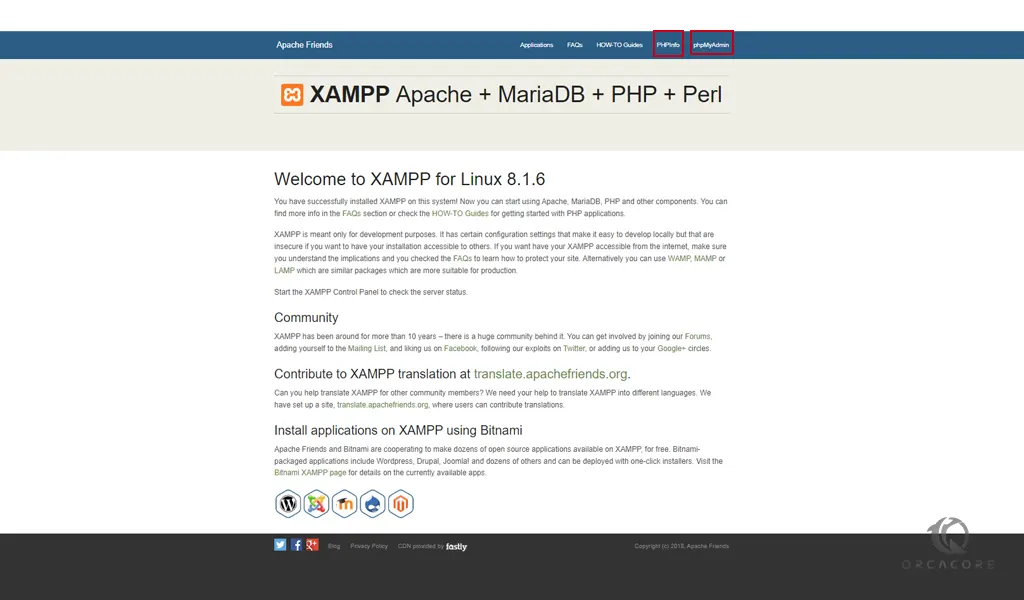
http://domain_name_OR_ip_addressYou will see your XAMPP welcome page:

To see your PHP information, you can click on the PHPInfo at the top of the screen.
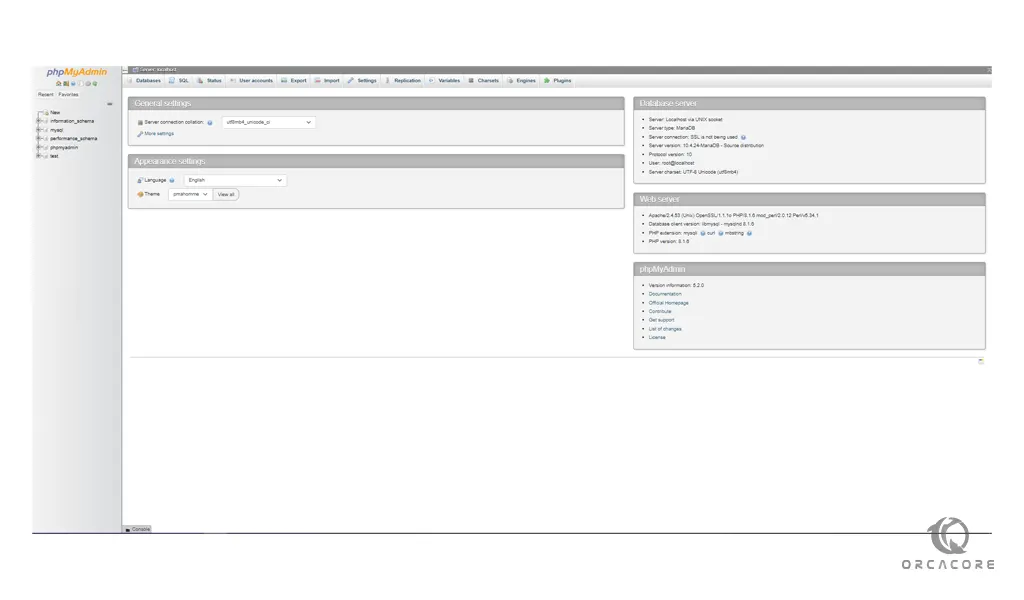
Also, to access the phpMyAdmin page you can click on the phpMyAdmin at the top of the screen.
Or you can type the URL with /phpmyadmin in the address bar:
http://domain_name_OR_ip_address/phpmyadmin
Now you have successfully installed XAMPP on your server.
Conclusion
Hope you get an idea of what is XAMPP & install XAMPP on your Rocky Linux 8. If you have any queries please feel free to comment on us. You can subscribe to us on Facebook and Twitter.


