Share your love
How To Install CouchDB on Ubuntu 20.04

In this article, we want to teach you How To Install CouchDB on Ubuntu 20.04.
Apache CouchDB is a non-relational or NoSQL database that was developed to fully embrace the web. Data is stored within JSON documents which can be accessed and its indices queried via HTTP.
How To Install CouchDB on Ubuntu 20.04
Before you start to set up CouchDB on Ubuntu 20.04, you need to log in to your server as a non-root user with sudo privileges. To do this, you can follow our article the Initial Server Setup with Ubuntu 20.04.
Now you can follow the steps below to install Apache CouchDB on your server.
Set up CouchDB on Ubuntu 20.04
First, you need to update your local package index with the following command:
sudo apt update
Now use the following command to install the CouchDB dependencies on your server:
sudo apt install -y curl apt-transport-https gnupg
Then, you need to add the CouchDB repository and import the GPG key with the following commands:
curl https://couchdb.apache.org/repo/keys.asc | gpg --dearmor | sudo tee /usr/share/keyrings/couchdb-archive-keyring.gpg >/dev/null 2>&1
source /etc/os-release
echo "deb [signed-by=/usr/share/keyrings/couchdb-archive-keyring.gpg] https://apache.jfrog.io/artifactory/couchdb-deb/ ${VERSION_CODENAME} main" \
    | sudo tee /etc/apt/sources.list.d/couchdb.list >/dev/null
Here you need to update your local package index again with the command below:
sudo apt update
Now you can use the following command to install CouchDB on your server:
sudo apt install -y couchdb
This will ask you some questions to complete the installation. You will get into the CouchDB configuration window. Read the configuration types and press the tab key to select ok:
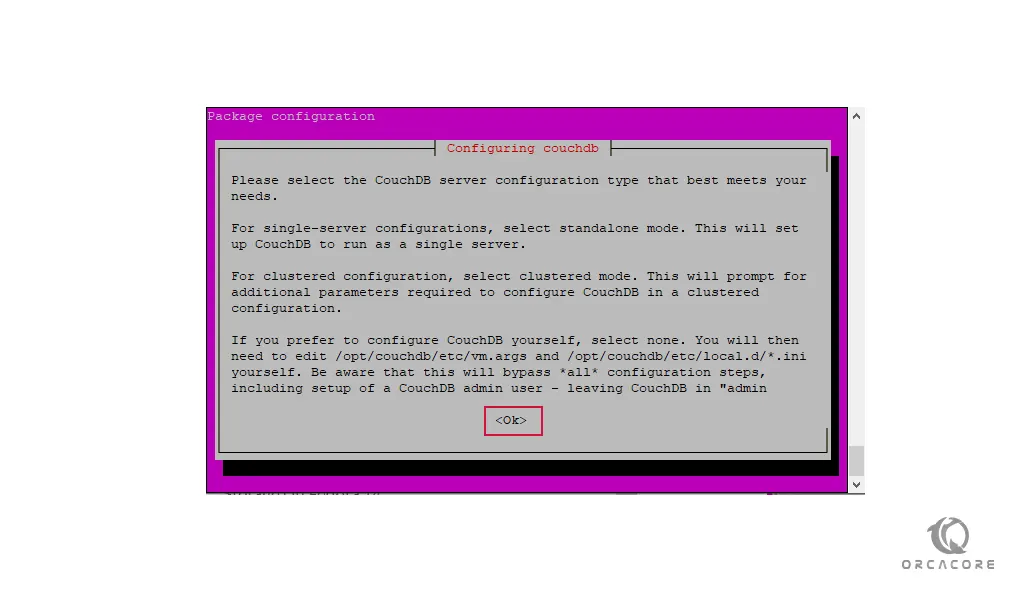
Here we want to set up CouchDB to run as a single server. For this, you need to choose the standalone mode and press ok:

As you know, CouchDB should bind to a specific network interface. For standalone nodes, the default value is 127.0.0.0. So, leave it by default and press ok:

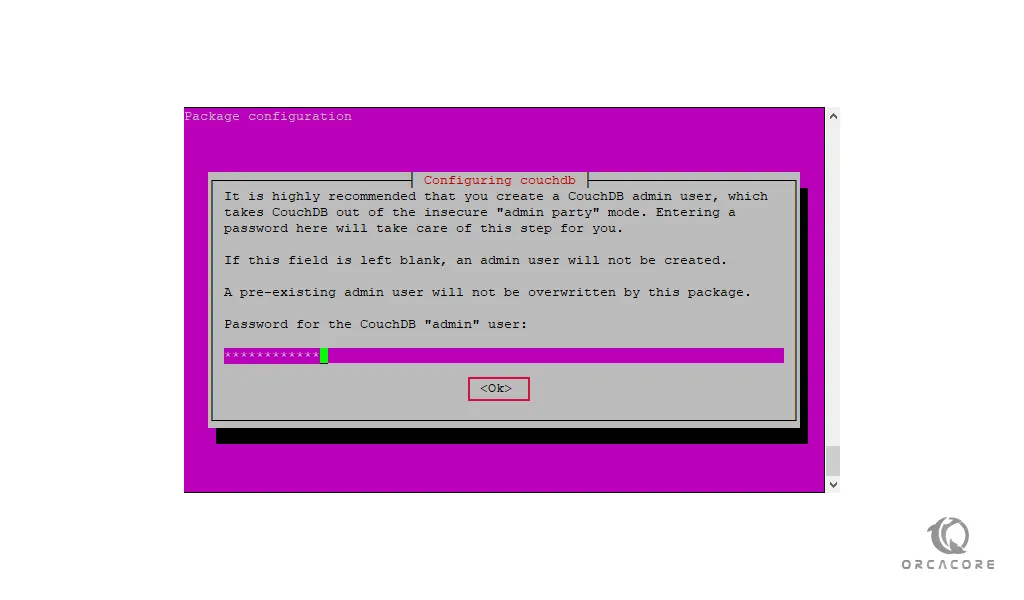
At this point, you need to create an admin user for CouchDB. By entering a strong password you will create it:
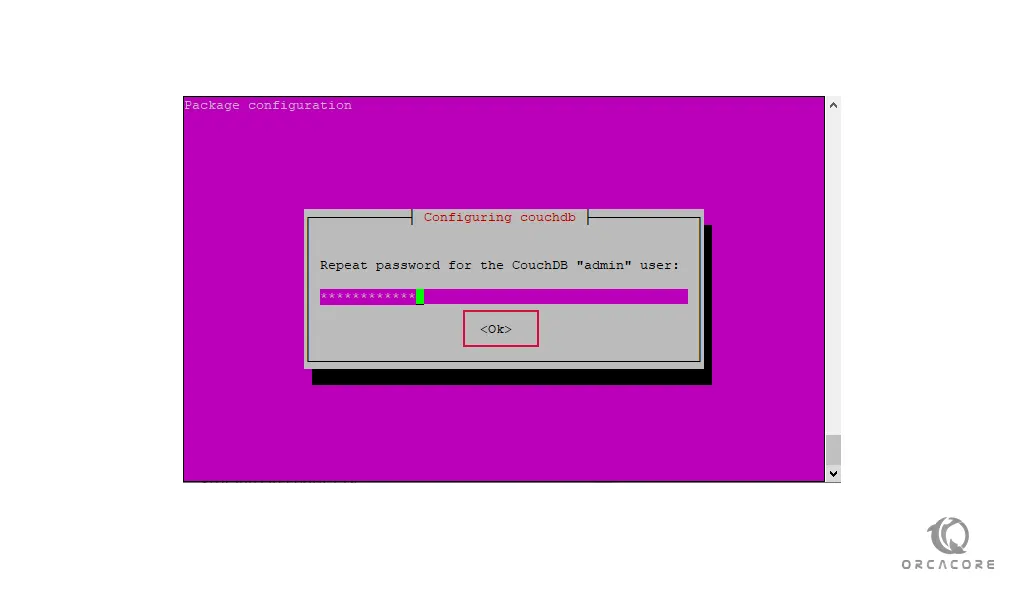
Then, you need to re-enter the password and press ok to complete your CouchDB installation on Ubuntu 20.04:
When your installation is finished, you can verify your CouchDB installation with the following command:
curl http://127.0.0.1:5984/
In your output you will see:
Output
{"couchdb":"Welcome",
"version":"3.2.1",
"git_sha":"244d428af",
"uuid":"a5f6b9577cfcfb080d2b5c176c2ed72e",
"features":["access-ready","partitioned",
"pluggable-storage-engines","reshard","scheduler"],
"vendor":{"name":"The Apache Software Foundation"}}
That’s it you have successfully installed CouchDB on your server.
Conclusion
At this point, you learn to install CouchDB on Ubuntu 20.04.
Hope you enjoy using it.