Share your love
Install Grafana on Debian 12 Bookworm: Powerful Monitoring Tool

In this guide, you will learn to Install Grafana on Debian 12 Bookworm. Easily get the Grafana Monitoring & Analytics Tool in the Latest Stable Version on Debian 12 Bookworm. By using Grafana you can study, analyze & monitor data over a period of time, technically called time-series analytics.
In this guide on the Orcacore website, we will install Grafana Enterprise, it is available for free and includes all the features of the OSS edition.
Table of Contents
Full Steps To Install Grafana on Debian 12 Bookworm
To Install Grafana on Debian 12 Bookworm, you must have access to your server as a non-root user with sudo privileges and set up a basic firewall. To do this, you can follow this guide on Initial Server Setup with Debian 12 Bookworm.
Now follow the steps below to Install Grafana on Debian 12 Bookworm.
Step 1 – Install Required Packages for Grafana
First, you must run the system update with the following command:
sudo apt updateThen, run the command below to install the required packages:
sudo apt install -y apt-transport-https software-properties-common wgetStep 2 – Add Grafana Repository Signing Key on Debian 12
At this point, you must add the Grafana GPG key to your server under /usr/share/keyrings/grafana.key directory by using the following wget command:
sudo wget -q -O /usr/share/keyrings/grafana.key https://apt.grafana.com/gpg.keyWhen you are done, proceed to the next step to add the Grafana stable repository.
Step 3 – Add Grafana Stable Repository on Debian 12
Now you need to add a repository for stable releases by using the following command on your server:
echo "deb [signed-by=/usr/share/keyrings/grafana.key] https://apt.grafana.com stable main" | sudo tee -a /etc/apt/sources.list.d/grafana.listStep 4 – Install Grafana latest Enterprise release on Debian 12
At this point, you need to run the system update and install the Grafana LTS on your server. To do this, run the following commands:
# sudo apt update
# sudo apt install grafana-enterprise -y
When your installation is completed, you can start your Grafana service.
Step 5 – Start and Enable Grafana on Debian 12
Now you can use the command below to start your Grafna service:
sudo systemctl start grafana-serverThen, enable your service to start on boot by using the command below:
sudo systemctl enable grafana-serverVerify your Grafana service is active and running on Debian 12 with the following command:
sudo systemctl status grafana-serverOutput
● grafana-server.service - Grafana instance
Loaded: loaded (/lib/systemd/system/grafana-server.service; enabled; prese>
Active: active (running) since Mon 2023-06-19 04:09:52 EDT; 1min 9s ago
Docs: http://docs.grafana.org
Main PID: 26292 (grafana)
Tasks: 12 (limit: 4653)
Memory: 77.6M
CPU: 4.843s
CGroup: /system.slice/grafana-server.service
...Step 6 – Configure UFW Firewall for Grafana
At this point, we assumed that you have enabled the UFW firewall. So you need to allow Grafana port which is port 3000 through the Debian 12 firewall with the following command:
sudo ufw allow 3000/tcpThen, reload the firewall to apply the new rules:
sudo ufw reloadNote: You check this guide on UFW Configuration on Debian 12 to get more information about the UFW firewall.
Step 7 – How To Access Grafana Dashboard through Web Interface?
Now you can access the Grafana We interface by typing your server’s IP address in your web browser followed by 3000:
http://Server_IP:3000/You will see the Grafna login screen. The default username and password is admin. Enter it and click Log in.

Then, you’re required to change immediately after authenticating. Enter your desired password and click Submit.

Next, you will see your Grafana dashboard on Debian 12.
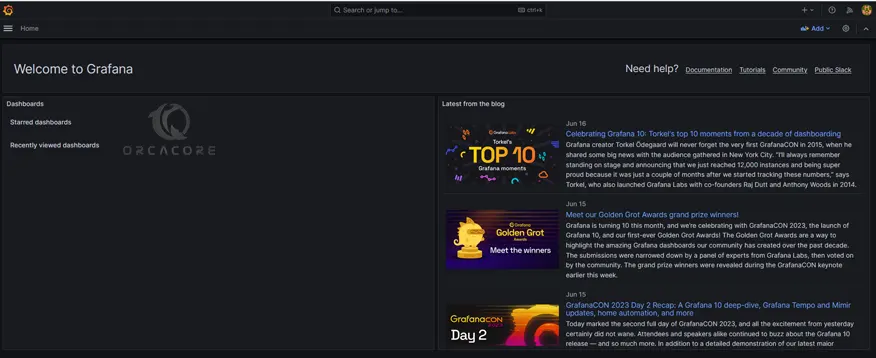
From here you can start to monitor your data. You can proceed to the next step to create your first dashboard with Grafana.
Step 8 – How To Create a Dashboard with Grafana?
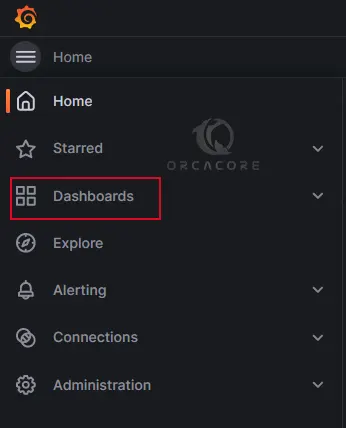
To create your first dashboard, click Dashboards in the left-side menu.
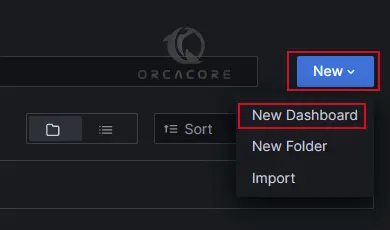
Then, click New and select New Dashboard from the dropdown menu.
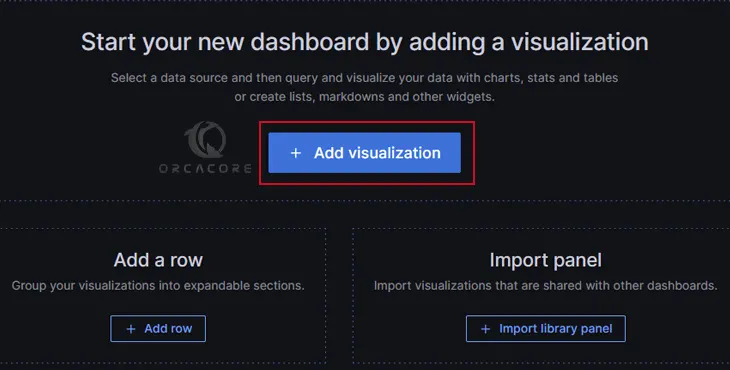
Next, click on + Add visualization.
From the data source, click — Grafana —.
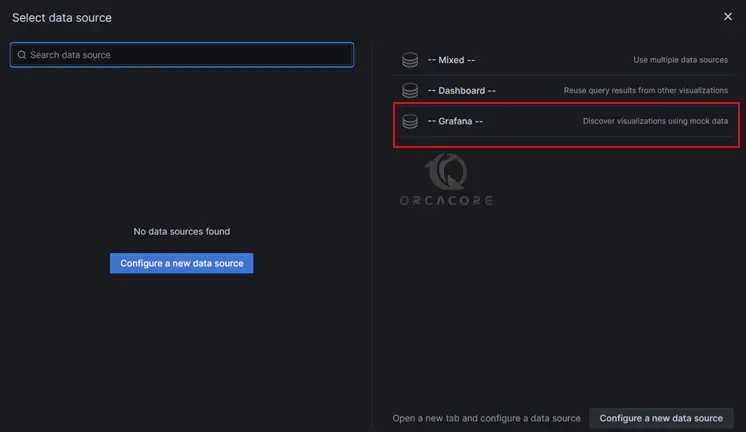
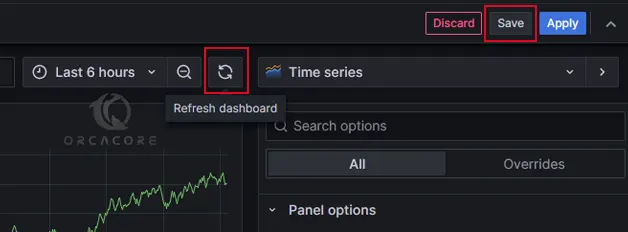
This configures your query and generates the Random Walk dashboard. Click the Refresh dashboard icon to query the data source. And click Save to save the dashboard.
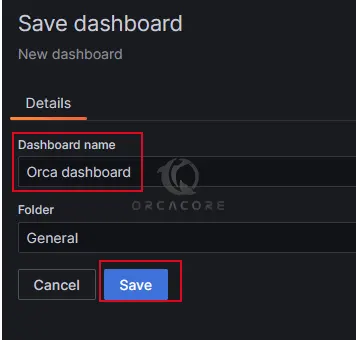
Enter a name for your password and click save.
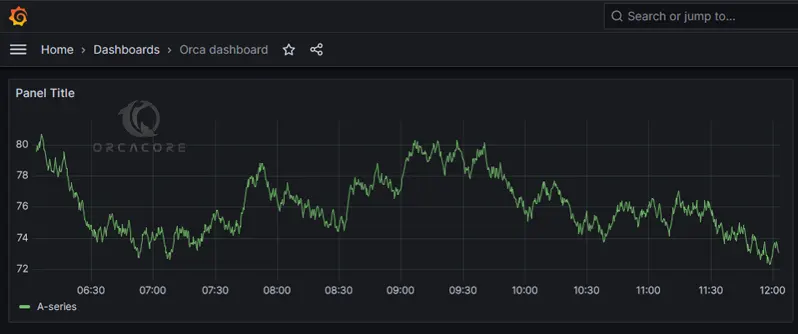
That’s it, you have created your first dashboard with Grafana.
For more information, you can visit the Grafana Documentation page.
Conclusion
At this point, you have learned to Install and Configure the Grafana Monitoring & Analitycs Tool in the Latest Stable Version on Debian 12 Bookworm. Also, you have learned to build your first dashboard by using Grafana.
Hope you enjoy it. Please Subscribe to us on Facebook, Instagram, and Twitter.