Share your love
How To Install LEMP Stack on Rocky Linux 8
In this guide, we intend to teach you How To Install LEMP Stack on Rocky Linux 8.
LEMP is an open-source web application stack used to develop web applications. The term LEMP is an acronym that represents L for the Linux Operating system, Nginx (pronounced as engine-x, hence the E in the acronym) web server, M for MySQL database, and P for PHP scripting language.
In this article, we use MariaDB instead of MySQL.
How To Install LEMP Stack on Rocky Linux 8
To install the LEMP stack on Rocky Linux 8 you need some requirements.
You need to log in to your server as a non-root user and set up a basic firewall. To do this, you can check our article about the Initial server setup with Rocky Linux 8.
Installing Nginx on Rocky Linux 8
To install Nginx you need to update and upgrade DNF packages with the following command:
sudo dnf update && sudo dnf upgrade
Then, install Nginx with the following command:
sudo dnf install nginx -y
After your installation is completed, run the command below to enable and start the Nginx on Rocky Linux 8:
sudo systemctl start nginx
At this point, we assumed that you are done with the requirements for setting up a basic firewall.
Now you need to allow connections to Nginx on Rocky Linux 8. Enable HTTP connections, which run on port 80 with the following command:
sudo firewall-cmd --permanent --add-service=http
Verify the changes with the following command:
sudo firewall-cmd --permanent --list-all
In your output, you will see:
Output
public
target: default
icmp-block-inversion: no
interfaces:
sources:
services: cockpit dhcpv6-client http ssh
ports:
protocols:
masquerade: no
forward-ports:
source-ports:
icmp-blocks:
rich rules:
Here you need to reload the firewall configuration by using the following command:
sudo firewall-cmd --reload
Now you can test that your Nginx web server is up and running. to do this you need your server’s public IP address.
You can get your public IP address with the following command:
ip addr show eth0 | grep inet | awk '{ print $2; }' | sed 's/\/.*$//'
Or, you can use the curl tool to get your IP:
curl -4 icanhazip.com
Then, type your IP address in your web browser to access Nginx’s default landing page.
http://your_server_IP_address
If you see this page, means that your service is installed correctly.
At this point, The installation of Nginx of the LEMP stack on Rocky Linux 8 is finished.
Let’s start to install MariaDB.
Installing MariaDB on Rocky Linux 8
Here you need to install a database system to be able to store and manage data for your site.
Install MariaDB on Rocky Linux 8 with the following command:
sudo dnf install mariadb-server
When the installation of MariaDB is finished, enable and start the service with the following command:
sudo systemctl start mariadb
At this step, it’s recommended to run a security script that comes pre-installed with MariaDB to improve the security of your database server.
Run the following command:
sudo mysql_secure_installation
You will be asked some questions. the first prompt will ask you to enter the current database root password. Because you just installed MariaDB and haven’t made any configuration changes yet, just press Enter to leave it blank.
The next question is to set up a new root password.
From here, you can press ‘Y’ and press enter to accept the defaults for all the subsequent questions.
Connect to the database instance using the credentials for the root user set in the previous step.
sudo mysql -u root -p
Install and Configure PHP on Rocky Linux 8
The next step is to install PHP and some of the necessary PHP extensions on Rocky Linux 8
By default, the Rocky Linux App stream repo has PHP versions from PHP 7.2 to PHP 7.4. You can verify this by running the command below:
dnf module list php
Output
Rocky Linux 8 - AppStream
Name                      Stream                   Profiles                                    Summary
php                       7.2 [d][e]               common [d], devel, minimal                  PHP scripting language
php                       7.3                      common [d], devel, minimal                  PHP scripting language
php                       7.4                      common [d], devel, minimal                  PHP scripting language

Hint: [d]efault, [e]nabled, [x]disabled, [i]nstalled
Now you can install PHP 7.4 on Rocky Linux 8 with the following command:
sudo dnf -y module install php:7.4
Verify your PHP installation by checking its version:
php -v
Output
PHP 7.4.6 (cli) (built: May 12 2020 08:09:15) ( NTS )
Copyright (c) The PHP Group
Zend Engine v3.4.0, Copyright (c) Zend Technologies
At this point, you need to install PHP modules:
sudo dnf -y install php php-fpm php-mysqlnd php-opcache php-gd php-xml php-mbstring php-zip
Then, you need to configure PHP-FPM to change the user from Apache to Nginx.
Open the /etc/php-fpm.d/www.conf configuration file with your favorite text editor. here we use vi text editor:
sudo vi /etc/php-fpm.d/www.conf
Find the user and group lines and change their value to Nginx:
…
; RPM: apache user chosen to provide access to the same directories as httpd
user = nginx
; RPM: Keep a group allowed to write in log dir.
group = nginx
…
when you are finished save and close the file with “:wq”.
Enable and start the php-fpm service with the following command:
sudo systemctl start php-fpm
Now, Set ownership of the Html directory with the $USER environmental variable by the following command:
sudo chown -R $USER:$USER /usr/share/nginx/html/
You can create a test PHP page to make sure that your web server is working correctly.
To do this you need to create a new PHP file named info.php at /usr/share/nginx/html/ directory.
vi /usr/share/nginx/html/info.php
Add the following PHP code to the file:
<?php
phpinfo();
When you are done, save and close the file.
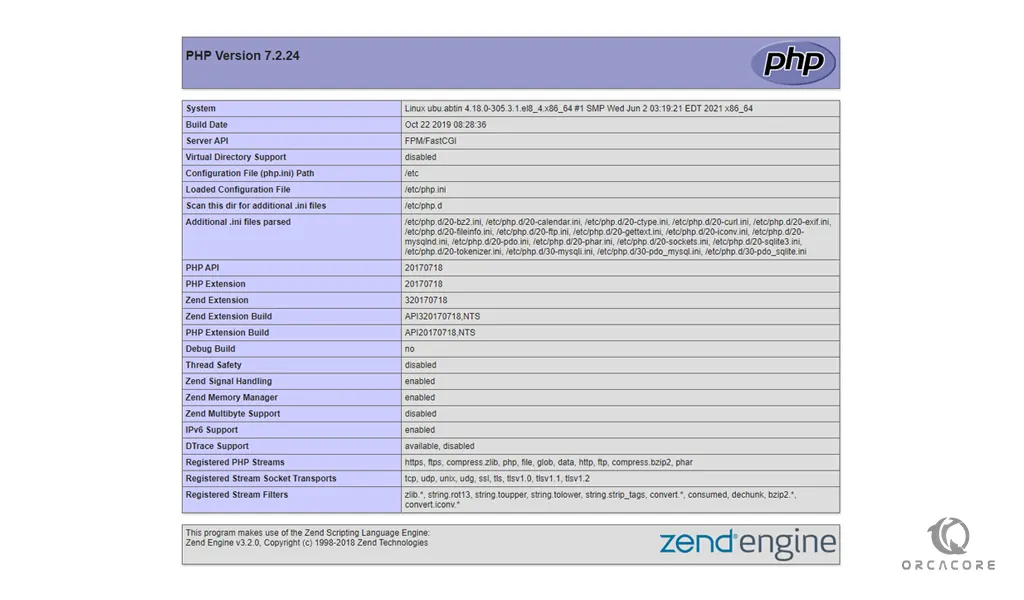
you can type your server name or IP address in your web browser followed by /info.php:
http://server_host_or_IP/info.php
You should see a page similar to this:
After you check your PHP test page it’s better to remove it. you can use the following command:
rm /usr/share/nginx/html/info.php
Here, the final component of the LEMP stack on Rocky Linux 8 is finished.
Conclusion
At this point, you learn to install Nginx as your web server, MariaDB database to store your data, and PHP for dynamic processing on Rocky Linux 8.
Hope you enjoy this article about How To Install LEMP Stack on Rocky Linux 8.