Share your love
How To Install LEMP Stack on Ubuntu 22.04

In this article, we want to teach you How To Install LEMP Stack on Ubuntu 22.04.
LEMP is an open-source web application stack used to develop web applications. The term LEMP is an acronym that represents L for the Linux Operating system, Nginx (pronounced as engine-x, hence the E in the acronym) web server, M for MySQL database, and P for PHP scripting language.
LEMP enjoys good community support and is used around the world in many highly scaled web applications. Nginx is the second most widely used web server in the world following Apache.
How To Install LEMP Stack on Ubuntu 22.04
Before you start to install the LEMP stack, you need to log in to your server as a non-root user with sudo privileges and set up a basic firewall. To do this, you can follow our guide the Initial Server Setup with Ubuntu 22.04.
Also, you need a domain name that pointed to your server’s IP address.
Now follow the steps below to complete this guide.
Install Nginx on Ubuntu 22.04
Nginx is available in the Ubuntu default repository. first, update the APT packages with the following command:
sudo apt update
Then, install Nginx on Ubuntu 22.04 with the following command:
sudo apt install nginx
We assumed that you have enabled the ufw firewall with the requirements. you need to allow connections to Nginx.
Check the available applications through the UFW with the following command:
sudo ufw app list
Output
Available applications:
  Nginx Full
  Nginx HTTP
  Nginx HTTPS
  OpenSSH
In this article, you only need to allow Nginx to HTTP traffic on port 80 with the following command:
sudo ufw allow 'Nginx HTTP'
Now you can verify the changes with the following command:
sudo ufw status
Your output should be similar to this:
Output
Status: active
To                         Action      From
OpenSSH                    ALLOW       Anywhere
Nginx HTTP                 ALLOW       Anywhere
OpenSSH (v6)               ALLOW       Anywhere (v6)
Nginx HTTP (v6)            ALLOW       Anywhere (v6)
Now you can test that your Nginx web server is up and running by typing your domain name or your server’s public IP address in your web browser.
If you don’t have a domain name that pointed to your domain name, you can use your server’s public IP address.
To get your IP address you can use the following command:
hostname -I
Or you can use the curl tool to get it:
curl -4 icanhazip.com
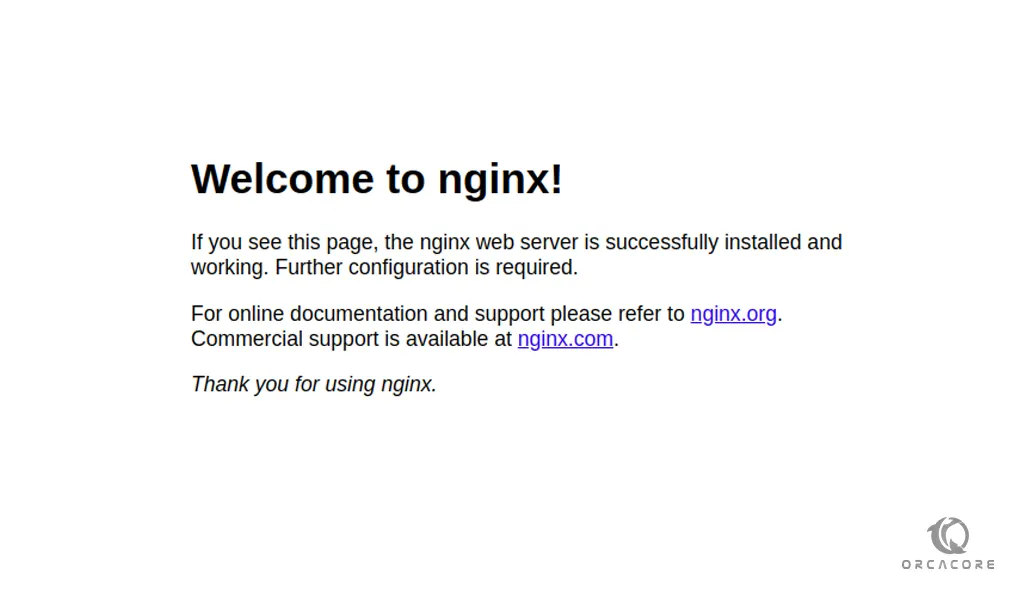
Now you can access Nginx’s default landing page by typing the IP address that you have got in your web browser:
http://your_domain_or_IPIf you see this page, means that your web server is successfully installed and HTTP traffic is enabled for it.

At this point, you are done with installing Nginx the first part of the LEMP stack on Ubuntu 22.04. Let’s start to install MySQL on Ubuntu 22.04.
Install MySQL on Ubuntu 22.04
Here, you need to install MySQL the database system to store and manage data for your site with the following command:
sudo apt install mysql-server
For more security, it’s recommended that run a security script that comes with the pre-installation of MySQL:
sudo mysql_secure_installation
You will be asked some questions. The first is to configure VALIDATE PASSWORD PLUGIN. you can leave it blank safely. but if you choose to set a password for it choose a strong one.
Next, is to set a password for the MySQL root user. from there you can press Y for the rest of the questions to accept the defaults.
When you are finished, log in to your MySQL console with the following command:
sudo mysql
Then you can exit from the MySQL console with the following command:
mysql> exit
At this point, you are done with installing MySQL the second part of the LEMP stack on Ubuntu 22.04. Let’s start to install PHP on Ubuntu 22.04.
Install PHP on Ubuntu 22.04
You have Nginx installed to serve your content and MySQL installed to store and manage your data. Now you can install PHP to process code and generate dynamic content for the webserver.
You can install PHP and its dependencies with the following command:
sudo apt install php8.1-fpm php-mysql
Now you need to configure Nginx to use the PHP components.
Configure Nginx to use PHP components
You can create Nginx server blocks that are similar to Apache virtual hosts.
First, create the root web directory for your domain with the following command:
sudo mkdir /var/www/your-domainThen, assign ownership of the directory with the $USER environment variable with the following command:
sudo chown -R $USER:$USER /var/www/your-domainNext, open a new configuration file in the Nginx’s sites-available directory with your favorite text editor, here we use vi:
sudo vi /etc/nginx/sites-available/your-domainThen, add the following bare-bones configuration into the file:
server {
    listen 80;
    server_name your_domain www.your_domain;
    root /var/www/your_domain;

    index index.html index.htm index.php;

    location / {
        try_files $uri $uri/ =404;
    }

    location ~ \.php$ {
        include snippets/fastcgi-php.conf;
        fastcgi_pass unix:/var/run/php/php8.1-fpm.sock;
     }

    location ~ /\.ht {
        deny all;
    }

}
When you are finished, save and close the file.
Now you need to activate your configuration by linking to the config file from Nginx’s sites-enabled directory with the following command:
sudo ln -s /etc/nginx/sites-available/your-domain /etc/nginx/sites-enabled/You can test your configuration for no syntax error with the following command:
sudo nginx -t
In your output you should see:
Output
nginx: the configuration file /etc/nginx/nginx.conf syntax is ok
nginx: configuration file /etc/nginx/nginx.conf test is successful
If you see errors, open the file again and check for typos and missing characters.
To apply these changes reload Nginx:
sudo systemctl reload nginx
Now you need to create a file in the webroot named index.htm, so that you can test your new server blocks:
vi /var/www/your-domain/index.htmlThen, add the following content to your file:
<html>
  <head>
    <title>your_domain website</title>
  </head>
  <body>
    <h1>Hello World!</h1>

    <p>This is the landing page of <strong>your_domain</strong>.</p>
  </body>
</html>
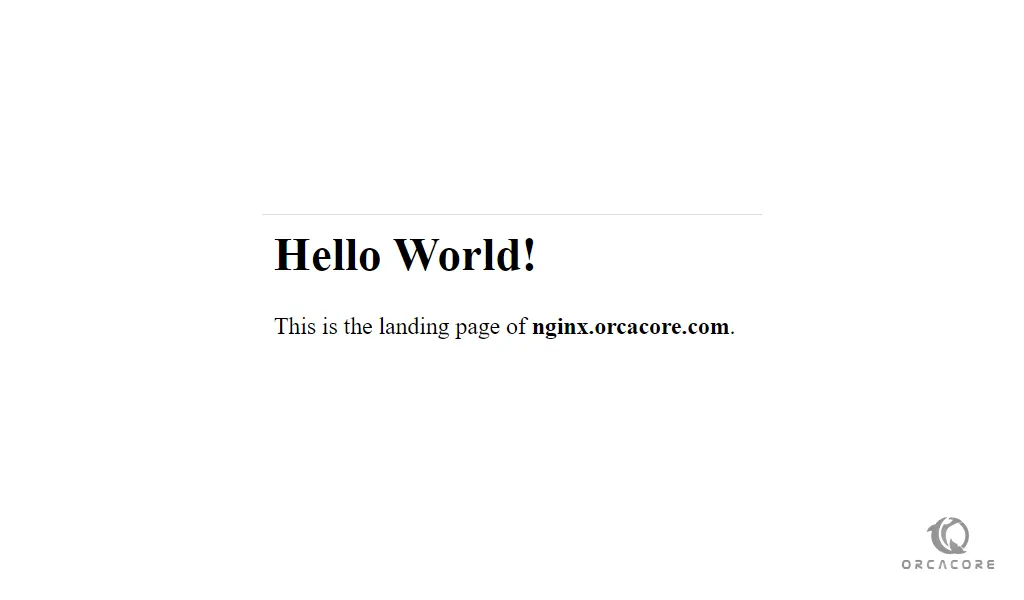
Now type your domain name or IP address in your web browser:
http://your_domain_or_IP
You will see a page like this:
If you see this page, means that your server blocks work correctly.
Now your LEMP stack is fully configured on Ubuntu 22.04.
In the next step, you need to create a PHP script to test that Nginx is able to handle PHP files.
How To Test PHP with Nginx on Ubuntu 22.04
The LEMP stack should now be completely set up on Ubuntu 22.04. you can test it to validate that Nginx is able to hand .php files.
Create a file in the webroot directory named info.php with the following command:
vi /var/www/your-domain/info.phpAdd the following PHP code to the file:
<?php
phpinfo();
Save and close the file, when you are finished.
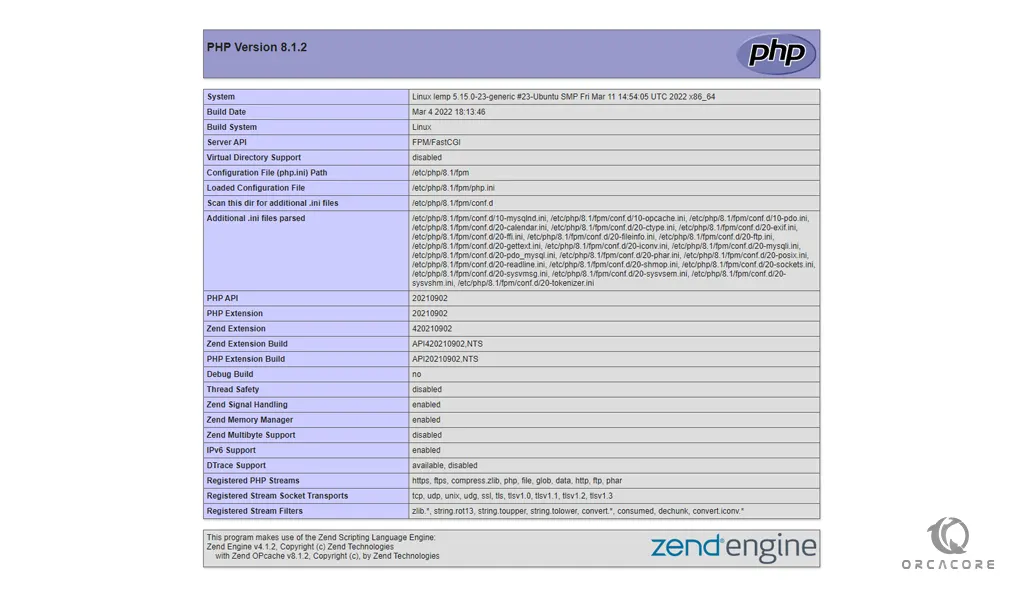
you can access the PHP information page by visiting the domain name or public IP address you’ve set up in your Nginx configuration file, followed by info.php:
http://your_domain_or_IP/info.php
After checking the information about your PHP server, it’s recommended to remove it for more security.
sudo rm /var/www/your-domain/info.phpConclusion
At this point, you learn to Install LEMP Stack on ubuntu 22.04.
Hope you enjoy it.
If you run an Apache web server, you can check our guide How To Install LAMP Stack on Ubuntu 22.04.


