Share your love
Install Nginx Web Server on AlmaLinux 9

In this guide from the Orcacore website, we intend to teach you How To Install Nginx Web Server on AlmaLinux 9. NGINX is a popular open-source web server that also acts as an email proxy, reverse proxy, and load balancer. The software’s structure is asynchronous and event-driven, which enables the processing of many requests at the same time. NGINX is highly scalable as well, meaning that its service grows along with its clients’ traffic.
Table of Contents
Steps To Install Nginx Web Server on AlmaLinux 9
To complete this guide, you must log in to your server as a non-root user with sudo privileges and set up a basic firewall. To do this, you can follow our guide on the Initial Server Setup with AlmaLinux 9.
Also, you need a Domain Name that points to your server’s IP address.
1. Install Nginx on AlmaLinux 9
First, update your local package index with the following command:
sudo dnf update -yThen, use the command below to install the Nginx web server:
sudo dnf install nginx -yOutput
Installed:
almalinux-logos-httpd-90.5.1-1.1.el9.noarch
nginx-1:1.20.1-10.el9.alma.x86_64
nginx-filesystem-1:1.20.1-10.el9.alma.noarch
Complete!When your installation is finished, run the commands below to enable and start the Nginx web server:
# sudo systemctl enable nginx
# sudo systemctl start nginx
Verify that your Nginx web server is active and running on AlmaLinux 9:
sudo systemctl status nginxOutput
● nginx.service - The nginx HTTP and reverse proxy server
Loaded: loaded (/usr/lib/systemd/system/nginx.service; enabled; vendor pre>
Active: active (running) since Mon 2022-09-19 04:17:16 EDT; 36s ago
Process: 4568 ExecStartPre=/usr/bin/rm -f /run/nginx.pid (code=exited, stat>
Process: 4569 ExecStartPre=/usr/sbin/nginx -t (code=exited, status=0/SUCCES>
Process: 4570 ExecStart=/usr/sbin/nginx (code=exited, status=0/SUCCESS)
Main PID: 4571 (nginx)
Tasks: 3 (limit: 23609)
Memory: 2.8M
CPU: 34ms
...2. Configure Firewall For Nginx Web Server
At this point, we assumed that you have enabled the firewalld in the requirements part. Now you need to enable HTTP connections with the following command:
sudo firewall-cmd --permanent --add-service=httpThen, check that the HTTP firewall service was added correctly with the following command:
sudo firewall-cmd --permanent --list-allOutput
public
target: default
icmp-block-inversion: no
interfaces:
sources:
services: cockpit dhcpv6-client http ssh
ports:
protocols:
forward: yes
masquerade: no
forward-ports:
source-ports:
icmp-blocks:
rich rules:Now reload the firewall to apply the changes:
sudo firewall-cmd --reloadNow your Nginx web server is installed on AlmaLinux 9. Let’s check that your web server is up and running.
Access Default Nginx Landing Page
At this point, you can check that your server is up and running with your server’s public IP address. If you don’t have your server’s public IP address, you can get it with the following command:
hostname -IOr you can use the curl tool to get your IP from icanhazip.com with the following command:
curl -4 icanhazip.comThen, type your IP address in your web browser to access the default Nginx page.
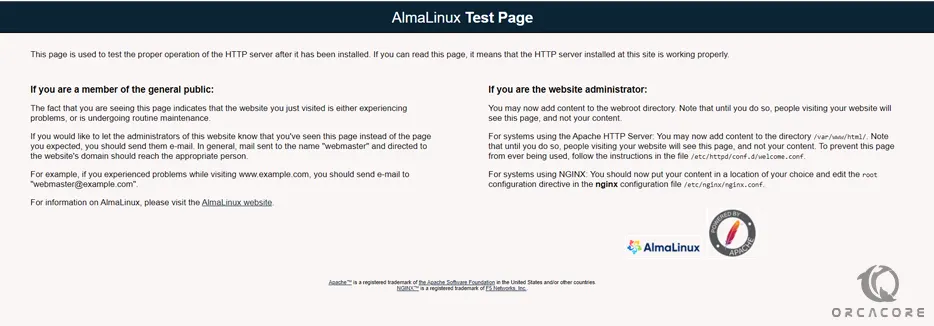
http://your_server_IP_addressIf you see this page means that your Nginx web server is correctly installed and it is up and running on AlmaLinux 9.
3. Manage Nginx Process on AlmaLinux 9
Now that you have your web server up and running, you can manage the Nginx process on AlmaLinux 9.
To stop your web server, you can use the following command:
sudo systemctl stop nginxWhen your Nginx web server is stopped, you can start it again with the following command:
sudo systemctl start nginxTo stop and start the service again, you can use the command below:
sudo systemctl restart nginxYou need to reload the Nginx web server when you have made configuration changes on AlmaLinux 9. To do this, you can run the following command:
sudo systemctl reload nginxNginx is configured to start automatically when the server boots. If you don’t want this to happen, run the following command:
sudo systemctl disable nginxTo make Nginx start at boot again, you can use the following command:
sudo systemctl enable nginxNow you can set up server blocks to host multiple websites within the same Nginx web server on AlmaLinux 9. Let’s see how it works.
4. Set up Nginx Server Blocks on AlmaLinux 9
Nginx server blocks are the same as Apache virtual hosts, allowing a single server to respond to multiple domain names and serve different content for each of them.
First, you need to create a directory for your domain with the following command:
sudo mkdir -p /var/www/your-domain/htmlThen, you need to assign ownership of the directory with the $USER environment variable, which should reference your current system user with the following command:
sudo chown -R $USER:$USER /var/www/your-domain/htmlHere, you need to create a sample index.html page to test the server block configuration. Here we use the vi text editor to create it, you can use your favorite text editor:
sudo vi /var/www/your-domain/html/index.htmlThen, add the following HTML code to the file:
<html>
<head>
<title>Welcome to your-domain</title>
</head>
<body>
<h1>Success! Your Nginx server is successfully configured for <em>your-domain</em>. </h1>
<p>This is a sample page.</p>
</body>
</html>
Save and close your file when you are finished.
At this point, you need to create a server block with the correct directives that point to your custom webroot.
Create a new server block at /etc/nginx/conf.d/your-domain.conf:
sudo vi /etc/nginx/conf.d/your-domain.confNow paste in the following configuration block:
server {
 listen 80;
 listen [::]:80;

 root /var/www/your-domain/;

  index index.html index.htm index.nginx-debian.html;
  server_name your-domain www.your-domain;

 location / {
  try_files $uri $uri/ =404;
 }
}
When you are done with this, save and close the file.
Run the following command to make sure that there are no syntax errors in any of your Nginx files on AlmaLinux 9:
sudo nginx -tIn your output, you should see:
Output
nginx: the configuration file /etc/nginx/nginx.conf syntax is ok
nginx: configuration file /etc/nginx/nginx.conf test is successful
To enable your changes, restart Nginx with the following command:
sudo systemctl restart nginxYou need to allow your custom document root to be served as HTTP content. To do this, run the following command:
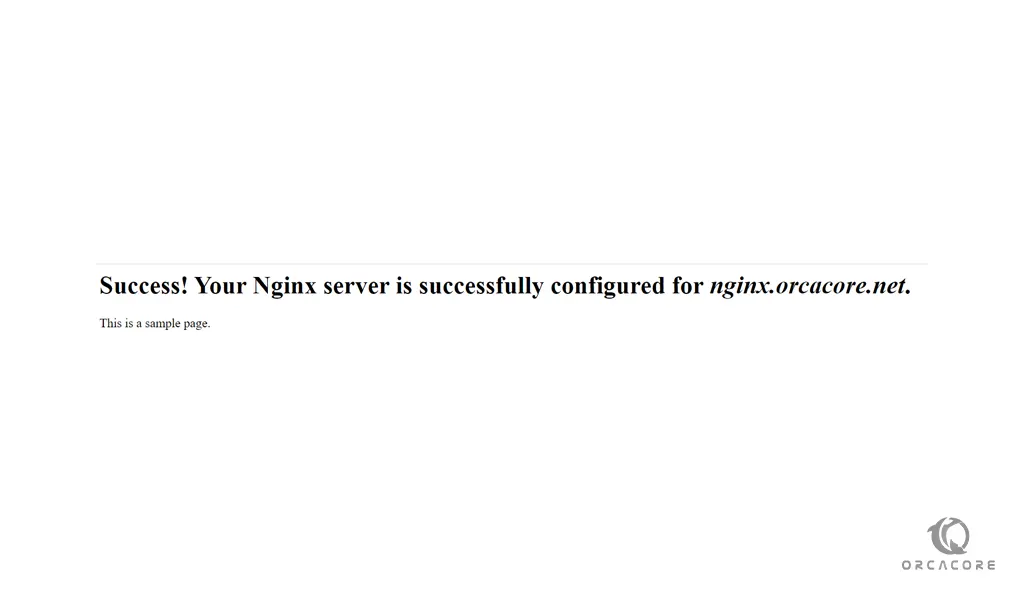
chcon -vR system_u:object_r:httpd_sys_content_t:s0 /var/www/your-domain/Now you can test your custom domain setup by typing your domain name in your web browser:
http://your_domain_nameIf you see the page below, it means that your Nginx server is correctly configured to serve your domain.
That’s it, you are done.
Conclusion
Installing Nginx on AlmaLinux 9 and setting up server blocks allows you to efficiently host multiple websites on a single server. It provides a high-performance, scalable, and flexible web hosting solution with easy domain management.
Hope you enjoy it. Please subscribe to us on Facebook, X, and YouTube.
You may also like to read the following articles:
Ubuntu 24.04 Nginx Reverse Proxy Setup