Share your love
Easy Steps To Install VirtualBox on Rocky Linux 8
In this guide, we want to teach you to Install VirtualBox on Rocky Linux 8. Oracle VM VirtualBox is a free, open-source, cross-platform application for creating, managing, and running virtual machines (VMs). Virtual machines are computers whose hardware components are emulated by the host computer.
Oracle VirtualBox enables you to set up one or more virtual machines (VMs) on a single physical machine and use them simultaneously, along with the actual machine. Each virtual machine can execute its own operating system, including Microsoft Windows, Linux, BSD, and MS-DOS versions. You can install and run as many virtual machines as you like – the only practical limits are disk space and memory.
You can now proceed to the following steps on the Orcacore website to set up VirtualBox on Rocky Linux 8.
Table of Contents
Install Oracle VM VirtualBox on Rocky Linux 8
To install VirtualBox, you must log in to your server as a non-root user with sudo privileges. To do this, you can follow our guide the Initial Server Setup with Rocky Linux 8.
Also, to run a 64-bit virtual machine’s operating systems, make sure your system processor supports hardware virtualization (VT) and is enabled in BIOS. The host operating system must be 64-bit as well. You can check this by running the command below:
egrep -c '(vmx|svm)' /proc/cpuinfoYour output must be a non-zero result.
1. Install VirtualBox on Rocky Linux 8
By default, VirtualBox packages aren’t available in the default Rocky Linux repository. So you need to add it manually to your server. To do this, you can use the following command:
sudo dnf config-manager --add-repo=https://download.virtualbox.org/virtualbox/rpm/el/virtualbox.repo
Then, update your local package index with the following command:
sudo dnf update -y
List Available Versions of VirtualBox
At this point, you can list available versions of VirtualBox on Rocky Linux 8 by running the command below:
sudo dnf search virtualbox
As you can see the latest available version of VirtualBox is 7.0. To install it on your server, run the command below:
sudo dnf install VirtualBox-7.0 -y2. Install VirtualBox Extension Pack
At this point, you can add a VirtualBox Extension pack to have support for various VirtualBox functions.
To do this, Visit the VirtualBox Downloads page, Scroll down, and find the Extension pack.
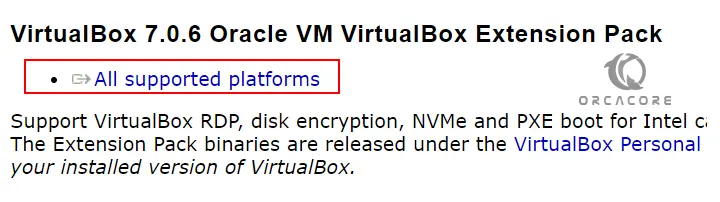
Click on All Supported Platforms to download it.
Then, from your command terminal, switch to your downloads directory:
cd DownloadsFinally, use the VBoxManage tool for the installation of the Extension Pack:
sudo VBoxManage extpack install Oracle_VM_VirtualBox_Extension_Pack-*.vbox-extpackAccept the License, when it prompts for the same.
3. Launch Oracle VM VirtualBox
At this point, you can start your VirtualBox application on Rocky Linux 8. To do this, go to Activities, click on “show Applications” and then click the icon of this open-source virtualization platform.
Also, you can launch VirtualBox from the command line. Simply type the following command:
virtualboxThat’s it. You are done.
Conclusion
At this point, you learn to Install Oracle VM VirtualBox on Rocky Linux 8. VirtualBox enables you to create and manage virtual machines (VMs) on your computer and allows you to run different operating systems in isolated environments.
Hope you enjoy it. You may also like these articles:
Set up OpenCV on Rocky Linux 8
Install and Configure Nagios on Rocky Linux 8
Automatic Updates with dnf-automatic on RHEL 8