Share your love
Install Visual Studio Code on AlmaLinux 8

This guide intends to teach you to Install Visual Studio (VS) Code on AlmaLinux 8.
Visual Studio Code (famously known as VS Code) is a free open-source text editor by Microsoft. VS Code is available for Windows, Linux, and macOS. Although the editor is relatively lightweight, it includes some powerful features that have made VS Code one of the most popular development environment tools in recent times.
VS Code supports a wide array of programming languages from Java, C++, and Python to CSS, Go, and Dockerfile. Moreover, VS Code allows you to add on and even create new extensions including code linkers, debuggers, and cloud and web development support.
Steps To Install Visual Studio Code on AlmaLinux 8
To complete this guide, you must log in to your server as a non-root user with sudo privileges. To do this, you can follow our guide on Initial Server Setup with AlmaLinux 8.
Set up VS Code on AlmaLinux 8
First, you need to update your local package index with the following command:
sudo dnf update -yInstall Development Tools
Then, install the development tools by using the command below:
sudo dnf groupinstall "Development Tools" -yVisual studio code packages are not available in the default AlmaLinux repository. So you need to add it to your server.
Import Visual Studio Code GPG key
Here you need to import the GPG key to verify the authenticity of the packages to be installed. To do this, run the command below:
sudo rpm --import https://packages.microsoft.com/keys/microsoft.ascAdd Visual Studio Code Repository
Now use the following command to import the repository on your server:
printf "[vscode]\nname=packages.microsoft.com\nbaseurl=https://packages.microsoft.com/yumrepos/vscode/\nenabled=1\ngpgcheck=1\nrepo_gpgcheck=1\ngpgkey=https://packages.microsoft.com/keys/microsoft.asc\nmetadata_expire=1h" | sudo tee -a /etc/yum.repos.d/vscode.repoOutput
[vscode]
name=packages.microsoft.com
baseurl=https://packages.microsoft.com/yumrepos/vscode/
enabled=1
gpgcheck=1
repo_gpgcheck=1
gpgkey=https://packages.microsoft.com/keys/microsoft.asc
metadata_expire=1hWhen you are done, run the system update.
Run System Update
sudo dnf update -yInstallation of VS Code on AlmaLinux 8
Now you can install Visual Studio code on AlmaLinux 8 by using the following command:
sudo dnf install code -yLaunch Visual Studio Code on AlmaLinux 8
At this point, you can use different ways to open your VS code. You can easily launch your software, by using the following command:
codeOr, you can run the code & command, which you can continue to use the terminal during the application session:
code &Also, you can open VSCode from your desktop. To do this, follow the following path:
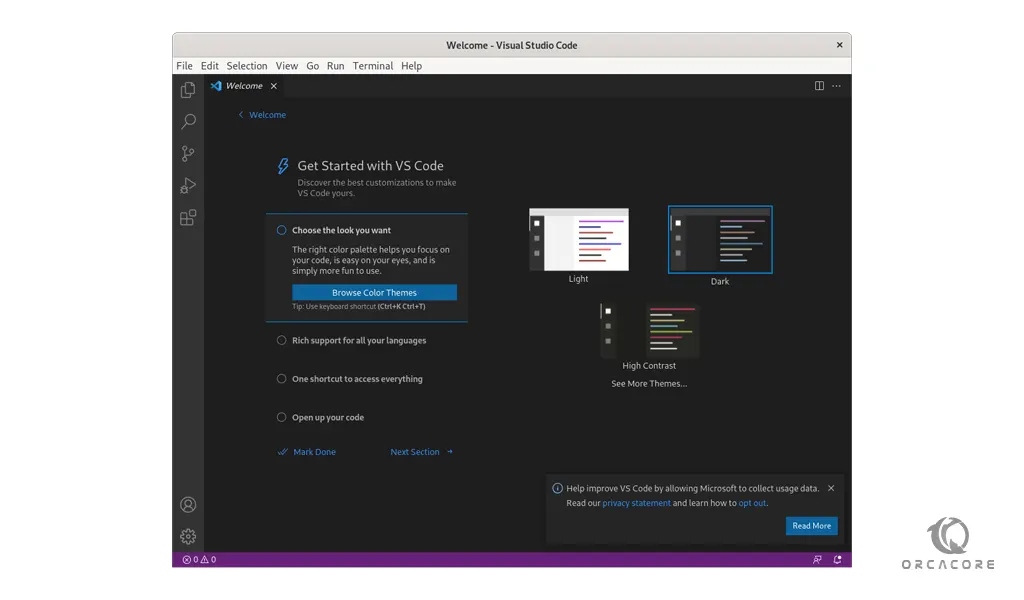
Applications -> Programming -> Visual Studio CodeWhen you start VS Code for the first time, a window like the following will be displayed:

You can now begin installing extensions and configuring VS Code according to your preferences.
For more information, you can visit Visual Studio Code Documentation.
Update Visual Studio Code
When a new version of Visual Studio Code is released you can update the package through your desktop standard Software Update tool or by running the following commands:
# sudo dnf update -y
# sudo dnf upgrade -y
Uninstall VS Code
When you no longer want VSCode installed on your system, use the following command to remove it:
sudo dnf autoremove code -yNext, remove the repository using the following command if you plan never to re-install the IDE again:
sudo rm /etc/yum.repos.d/vscode*Output
rm: remove regular file '/etc/yum.repos.d/vscode.repo'? y
Conclusion
At this point, you have learned to Install Visual Studio (VS) Code on AlmaLinux 8.
I hope you enjoy it. You may be like these articles on the AlmaLinux Tutorials Center:


