Share your love
Install XFCE Desktop Environment on AlmaLinux 9 and RHEL 9 – Easy Steps

In this guide, we want to show you to Install XFCE Desktop Environment on AlmaLinux 9 and RHEL 9. As is apparent, XFCE is an open-source desktop environment. It helps the user perform all functions of the Linux environment on the desktop or PC.
You can now follow the guide steps on the Orcacore website to Install XFCE Desktop Environment on AlmaLinux 9 and RHEL 9.
Table of Contents
How To Install XFCE Desktop Environment on AlmaLinux 9 and RHEL 9?
To complete your XFCE installation, you must have access to your server as a non-root user with sudo privileges. To do this, you can check this guide on Initial Server Setup with AlmaLinux 9.
Then, follow the steps below to Install XFCE Desktop Environment on AlmaLinux 9 and RHEL 9.
Step 1 – Install Epel Repository on AlmaLinux 9 / RHEL 9
First, you must run the system update by using the following command:
sudo dnf update -yThen, install the Epel repo on your server by using the command below:
sudo dnf install epel-release -yAt this point, you can verify the available package groups that are available on your system with the following command:
sudo dnf --enablerepo=epel groupOutput
Extra Packages for Enterprise Linux 9 - x86_64 12 MB/s | 18 MB 00:01
Last metadata expiration check: 0:00:08 ago on Sat 01 Jul 2023 03:21:34 AM EDT.
Available Groups: 15Step 2 – How To Enable PowerTools on AlmaLinux 9 / RHEL 9?
At this point, you must enable the PowerTools on your server. PowerTools is a repository of software that adds more utilities and resources for programs and development.
In AlmaLinux 9 and RHEL 9, PowerTools is known as CRB. To enable the PowerTools repository, run the following command:
sudo dnf config-manager --set-enabled crbNext, be sure that Xfce is available on your AlmaLinux 9:
sudo dnf group listOutput
AlmaLinux 9 - CRB 3.1 MB/s | 2.5 MB 00:00
Last metadata expiration check: 0:00:01 ago on Sat 01 Jul 2023 03:26:54 AM EDT.
Available Environment Groups:
Server with GUI
Server
Workstation
KDE Plasma Workspaces
Virtualization Host
Custom Operating System
Installed Environment Groups:
Minimal Install
Available Groups:
RPM Development Tools
.NET Development
Container Management
Console Internet Tools
Graphical Administration Tools
Headless Management
Legacy UNIX Compatibility
Scientific Support
Smart Card Support
Development Tools
Network Servers
Security Tools
System Tools
Fedora Packager
XfceStep 3 – How To Install XFCE on AlmaLinux 9 / RHEL 9?
Now that you are sure Xfce packages are available on your server, you can use the following command to install your desktop environment:
sudo dnf groupinstall "Xfce" "base-x" -yWhen your installation is completed, set Xfce to start automatically on boot and set Xfce as the default graphical target by using the commands below:
# sudo echo "exec /usr/bin/xfce4-session" >> ~/.xinitrc
# sudo systemctl set-default graphical
Finally, reboot your server to apply the changes:
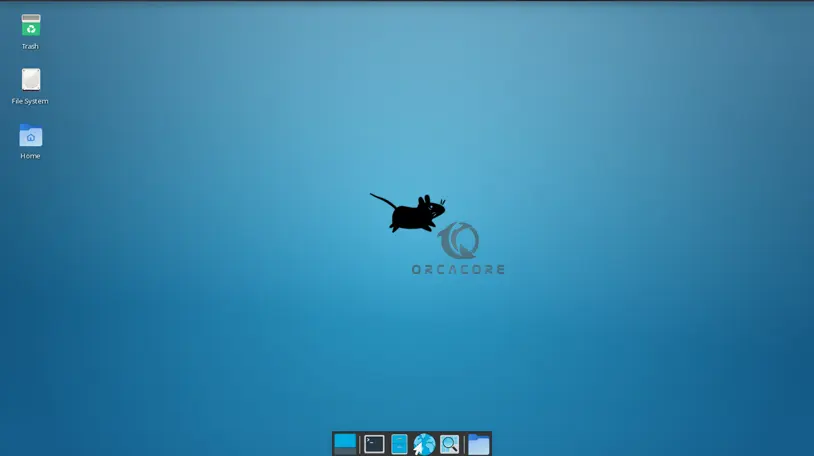
rebootStep 4 – How To Run XFCE Desktop Environment?
When you log back to your server, if Gnome is already installed on the device, you should click on the small gear wheel icon and select the “Xfce session” option.
Now you can click on “Sign In” or enter your password and then press Enter to log in.
For more information, you can visit the XFCE Docs page.
Conclusion
At this point, you have learned to install Epel repo and enable CRB on AlmaLinux 9 and RHEL 9, and then install the XFCE desktop environment, set it as the default graphical target, and access your desktop.
Hope you enjoy it. You may be interested in the articles on AlmaLinux Tutorials:
Install PowerShell on AlmaLinux 9 and RHEL 9