Share your love
How To Set up cPanel and WHM on Centos 7

In this article, we want to teach you How To Set up cPanel and WHM on Centos 7.
cPanel is an online Linux-based graphical interface (GUI) used as a control panel to simplify website and server management.
It allows you to publish websites, manage domains, organize web files, create email accounts, and more.
cPanel has two interfaces, a user interface called cPanel and a server management interface called Web Host Manager (WHM).
This combination allows users to manage their website and supplies hosting providers with tools to manage the server.
Set up cPanel and WHM on Centos 7
First, you need to set up a basic firewall on your Centos 7. To do this, you can follow our article How To Set up Firewall with firewalld on Centos 7.
To install cPanel on Centos 7, you need to be sure that your server has a standard hostname.
You can set your hostname with the command below:
hostnamectl set-hostname your-hostname
Now follow the steps below to install cPanel and WHM on your Centos 7.
Install cPanel on Centos 7
As you know cPanel is written in Perl. So you need to install Perl on your server with the following command:
yum install perl
Then, you can download the cPanel installer script on Centos 7. To do this, install the curl tool with the following command:
yum install curl
Next, use the following command to download the cPanel installer script on Centos 7:
curl -o latest -L https://securedownloads.cpanel.net/latest
Now you can run the auto-installer script:
sh latest
This will take some time to complete.
At this point, we assumed that you have enabled firewalld. Now you need to allow access on port 2087 through the firewall with the following command:
firewall-cmd --add-port=2087/tcp --permanent
Reload the firewall to apply the new rules:
firewall-cmd --reload
Access cPanel & WHM
At this point, you can access the WHM login page and complete your installation on Centos 7 by typing your server’s IP address in your web browser followed by 2087:
http://server-ip:2087
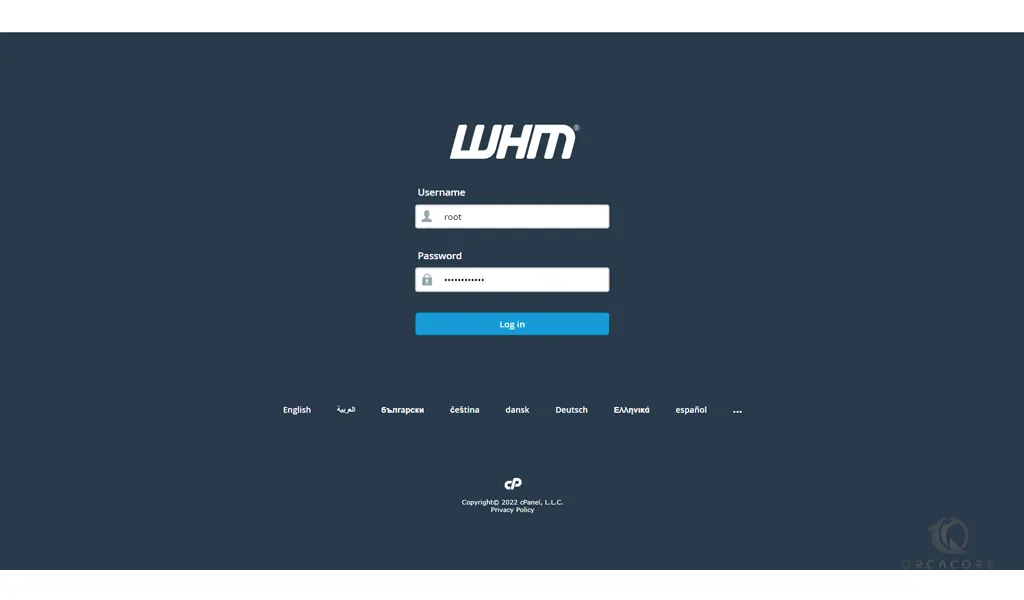
You will see your WHM login screen, enter your root user and password and click on the login button.
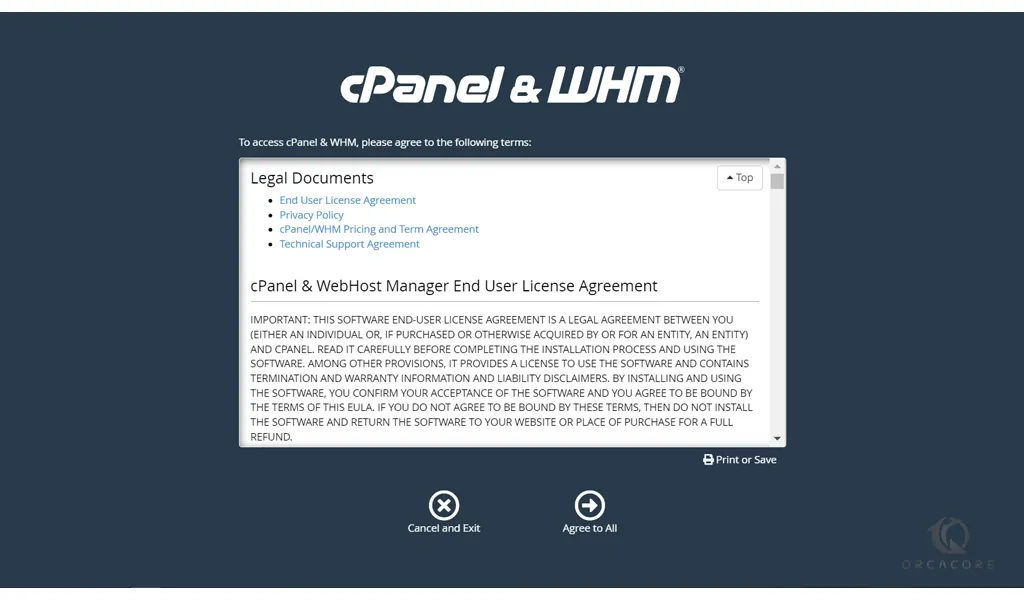
In the next window, to access the cPanel and WHM you need to agree with the terms and click on the Agree to All.
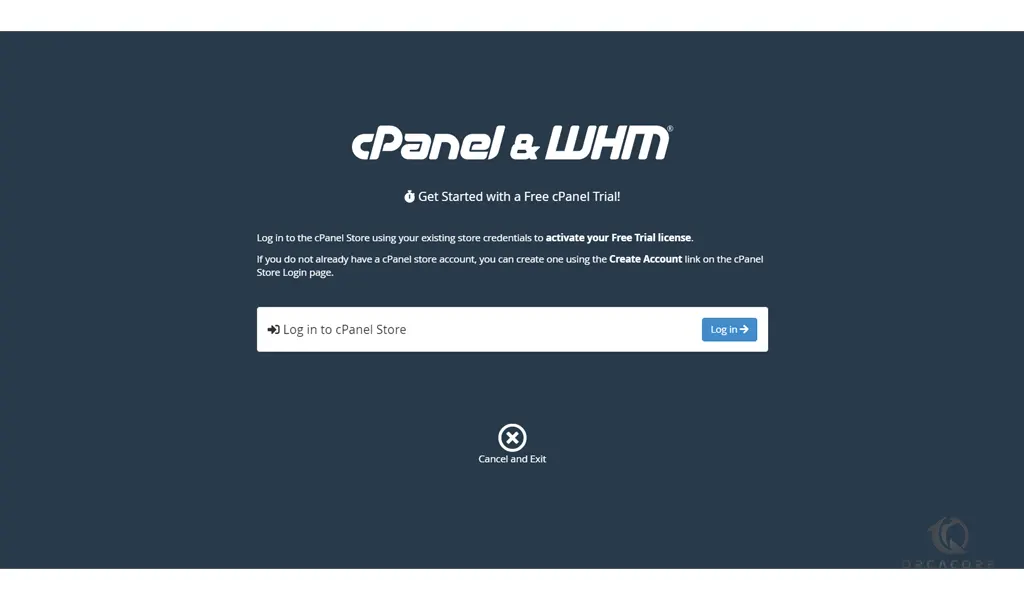
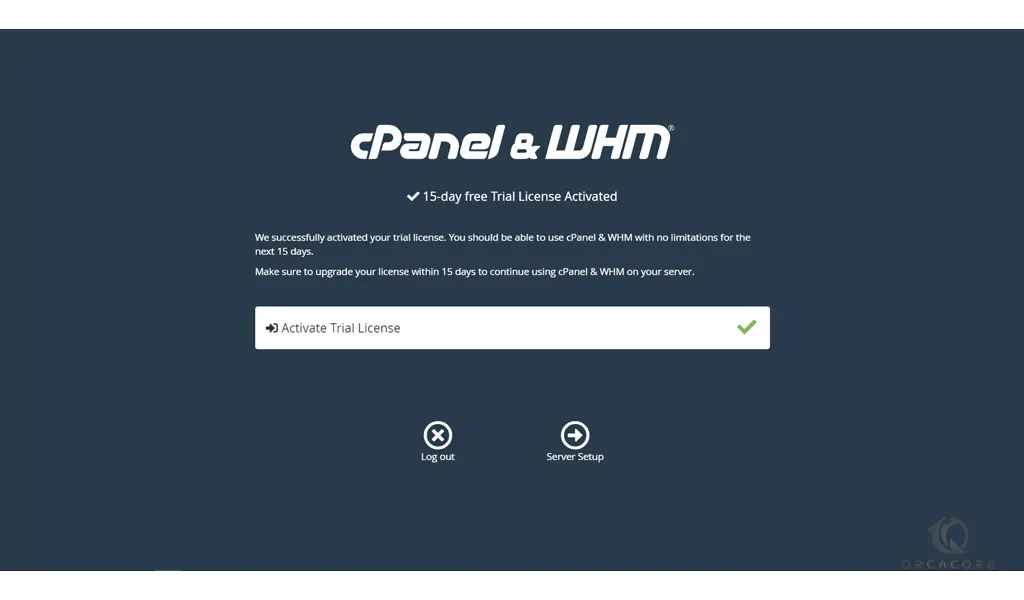
At this point, if you don’t have a license key, you can activate the cPanel free trial. click on the login and create your account.
When your cPanel free trial is activated, you need to click on the server setup.
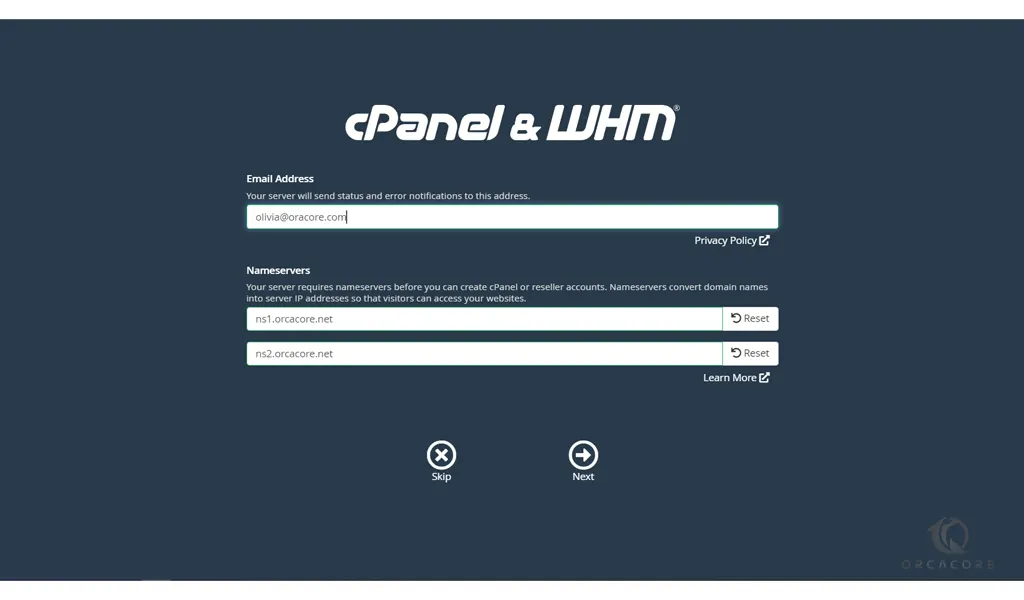
Here you need to enter your email address for the status and error notifications. And you need to set up your nameservers and click on the Next button.
Nameservers convert domain names into IP addresses so that visitors can access your websites.
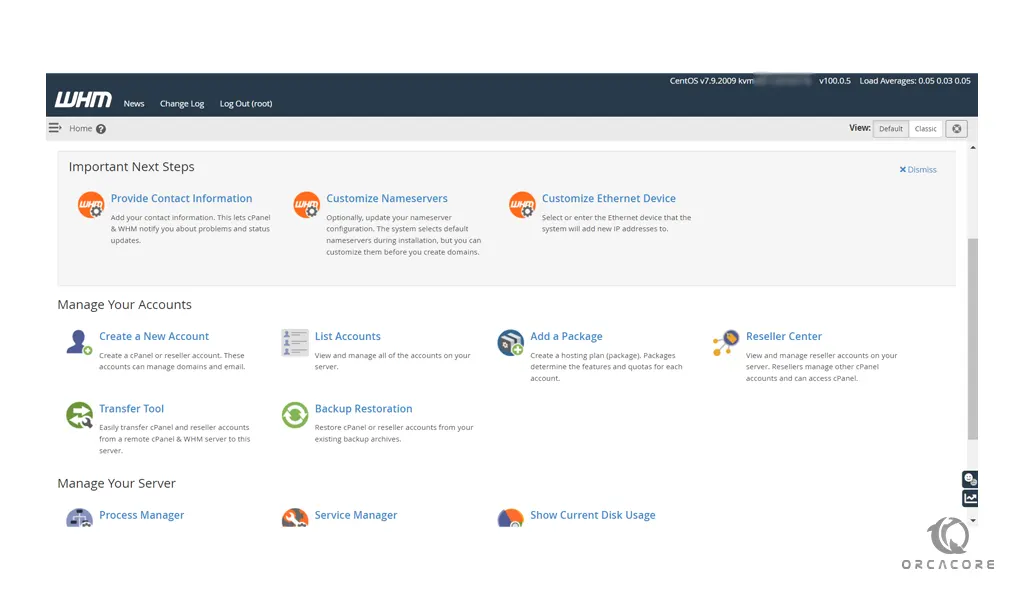
Now you will see your cPanel and WHM dashboard.
Conclusion
At this point, you learn to install cPanel and WHM on Centos 7. Also, you learn to set some basic configurations to manage your cPanel and WHM.
Hope you enjoy it.