Share your love
Install Virtualizor on AlmaLinux with KVM | Comprehensive Guide

Virtualizor is a Linux-based control panel to create and manage VPSs on a large number of servers. In this article, we want to describe how to Install Virtualizor on AlmaLinux server with KVM and then configure it.
Table of Contents
Learn To Install Virtualizor on AlmaLinux Server with the KVM kernel
To install the control panel on a server, you should do some pre-requirements on your server. you should prepare an Almalinux server. Use our articles Introducing AlmaLinux As a Replacement for CentOS and Initial Server Setup with AlmaLinux.
Step 1 – Update the AlmaLinux Server
First, you should update the server to avoid any risk. Use the below command to update the server:
# dnf clean all -y
# dnf update -y
Step 2 – Install Virtualizor main panel
To install Virtualizor on the AlmaLinux server, you should run the below commands.
Please note that if you have more servers, you should install a server as master and other ones should be configured as slave.
We assume you have one server and you want to install Virtualizor on this server.
# wget -N http://files.virtualizor.com/install.sh
# chmod 0755 install.sh
# ./install.sh email=youremail@domain.com kernel=kvm
Step 3 – Adding Virtualizor ports to Firewalld
Virtualizor like any panel has its own ports to work and loads the panel. You should know the ports and add them to the server firewall.
Virtualizor uses ports from 4081 to 4085. Then, we should add the numbers to our firewall using the below command:
firewall-cmd --zone=public --permanent --add-port=4081-4085/tcpStep 4 – Restart Firewalld to Apply Changes
After adding ports to the firewall, we should restart the firewall to apply the changes and open them to access from outside of the server with the below command:
systemctl restart firewalldStep 5 – How to Access the Virtualizor Panel?
After adding the ports to the server firewall, you can open the Virtualizor web panel via port 4085 on AlmaLinux.
To access the panel, enter the IP server via port 4085 in your browser.
yourserverIP:4085For example:
192.168.1.10:4085Use server root login credentials to log in and access the panel like in the below picture.
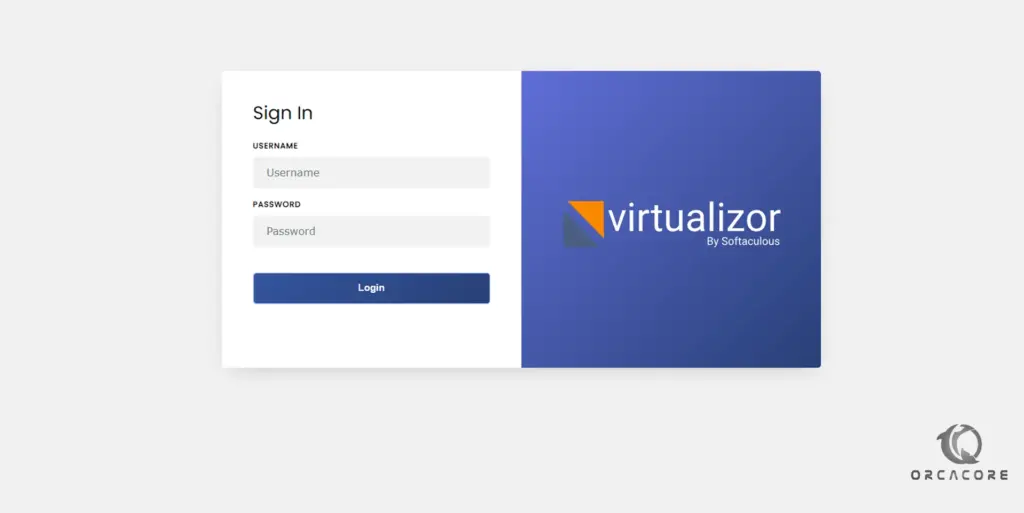
After that, you will see the virtualizor panel like the below picture.

Conclusion
In this article, we have learned to Install Virtualizor on AlmaLinux step by step and we mentioned the basic related settings for installing the panel and firewall settings.
In future content, we will teach you to post-installation and configuration and Virtualizor panel overview.
I hope you enjoy this tutorial, if you need any help or have any questions, you can comment for us.