Share your love
Install and Run Apache Web Server on Debian 12 with Easy Steps

This tutorial intends to teach you to Install and Run Apache Web Server on Debian 12 Bookworm and Create an Apache Virtual Host File. Apache is a popular and widely used web server available for free. Debian 12 ships with the latest release of Apache which is Apache 2.4.57. Follow the steps below on the Orcacore website to Install and Run Apache Web Server on Debian 12.
Table of Contents
Steps To Install and Run Apache Web Server on Debian 12 Bookworm
To Install and Run Apache Web Server on Debian 12, you must have access to your server as a non-root user with sudo privileges and set up a basic firewall. To do this, you can follow this guide on Initial Server Setup with Debian 12 Bookworm.
Also, you need a domain name that is pointed to your server’s IP address.
Now follow the steps below to Install and Run Apache Web Server on Debian 12.
Step 1 – Install Apache From the Command Line on Debian 12
First, you need to run the system update by using the command below:
sudo apt updateThen, use the following command to Install and Run Apache Web server on Debian 12 Bookworm:
sudo apt install apache2 -yDuring the installation, your Apache server must be activated. To verify it, you can use the command below:
sudo systemctl status apache2In your output, you should see:
Output
● apache2.service - The Apache HTTP Server
     Loaded: loaded (/lib/systemd/system/apache2.service; enabled; preset: enab>
     Active: active (running) since Sat 2023-06-17 04:56:20 EDT; 5s ago
       Docs: https://httpd.apache.org/docs/2.4/
   Main PID: 1074 (apache2)
      Tasks: 55 (limit: 4653)
     Memory: 13.4M
        CPU: 84ms
     CGroup: /system.slice/apache2.service
...
Step 2 – Manage and Run Apache Web Server From Command Line
When you are done with the Apache installation, you can learn some basic management commands.
You can stop your web server with the following command:
sudo systemctl stop apache2To start it again you can use:
sudo systemctl start apache2Also, you can stop and then start the service with:
sudo systemctl restart apache2If you have made some configuration changes you need to reload your service after doing that with the following command:
sudo systemctl reload apache2To disable the service run the following command:
sudo systemctl disable apache2Then you can re-enable it to start the service every time the server boots:
sudo systemctl enable apache2Step 3 – Adjust UFW Firewall For Apache on Debian 12
At this point, we assumed that you enabled the UFW firewall from the requirements. Now you should modify the firewall settings to allow outside access to the default web ports. You must allow Apache HTTP port through the firewall. To do this, you can run the command below:
sudo ufw allow 'WWW'
Reload the UFW firewall to apply the changes:
sudo ufw reloadYou can check your UFW status by using the command below:
sudo ufw statusOuput
Status: active
To Action From
-- ------ ----
WWW ALLOW Anywhere
OpenSSH ALLOW Anywhere
WWW (v6) ALLOW Anywhere (v6)
OpenSSH (v6) ALLOW Anywhere (v6)Step 4 – Check Apache Web Server Status on Debian 12
At this point, you can verify your Apache installation by accessing the default page on your Debian 12.
To do this, you need your server’s IP address. You can get your IP with the following command:
hostname -IOr you can use the icanhazip tool to get your IP. Run the following command:
curl -4 icanhazip.comEnter your server’s IP address in your favorite browser:
http://your_server_ipyou will see the page like the image below:
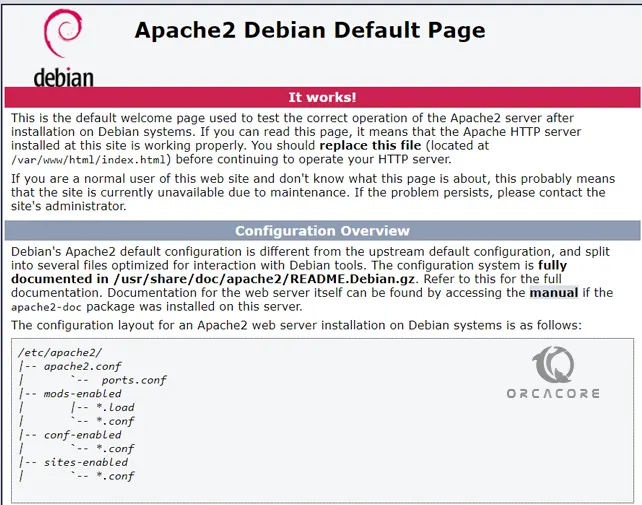
When you see this page it means that the Apache is working correctly.
Step 5 – Create a Virtual Host File in Apache Debian 12
At this point, you can start to create your first virtual host file in Apache. To do this, you can follow the steps below:
- Create a directory for your domain under /var/www directory:
sudo mkdir /var/www/example.com- Set ownership of the HTML directory with the $USER environmental variable:
sudo chown -R $USER:$USER /var/www/example.com- To set up an Apache web server virtual host on Debian 12, you need to set default permissions for your webroot:
sudo chmod -R 755 /var/www/example.com- Create a sample index.html page using Vi editor:
sudo vi /var/www/example.com/index.htmlAdd the following content to the file:
<html>
<head>
<title>Welcome to orcacore.com!</title>
</head>
<body>
<h1>Success! The orcacore.com virtual host is working!</h1>
</body>
</html>
When you are done, save and close the file.
- Then, you need to create a sites-available directory:
sudo vi /etc/apache2/sites-available/example.com.confAdd the following content to the file:
<VirtualHost *:80>
ServerAdmin admin@example.com
ServerName example.com
ServerAlias www.example.com
DocumentRoot /var/www/example.com
ErrorLog ${APACHE_LOG_DIR}/error.log
CustomLog ${APACHE_LOG_DIR}/access.log combined
</VirtualHost>
Save and close the file when you are finished.
- Enable the file with the a2ensite tool:
sudo a2ensite example.com.conf- Disable the default site defined in 000-default.conf:
sudo a2dissite 000-default.conf- Test for configuration errors:
sudo apache2ctl configtestYou should see the following output:
Syntax OK- Restart your web server with the following command:
sudo systemctl restart apache2Now you are ready to test your Apache virtual host on Debian 12 configuration:
http://example.comYou will see your Apache virtual host test page in the image below:

For more information, you can visit Apache HTTP Server Documentation.
Conclusion
At this point, you have learned to Install and Run Apache Web server on Debian 12 Bookworm, Manage your Apache service, Adjust the UFW firewall for Apache, and Create an Apache virtual host file.
Hope you enjoy it. You may be interested in these articles:
Install MariaDB on Debian 12 Bookworm