Share your love
Install and Configure Jenkins on AlmaLinux 9 | Easy Guide

In this guide, we want to teach you to Install and Configure Jenkins on AlmaLinux 9. Jenkins is a Java-based open-source automation platform with plugins designed for continuous integration. It is used to continually create and test software projects, making it easier for developers and DevOps engineers to integrate changes to the project and for consumers to get a new build. It also enables you to release your software continuously by interacting with various testing and deployment methods.
Now follow the steps below on the Orcacore website to Install and Configure Jenkins on AlmaLinux 9.
Table of Contents
Steps To Install and Configure Jenkins on AlmaLinux 9
To set up Jenkins, log in to your server as a non-root user with sudo privileges. To do this, you can follow this guide on Initial Server Setup with AlmaLinux 9.
1. Install OpenJDK for Jenkins Setup
Because Jenkins is written in Java, you must have installed it on your server. First, update your local package index with the following command:
sudo dnf update -yThen, use the following command to install OpenJDK:
sudo dnf install java-11-openjdk -yVerify your Java installation by checking its version:
java -versionOutput
openjdk version "11.0.18" 2023-01-17 LTS
OpenJDK Runtime Environment (Red_Hat-11.0.18.0.10-2.el9_1) (build 11.0.18+10-LTS)
OpenJDK 64-Bit Server VM (Red_Hat-11.0.18.0.10-2.el9_1) (build 11.0.18+10-LTS, mixed mode, sharing)2. Set up Jenkins on AlmaLinux 9
At this point, you need to add the Jenkins GPG key and enable its repository. To do this, follow the steps below.
Add Jenkins Repository and GPG Key
Now you need to add the Jenkins repo to your AlmaLinux server by using the following commands:
# sudo wget -O /etc/yum.repos.d/jenkins.repo \
    https://pkg.jenkins.io/redhat/jenkins.repo
# sudo rpm --import https://pkg.jenkins.io/redhat/jenkins.io-2023.key
Run System Update
At this point, run the system update by using the command below:
sudo dnf update -yJenkins Installation on AlmaLinux 9
Finally, use the following command to install Jenkins on AlmaLinux 9:
sudo dnf install jenkins -yManage Jenkins Service
When your installation is completed, you need to start and enable it by using the commands below:
# sudo systemctl enable jenkins
# sudo systemctl start jenkins
Verify your service is active and running on your server:
sudo systemctl status jenkinsOutput
● jenkins.service - Jenkins Continuous Integration Server
Loaded: loaded (/usr/lib/systemd/system/jenkins.service; enabled; vendor p>
Active: active (running) since Sun 2023-04-16 03:42:12 EDT; 8s ago
Main PID: 65992 (java)
Tasks: 48 (limit: 23609)
Memory: 1.1G
CPU: 1min 13.235s
CGroup: /system.slice/jenkins.service
└─65992 /usr/bin/java -Djava.awt.headless=true -jar /usr/share/jav>Jenkins Administrator password
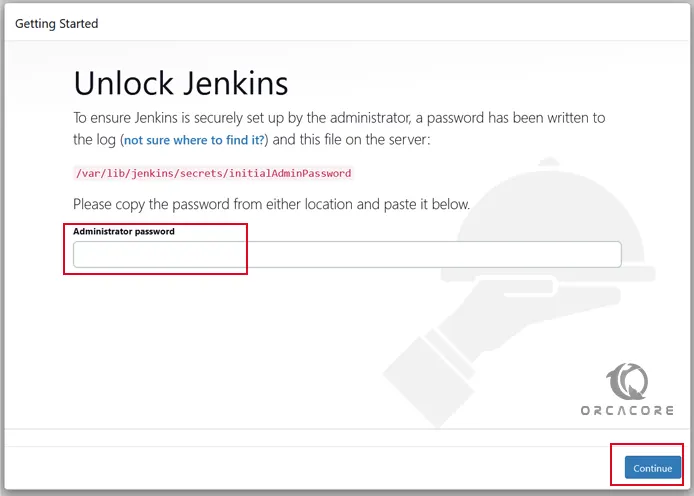
To access the Jenkins dashboard, you need your Jenkins admin password. By default, Jenkins’s password is available in the /var/lib/jenkins/secrets/. To find it, you can use the following command:
sudo cat /var/lib/jenkins/secrets/initialAdminPasswordOutput
fd30b25b15dc4379b322ab68a1d9a235Configure Firewall for Jenkins
If you are running firewalld, you must add Jenkins as an exception. You must change YOURPORT in the script below to the port you want to use. Port 8080 is the most common.
YOURPORT=8080
PERM="--permanent"
SERV="$PERM --service=jenkins"

# firewall-cmd $PERM --new-service=jenkins
# firewall-cmd $SERV --set-short="Jenkins ports"
# firewall-cmd $SERV --set-description="Jenkins port exceptions"
# firewall-cmd $SERV --add-port=$YOURPORT/tcp
# firewall-cmd $PERM --add-service=jenkins
# firewall-cmd --zone=public --add-service=http --permanent
# firewall-cmd --reload
3. Configure Jenkins through the Web Interface
At this point, you can access your Jenkins web interface by typing your server’s IP address in your web browser, followed by 8080:
http://your-server-ip:8080You will see the Unlock Jenkins page. Enter your Jenkins initial admin password and click Continue.
Next, you should choose which Jenkins plugins you want to install on AlmaLinux 9. You can select plugins or the recommended ones. Here we choose Install suggested plugins.

This will take some time to complete.
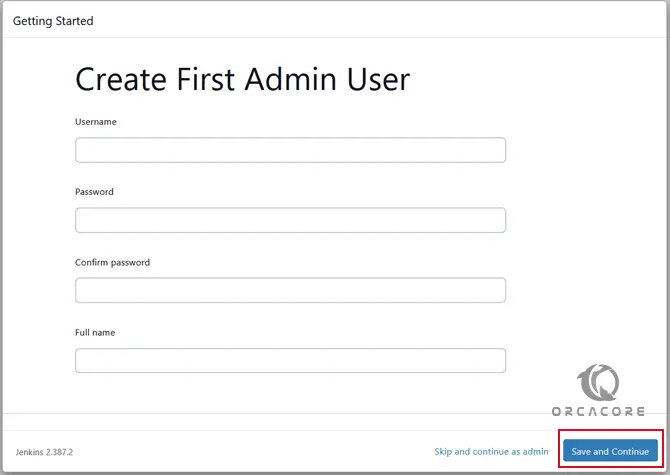
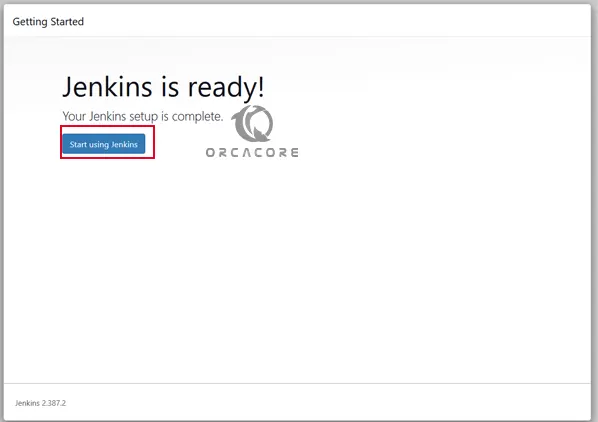
Then, you can create your first admin user. You can use this to log in and use Jenkins in the future.
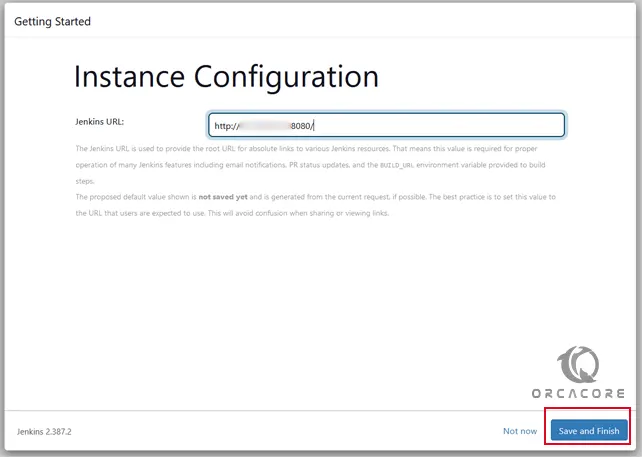
4. Access Jenkins Dashboard on AlmaLinux 9
Finally, after following the other few steps, you will have your Dashboard to start creating projects for testing and developing along with your developer’s Team.
You should see your Jenkins dashboard:
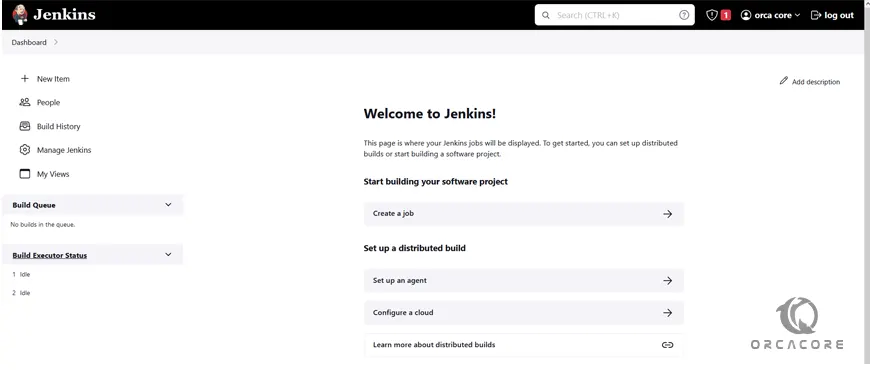
For more information, you can visit the Jenkins Docs page.
Conclusion
At this point, you have learned to Install and Configure Jenkins on AlmaLinux 9. With Jenkins, you can create and test software projects much more easily.
Hope you enjoy it. You may be interested in these articles:
Install OpenJDK 17 on AlmaLinux 9
Install and Configure WireGuard on AlmaLinux 9