Share your love
Easy Steps to Install Nextcloud on Ubuntu 22.04
This tutorial on the orcacore website intends to teach you How To Install Nextcloud on Ubuntu 22.04. Nextcloud is an open-source tool that allows you to store and share files online. In short, it is an open-source cloud solution. It allows free access and synchronization of your data between different devices (mobile or computer), or the exchange of information with several people (users or not). With this tool, you have full control over your data, where it is stored, how it is shared, and how it is deleted.
Nextcloud offers, among other things, collaborative work, and communication functionalities. Various services revolve around the «Nextcloud Enterprise» solution, such as application maintenance, hosting, support requests, or specific developments. However, these are not free.
Nextcloud is a fork of the OwnCloud project, developed by many members of the original OwnCloud team. The two projects have many similarities, but differ in their respective interfaces and license agreements, especially for the Enterprise editions.
Steps To Install Nextcloud on Ubuntu 22.04
To Install Nextcloud on Ubuntu 22.04, you need to log in to your server as a non-root user with sudo privileges and set up a basic firewall. To do this, you can follow our guide the Initial Server Setup with Ubuntu 22.04.
Also, you need a domain name that is pointed to your server’s IP address to secure connections with TLS/SSL.
Set up Nextcloud on Ubuntu 22.04
Here we will install Nextcloud using the Snap packaging system. This package is available by default in Ubuntu 22.04.
First, update your local package index with the following command:
sudo apt updateNextcloud Ubuntu 22.04
Then, download the Nextcloud snap package and install Nextcloud on Ubuntu 22.04 with the command below:
sudo snap install nextcloudYou can verify your Nextcloud installation on Ubuntu 22.04 with the following command:
snap changes nextcloudOutput
ID Status Spawn Ready Summary
2 Done today at 07:12 CET today at 07:13 CET Install "nextcloud" snapAlso, you can use the following command to get more information about Nextcloud snap:
snap info nextcloudTo see what snap connections this snap defines, you can run the following command:
snap connections nextcloudOutput
Interface Plug Slot Notes
network nextcloud:network :network -
network-bind nextcloud:network-bind :network-bind -
removable-media nextcloud:removable-media - -Configure Nextcloud on Ubuntu 22.04
At this point, you need to create a new administrator account for Nextcloud with the following command:
sudo nextcloud.manual-install username passwordYou should get the following output:
Output
Nextcloud was successfully installed
By default, Nextcloud only responds to requests made to the “localhost” hostname.
You can view the current settings with the following command:
sudo nextcloud.occ config:system:get trusted_domainsOutput
localhostYou need to adjust the settings to access Nextcloud through the server’s domain name or IP address.
To do this, you can add an entry for your server’s domain name or IP address with the following command:
sudo nextcloud.occ config:system:set trusted_domains 1 --value=your-domainOutput
System config value trusted_domains => 1 set to string your-domainNow if you query for the trusted domains again, you will see that you now have two entries.
sudo nextcloud.occ config:system:get trusted_domainsOutput
localhost
your-domainSecure Nextcloud with SSL
At this point, you need to secure your Nextcloud web interface on Ubuntu 22.04. You can set up an SSL with Let’s Encrypt or with a self-signed certificate.
Set up SSL with let’s encrypt:
If you have a domain name associated with your Nextcloud server, the best option for securing your web interface is to get a Let’s Encrypt SSL certificate.
First, allow traffic on ports 80 and 443 through the firewall:
sudo ufw allow 80,443/tcpThen, request a Let’s Encrypt certificate with the following command:
sudo nextcloud.enable-https lets-encryptYou will first be asked whether your server meets the conditions necessary to request a certificate from the Let’s Encrypt service, type y to continue.
Next, you will be asked to provide an email address. Finally, enter the domain name associated with your Nextcloud server.
When you are done, in your output you will see:
Output
Attempting to obtain certificates... done
Restarting apache... done
Set up an SSL with a self-signed certificate:
If your Nextcloud server does not have a domain name that points to your Ubuntu 22.04 IP address, you can still secure the web interface by generating a self-signed SSL certificate.
To generate a self-signed certificate and configure Nextcloud to use it, run the following command:
sudo nextcloud.enable-https self-signedOutput
Generating key and self-signed certificate... done
Restarting apache... doneNow you need to open the ports through the firewall:
sudo ufw allow 80,443/tcpAccess Nextcloud Web Interface
At this point, you can access your Nextcloud web interface by typing your domain name or IP address in your web browser:
https://domain-or-IP-addressYou will see the Nextcloud login screen.
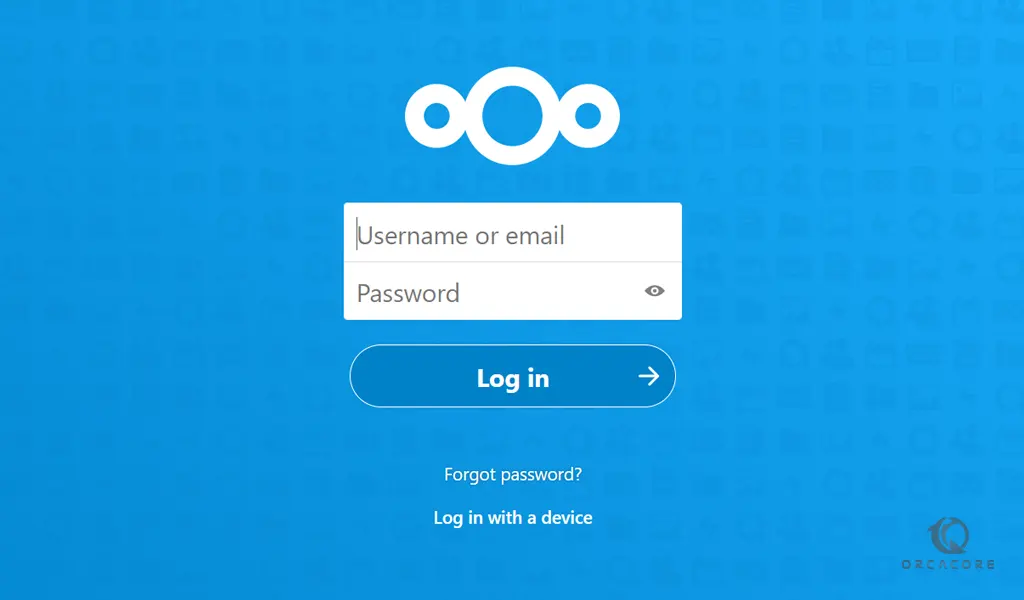
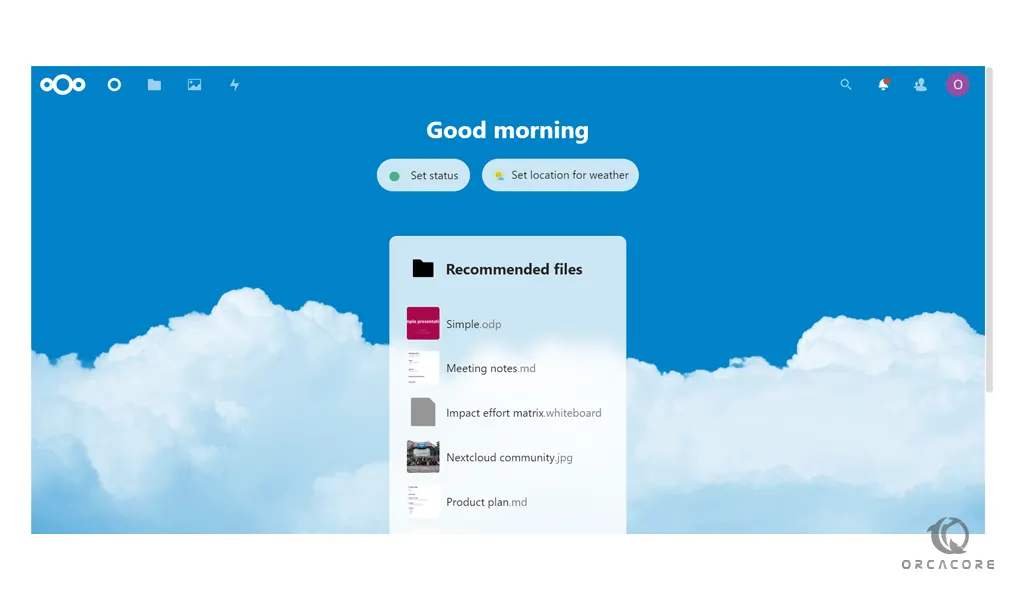
Enter the administrator account credentials that you have provided before and press the Log in button to see your Nextcloud dashboard.
Conclusion
At this point, you learn to Install Nextcloud on Ubuntu 22.04. Also, you learn to secure your website by setting up an SSL with let’s encrypt and a self-signed certificate. Hope you enjoy it.
You may like these articles:
Install and Configure Nextcloud on Debian 11