Share your love
Set up phpMyAdmin on AlmaLinux 9 | Easy and Full Setup
In this tutorial from the Orcacore website, we want to teach you how to set up phpMyAdmin on AlmaLinux 9. phpMyAdmin is a free web application that provides a convenient GUI for working with the MySQL database management system. It is the most popular MySQL administration tool, used by millions of users worldwide, and has won numerous awards and honors.
This PHP utility has all the common functions that you may need when developing a MySQL-based application or website. It is also a reference for several similar products, for example, phpPgAdmin, which provides similar functions for the PostgreSQL DBMS.
Table of Contents
Steps to Set up phpMyAdmin on AlmaLinux 9
Before you start to install phpMyAdmin on AlmaLinux 9, you need to meet some requirements first.
1. Requirements for phpMyAdmin Setup
You need to log in to your server as a non-root user with sudo privileges and set up a basic firewall. To do this, you can follow our article on the Initial Server Setup with AlmaLinux 9.
Also, you need to have the LAMP stack installed on your server. For this, you can check our article How to Install LAMP Stack on AlmaLinux 9.
When you are done with these requirements, you can follow the steps below to install phpMyAdmin on AlmaLinux 9.
2. Create a MariaDB User for phpMyAdmin
At this point, you need to log in to your MariaDB shell with the command below:
sudo mysql -u root -pFrom there, use the command below to create a user:
CREATE USER 'newuser'@'localhost' IDENTIFIED BY 'password';Grant all the privileges to it:
GRANT ALL PRIVILEGES ON *.* TO 'newuser'@'localhost';Flush the privileges and exit:
 FLUSH PRIVILEGES;
 Exit;
3. Install phpMyAdmin on AlmaLinux 9
Here we will install phpMyAdmin by downloading the zip file from the phpMyadmin Downloads page. Visit the page and check for the latest version, and copy the link address of the all languages zip file.
First, use the wget command to download phpMyAdmin on AlmaLinux 9:
sudo wget https://files.phpmyadmin.net/phpMyAdmin/5.2.0/phpMyAdmin-5.2.0-all-languages.zipNext, you can extract your downloaded file with the command below:
sudo unzip phpMyAdmin-*-all-languages.zipHere you need to move your extracted files to the /usr/share/phpmyadmin directory:
sudo mv phpMyAdmin-*-all-languages /usr/share/phpmyadminSwitch the phpMyAdmin directory on AlmaLinux 9 with the following command:
cd /usr/share/phpmyadminThe sample configuration file for phpMyAdmin already exists in the directory. You just need to rename it with the following command:
sudo mv config.sample.inc.php config.inc.phpAlso, you need to generate a secret string for the next steps. To do this, run the following command:
openssl rand -base64 32In your output, you will see something similar to this:
Output
lzrkh9L2gt/iUVXAoHhAxXHss/r8CUxk793mhF6gKw4=
4. Configure phpMyAdmin on AlmaLinux 9
At this point, you need to make some configuration changes to the file that you have renamed before.
Open the file with your favorite text editor, here we use vi:
sudo vi config.inc.phpIn the file, find the line below and enter the secret string that you have generated before in it:
$cfg['blowfish_secret'] = 'yourgeneratedstring';Next, find the ‘Directories for saving/loading files from server’ section and add the following line under this section:
$cfg['TempDir'] = '/tmp';When you are done, save and close the file.
This temp directory that you have defined in the phpMyAdmin configuration file on AlmaLinux 9, is used to store the cache files.
Now use the following command to create it:
sudo mkdir /usr/share/phpmyadmin/tmpThen, set the ownership and correct permissions with the commands below:
$ sudo chown -R apache:apache /usr/share/phpmyadmin
$ sudo chmod 777 /usr/share/phpmyadmin/tmp
Here, you need to create an Apache configuration file for the phpMyAdmin files on AlmaLinux 9.
Create and open the file with your favorite text editor, here we use vi:
sudo vi /etc/httpd/conf.d/phpmyadmin.confAdd the following contents to the file:
Alias /phpmyadmin /usr/share/phpmyadmin

<Directory /usr/share/phpmyadmin/>
   AddDefaultCharset UTF-8
   <IfModule mod_authz_core.c>
     # Apache 2.4
     <RequireAny>
      Require all granted
     </RequireAny>
   </IfModule>
</Directory>

<Directory /usr/share/phpmyadmin/setup/>
   <IfModule mod_authz_core.c>
# Apache 2.4
     <RequireAny>
       Require all granted
     </RequireAny>
   </IfModule>
</Directory>
When you are done, save and close the file.
Restart Apache to apply the changes:
sudo systemctl restart httpd.service5. Access the phpMyAdmin Dashboard
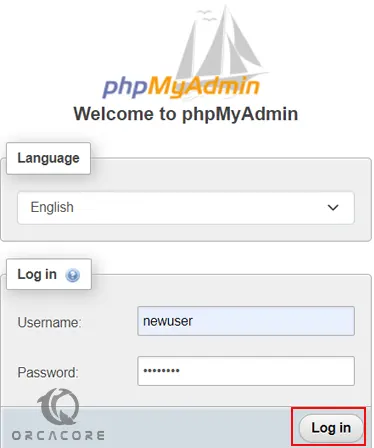
At this point, you can access the phpMyAdmin web interface by typing your server’s IP address in your web browser, followed by /phpmyadmin:
http://your-server-ip-address/phpmyadminYou will see the phpMyAdmin login screen. Enter your MariaDB user and password that you have created before and press the Login button to see your phpMyAdmin dashboard.
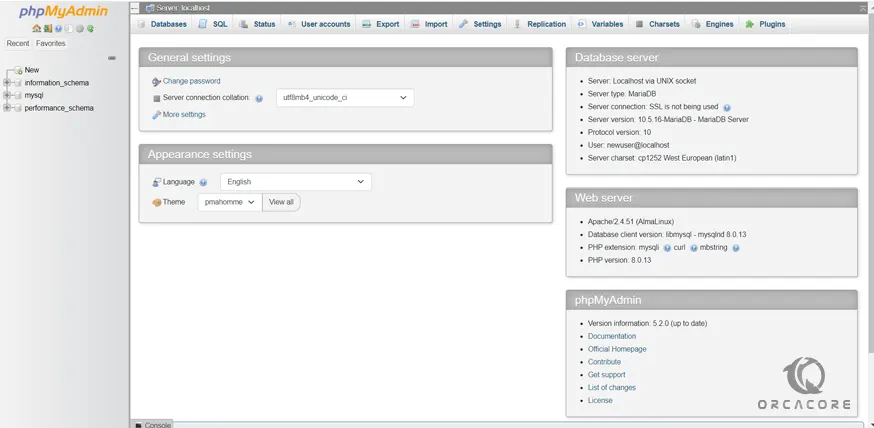
That’s it, you are done.
Conclusion
At this point, you have learned to set up phpMyAdmin on AlmaLinux 9. After ensuring PHP, Apache, and MariaDB are properly installed, phpMyAdmin can be downloaded and configured to connect to the database. With proper firewall settings and access controls in place, phpMyAdmin provides a convenient web interface for managing MySQL/MariaDB databases on AlmaLinux 9.
Hope you enjoy it. You may also like to read the following articles:
Install Python 3.13 on AlmaLinux
Almalinux 10 Release Date and Download