Share your love
Install and Configure Umami Software on Debian 11
In this article, we want to teach you Install and Configure Umami Software on Debian 11.
Umami software is a free, self-hosted web analytics tool written in Node.js which is used to measure the metrics on a single page. It can store data about your website’s visitors in either a MySQL or PostgreSQL database.
It can track page views, devices used, visitor interaction, etc. you can share your stats publicly with a unique generated URL.
Also, with Umami software, you can measure the performance of websites on their own dashboard.
Install and Configure Umami Software on Debian 11
Before you start to install Umami software on your server you need some requirements first.
Let’s see what are these requirements.
Requirements
Log in to your server as a non-root user with sudo privileges and the UFW firewall enabled. To do this you can check our article about the Initial server setup with Debian 11.
Docker is installed on your server. you can visit our article in the Docker Tutorials section about How To Install and Use Docker on Debian 11.
Also, you need Docker Compose installed on your server. For this, you can check the Install and use Docker Compose article for Debian 11.
You need a Domain name that pointed to your server’s public IP address.
When you are done with these requirements, you can start to install Umami software.
Install Umami and PostgreSQL on Debian 11
You need to clone the Umami Git repository and update the docker-compose.yml configuration file. then start the Umami and PostgreSQL (a powerful, open-source object-relational database system) containers.
First, go to the /opt directory with the following command:
cd /opt
Then, you need to clone the repository from GitHub with the following command:
sudo git clone https://github.com/mikecao/umami.git
this command will pul the software and configuration files to the /opt/umami directory. Move to the /umami directory with the following command:
cd umami
Here you need to update the docker-compose.yml file. you need to change the IP that Umami binds to, and a random hash is used as salt when encrypting things in the database.
You can generate a new random hash with the following command:
openssl rand -base64 32
Output
TBBrIshs3uIPlr6Flg+VaQ2uNPtBYQwabb0yUkQnM9s=
Now open the Docker Compose configuration file with your favorite text editor, here we use vi:
sudo vi docker-compose.yml
Find the HASH_SALT line and replace the phrase in front of it with your random hash:
. . .
HASH_SALT: TBBrIshs3uIPlr6Flg+VaQ2uNPtBYQwabb0yUkQnM9s=
. . .
Now, find the Ports line and update it to:
. . .
ports:
- "127.0.0.1:3000:3000"
. . .
This will make sure that Umami software on Debian 11 is only listening on the localhost interface and is not publicly available.
When you are done with these changes, save and close the file.
Now you can use the docker-compose command to start up your two containers:
sudo docker-compose up --detach
The –detach option creates the containers in the background.
In your output you will see:
Output
Creating umami_db_1 ... done
Creating umami_umami_1 ... done
At this point, Umami and PostgreSQL are running.
You can the following command to verify that the Umami container running on localhost:
curl localhost:3000
In your output, you will see a large piece of HTML:
Output
<!DOCTYPE html><html><head><meta charSet="utf-8"/> ...
Here you need to set up Nginx to reverse proxy Umami from localhost to the public.
Install and Configure Nginx on Debian 11
At this step, you need to install Nginx and configure it to proxy requests to Umami, which will take care of handling requests from your users to Umami and back again.
First, refresh your local package index with the following command:
sudo apt update
Then install Nginx on Debian 11 with the command below:
sudo apt install nginx
You need to allow Nginx traffic through the firewall on ports 80 and 443:
sudo ufw allow "Nginx Full"
Now create and open a new Nginx configuration file and name it umami.conf with the following command:
sudo vi /etc/nginx/sites-available/umami.conf
Then, paste the following content into the file:
Just remember to replace the server name with your domain.
server {
listen 80;
listen [::]:80;
server_name your_domain_here;

access_log /var/log/nginx/umami.access.log;
error_log /var/log/nginx/umami.error.log;

location / {
proxy_pass http://localhost:3000;
proxy_set_header X-Real-IP $remote_addr;
proxy_set_header Host $host;
proxy_set_header X-Forwarded-For $proxy_add_x_forwarded_for;
}
}
When you are finished, save and close the file.
Enable the configuration with the following command:
sudo ln -s /etc/nginx/sites-available/umami.conf /etc/nginx/sites-enabled/
Now verify that your configuration syntax is ok:
sudo nginx -t
In your output you should see:
Output
nginx: the configuration file /etc/nginx/nginx.conf syntax is ok
nginx: configuration file /etc/nginx/nginx.conf test is successful
To apply these changes reload Nginx with the following command:
sudo systemctl reload nginx
You can see that Umami software is now available on Debian 11 by typing your domain name in your browser:
http://your-domain-name
If you see this page, means that you have your site up and running over HTTP.
When you are done with installing and configuring Umami software on Debian 11, let’s start to secure it with Certbot and Let’s Encrypt certificates.
Set up an SSL certificate for Umami software
To secure the connection, you need to install Certbot and Nginx plugin with the following command:
sudo apt install certbot python3-certbot-nginx
Then, run the certbot with the following command:
sudo certbot --nginx -d your_domain_here
You will be asked to enter your Email address and agree with the terms of services.
Also, you will be asked once your first certificate is successfully issued, to
share your email address with the Electronic Frontier Foundation. as your wish you can enter y or n.
Then, in your output you will see:
Output
- - - - - - - - - - - - - - - - - - - - - - - - - - - - - - - - - - - - - - - -
Congratulations! You have successfully enabled https://umami.orcacore.net
- - - - - - - - - - - - - - - - - - - - - - - - - - - - - - - - - - - - - - - -

IMPORTANT NOTES:
- Congratulations! Your certificate and chain have been saved at:
/etc/letsencrypt/live/umami.orcacore.net/fullchain.pem
Your key file has been saved at:
/etc/letsencrypt/live/umami.orcacore.net/privkey.pem
Your certificate will expire on 2022-01-24. To obtain a new or
tweaked version of this certificate in the future, simply run
certbot again with the "certonly" option. To non-interactively
renew *all* of your certificates, run "certbot renew"
- If you like Certbot, please consider supporting our work by:

Donating to ISRG / Let's Encrypt: https://letsencrypt.org/donate
Donating to EFF: https://eff.org/donate-le
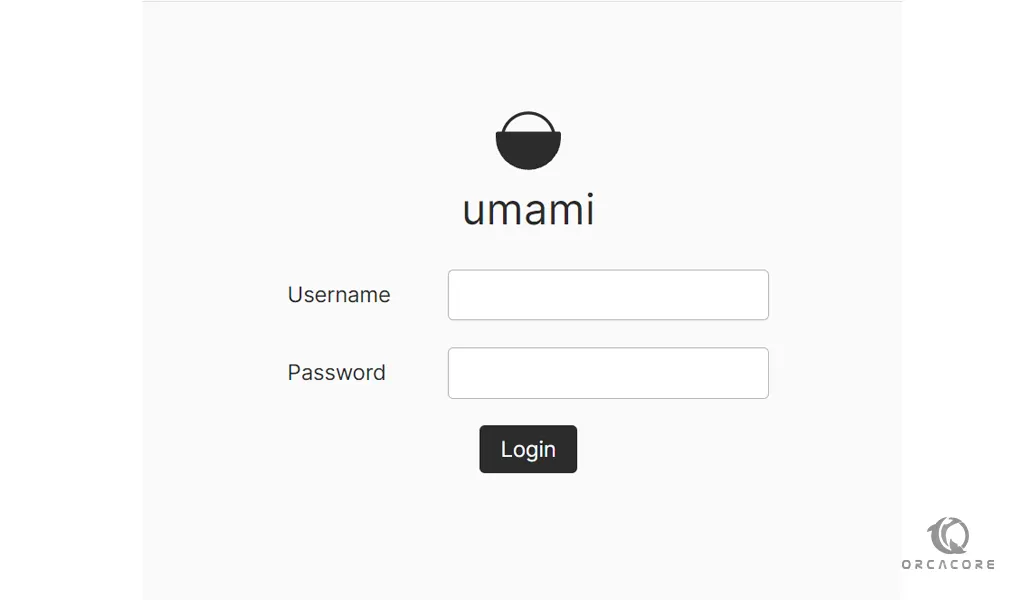
Now reload your site and it should switch you over to HTTPS automatically.
Your site is now secure and it’s safe to log in with the default user admin and password umami.
When you logged in to Umami software you will see:
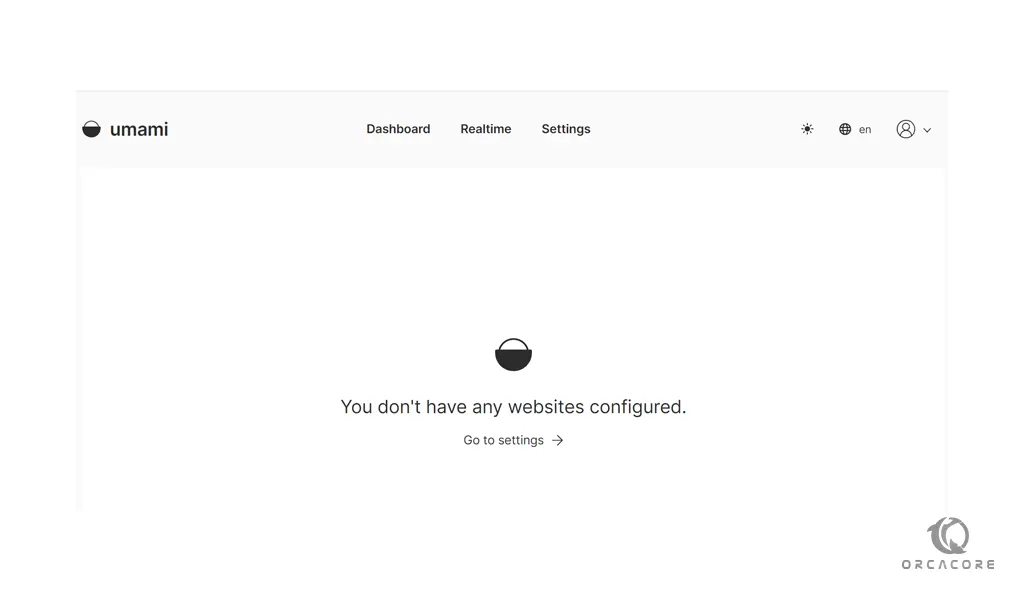
It is recommended to change your admin password. to do this, you can go to the Umami settings in the profile section and change your password for more security.
You have successfully installed and secured your Umami analytics software. you can aad a website to Umami and start collecting data by installing the tracking code on your website.
Conclusion
At this point, you learn to install Umami software and a PostgreSQL database using Docker Compose then set up an Nginx reverse proxy and secure it using Let’s Encrypt SSL certificates.
Hope you enjoy this article about Install and Configure Umami Software on Debian 11.