
Share your love
Install and Configure XWiki on Ubuntu 22.04

In this tutorial on the Orcacore website, we want to teach you to Install and Configure XWiki on Ubuntu 22.04. XWiki is a free wiki software platform written in Java with a design emphasis on extensibility. XWiki is an enterprise wiki. It includes WYSIWYG editing, OpenDocument-based document import/export, semantic annotations and tagging, and advanced permissions management.
As an application wiki, XWiki allows for the storing of structured data and the execution of server-side scripts within the wiki interface. Scripting languages including Velocity, Groovy, Python, Ruby, and PHP can be written directly into wiki pages using wiki macros. User-created data structures can be defined in wiki documents and instances of those structures can be attached to wiki documents, stored in a database, and queried using either Hibernate query language or XWiki’s own query language.
Table of Contents
Steps To Install and Configure XWiki on Ubuntu 22.04
To complete this guide, you must log in to your server as a non-root user with sudo privileges. To do this, you can follow our guide on Initial Server Setup with Ubuntu 22.04.
Also, you need to have Nginx installed on your server so you can set up the reverse proxy for accessing the XWiki installation. To do this, you can follow our guide on Install Nginx on Ubuntu 22.04.
1. Install Java For XWiki Ubuntu 22.04
At this point, you need to have Java installed on your server. First, update your local package index with the following command:
sudo apt update -y && sudo apt upgrade -yThen, install Java on Ubuntu 22.04 with the following command:
sudo apt install default-jdk gnupg2 -yYou can verify your installation by checking its version with the command below:
java --versionIn your output you will see:
Output
openjdk 11.0.17 2022-10-18
OpenJDK Runtime Environment (build 11.0.17+8-post-Ubuntu-1ubuntu222.04)
OpenJDK 64-Bit Server VM (build 11.0.17+8-post-Ubuntu-1ubuntu222.04, mixed mode, sharing)
2. Install XWiki on Ubuntu 22.04
At this point, you can follow the steps below to set up XWiki.
Add XWiki GPG Key
Here you need to add the GPG public key with the following command:
sudo wget https://maven.xwiki.org/xwiki-keyring.gpg -P /usr/share/keyrings/Add XWiki Repository
The XWiki repository isn’t available in Ubuntu 22.04, so you need to add the XWiki repository with the following command:
sudo wget "https://maven.xwiki.org/stable/xwiki-stable.list" -P /etc/apt/sources.list.d/Now run the system update:
sudo apt update -yList Available XWiki Packets
You can list available XWiki packets with the following command:
apt-cache search xwikiInstall XWiki with Tomcat and MariaDB
In this guide, we use Tomcat as a servlet container and MariaDB as a database. You need to install the XWiki-tomcat9-common and XWiki-tomcat9-MariaDB with the following command:
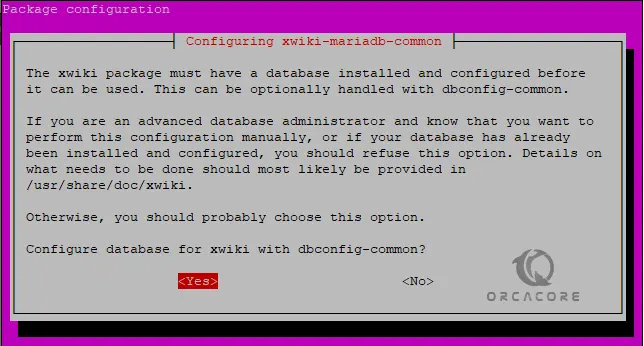
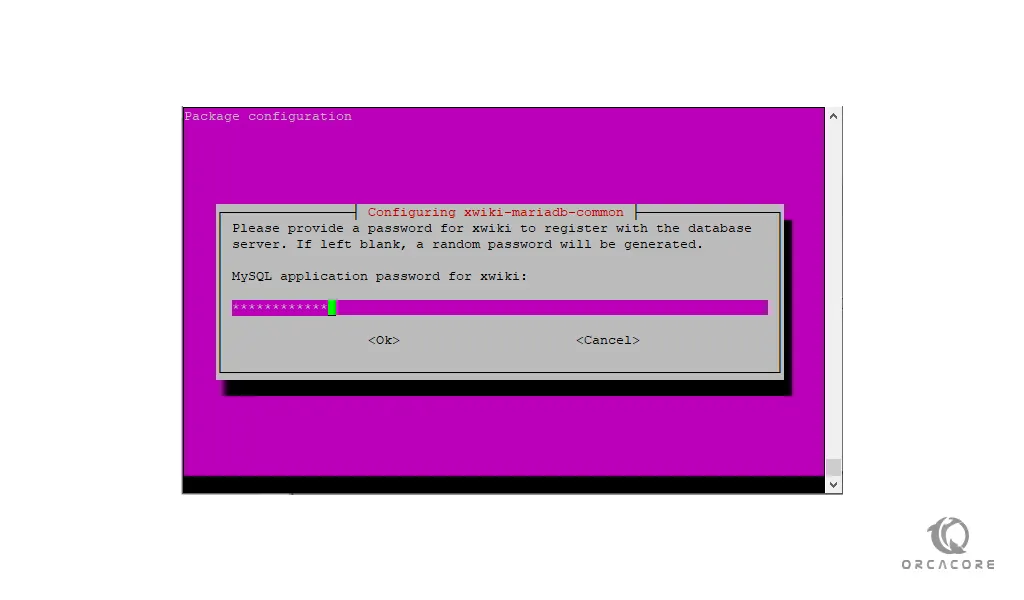
sudo apt install xwiki-tomcat9-common xwiki-tomcat9-mariadb -yIn the first window press yes to continue:
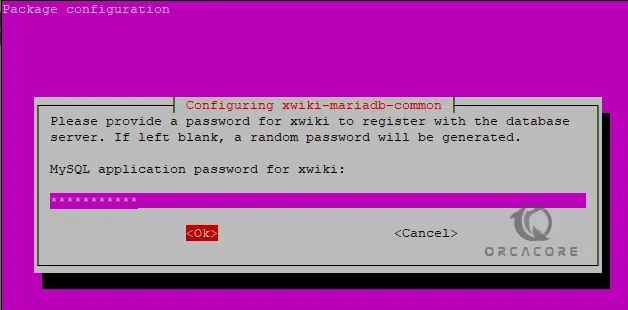
Then, you need to set a MySQL password for XWiki on Ubuntu 22.04 and press ok:
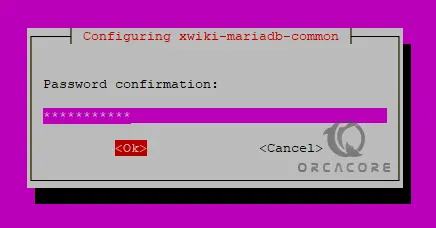
Next, confirm your password and press ok to continue:
When your installation is completed, you can verify that your Tomcat and MariaDB services are active and running on your server.
Verify that the Tomcat service is active and running with the following command:
sudo systemctl status tomcat9Output
Loaded: loaded (/lib/systemd/system/tomcat9.service; enabled; vendor preset>
Drop-In: /etc/systemd/system/tomcat9.service.d
└─xwiki-tomcat9-systemd.conf
Active: active (running) since Mon 2023-01-23 07:47:29 UTC; 2min 1s ago
Docs: https://tomcat.apache.org/tomcat-9.0-doc/index.html
Process: 8998 ExecStartPre=/usr/libexec/tomcat9/tomcat-update-policy.sh (cod>
Main PID: 9002 (java)
Tasks: 57 (limit: 4575)
Memory: 678.4M
CPU: 1min 22.873s
...Also, for the MariaDB service:
sudo systemctl status mariadbOutput
● mariadb.service - MariaDB 10.6.11 database server
Loaded: loaded (/lib/systemd/system/mariadb.service; enabled; vendor preset>
Active: active (running) since Mon 2023-01-23 07:45:39 UTC; 4min 36s ago
Docs: man:mariadbd(8)
https://mariadb.com/kb/en/library/systemd/
Process: 8156 ExecStartPre=/usr/bin/install -m 755 -o mysql -g root -d /var/
...3. Configure Nginx As a Reverse Proxy For XWiki Ubuntu 22.04
At this point, you need to configure Nginx to set up the reverse proxy for accessing the XWiki installation.
To do this, you need to create the Nginx virtual host file. Create the file with your favorite text editor, here we use vi editor:
sudo vi /etc/nginx/conf.d/xwiki.confPaste the following content to the file:
server {
 listen 80;

 server_name xwiki.example.com;

 access_log /var/log/nginx/xwiki-access.log;
 error_log /var/log/nginx/xwiki-error.log;

 location / {
 proxy_set_header   X-Real-IP $remote_addr;
 proxy_set_header   Host      $host;
 proxy_http_version 1.1;
 proxy_set_header   Upgrade $http_upgrade;
 proxy_set_header   Connection 'upgrade';
 proxy_cache_bypass $http_upgrade;
 proxy_pass         http://127.0.0.1:8080;
 }
 }
When you are done, save and close the file.
Next, activate the Nginx virtual host with the following command:
sudo ln -s /etc/nginx/conf.d/xwiki.conf /etc/nginx/sites-enabled/Then, you should increase the hash_bucket size value in the Nginx configuration file. Open the file with your favorite text editor, here we use vi:
sudo vi /etc/nginx/nginx.confIn the HTTP section uncomment the following line by removing the # from the beginning of the line:
server_names_hash_bucket_size 64;When you are done, save and close the file.
To apply the changes, restart Nginx with the command below:
sudo systemctl restart nginxNow you can access the XWiki web interface on Ubuntu 22.04.
4. Access the XWiki Ubuntu 22.04 Via Web UI
In your web browser type your server’s IP address followed by 8080/XWiki:
http://your-server-IP:8080/xwikiWait for XWiki to be initialized.
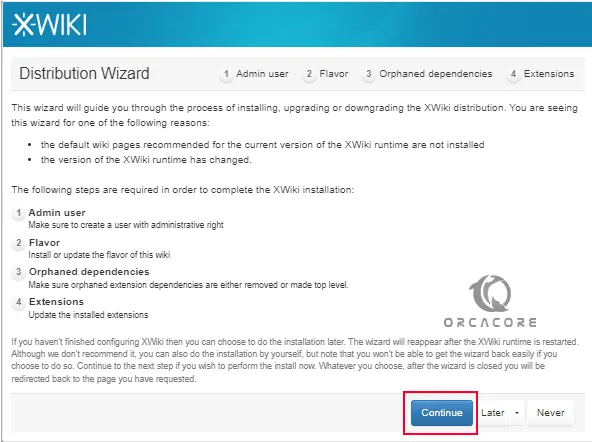
You will see the XWiki distribution wizard click on the continue:
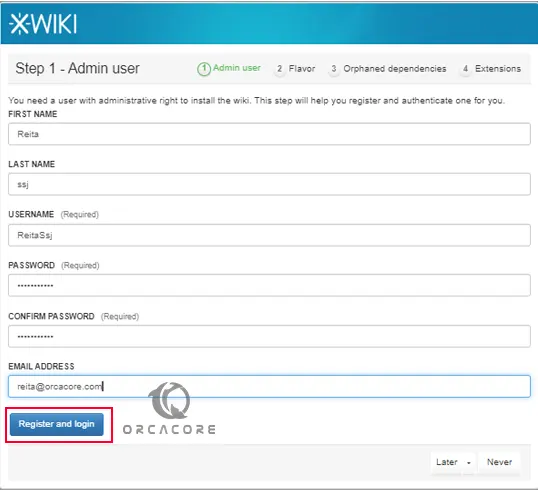
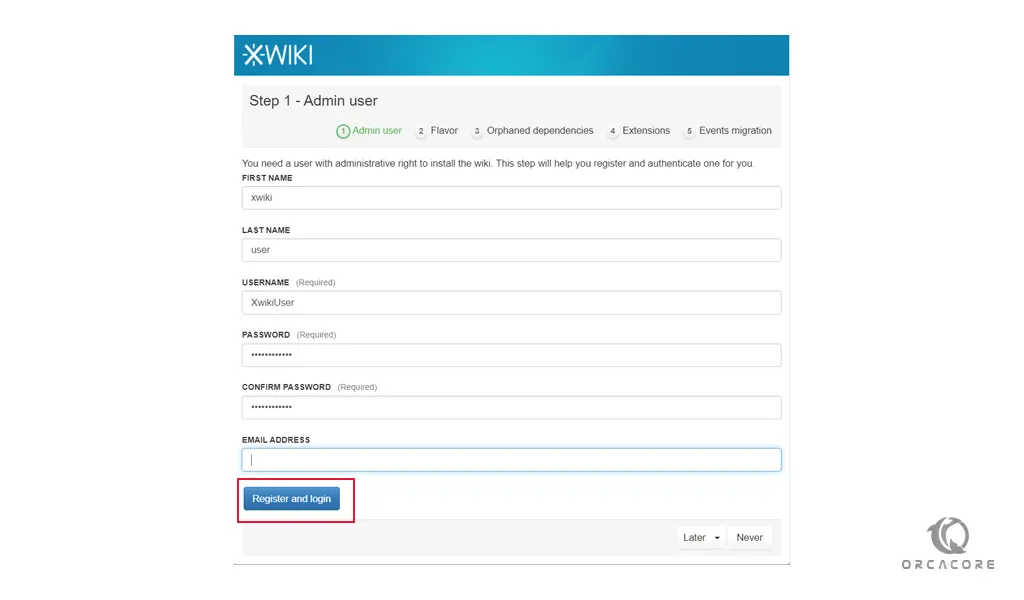
In the next window, you should set up an admin user for XWiki. Enter the credentials and press register and log in:
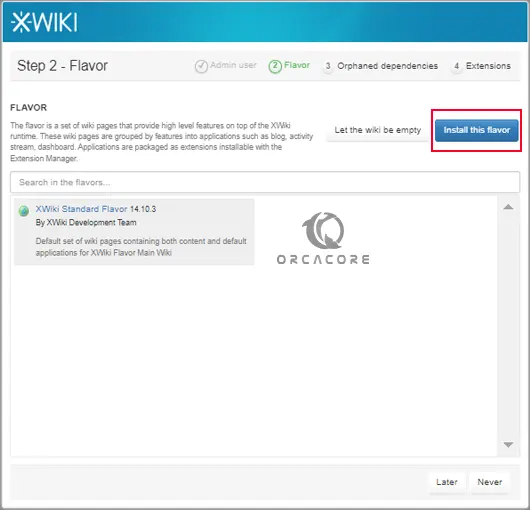
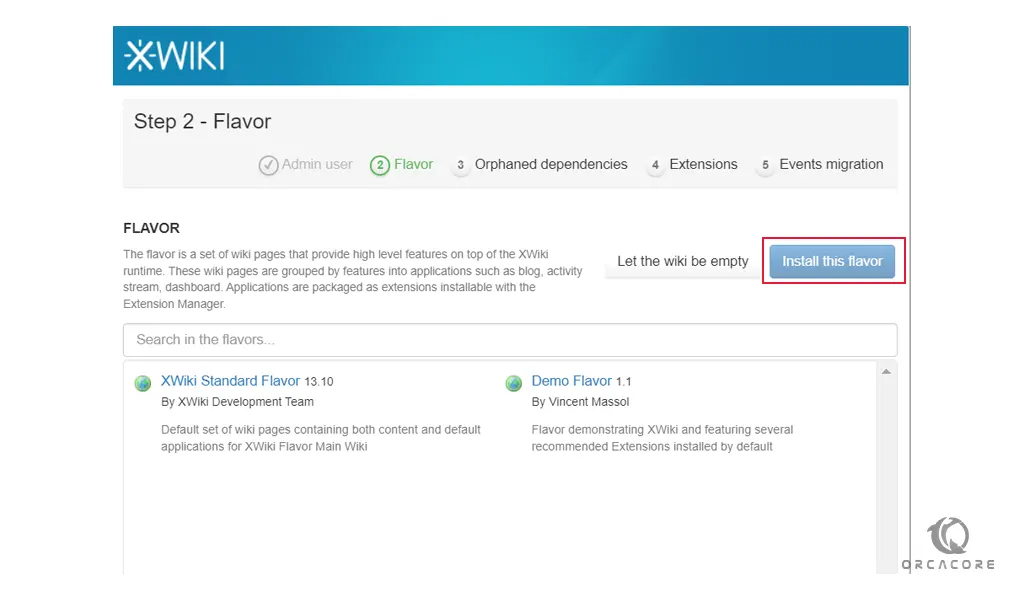
Now in this window, you should choose one flavor by your choice and press the install this flavor:
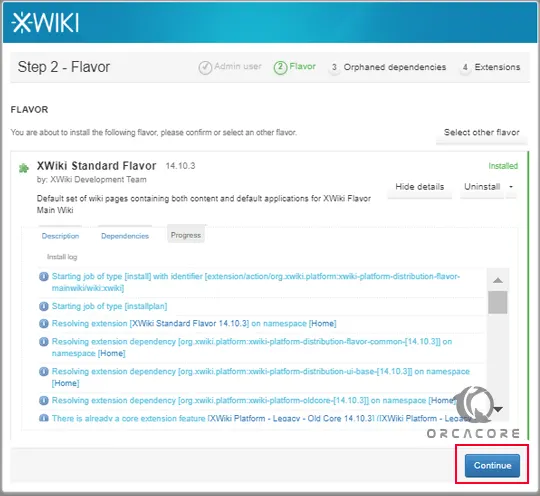
From here click on the continue button until your installation gets complete.
After the flavor installation is completed, press continue to finish with the installation.
You will see the XWiki welcome dashboard:
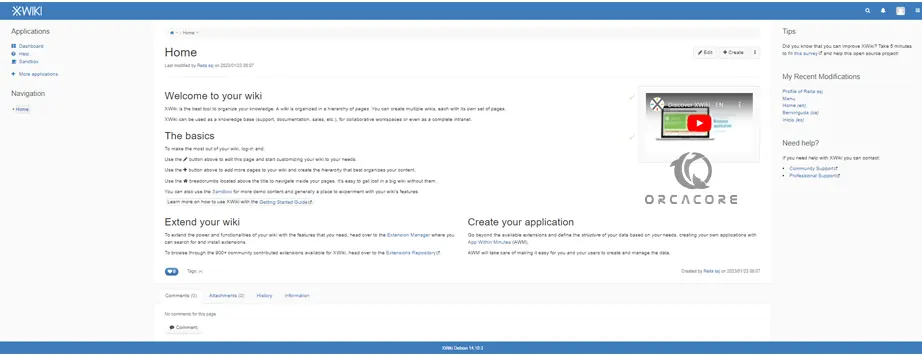
That’s it, you are done. You can start using your XWiki app. For more information, you can visit the XWiki Documentation page.
Conclusion
At this point, you have learned to Install and Configure XWiki on Ubuntu 22.04. XWiki Ubuntu 22.04 is used for creating, managing, and sharing knowledge through a web-based collaborative platform. It helps teams build wikis, documentation, and knowledge bases with customizable features.
Hope you enjoy it. You may also like these guides:
Install Squid Proxy on Ubuntu 22.04
Install and Configure Jekyll on Ubuntu 20.04
Error pkgProblemResolver Resolve generated breaks
Installing Ubuntu in WSL Windows 10/11
Install The Metasploit Framework on Debian 12
How to Install Gradle on Debian 12
How to Install Podman on Debian 12
How To Install And Use AnyDesk On Debian 12


