Share your love
How To Install Nginx on Rocky Linux 8

In this article, we want to teach you How to install Nginx on Rocky Linux 8.
NGINX is an open-source web server software that serves as a reverse proxy, HTTP load balancer, and email proxy for IMAP, POP3, and SMTP.
How To Install Nginx on Rocky Linux 8
To install Nginx on Rocky Linux 8 you must log in to your server as a non-root user with Sudo privileges and a basic setup for the firewall. To do this, you can visit our Initial server setup article for Rocky Linux 8.
Install Nginx on Rocky Linux 8
You can use the DNF package manager to install Nginx on Rocky Linux 8 with the following command:
sudo dnf install nginx
When your installation is finished run the commands below to enable and start the Nginx web server:
sudo systemctl enable nginx
sudo systemctl start nginx
Now you can check that your Nginx is active and running on Rocky Linux 8 with the following command:
systemctl status nginx
In your output you should see:
Output
 nginx.service - The nginx HTTP and reverse proxy server
Loaded: loaded (/usr/lib/systemd/system/nginx.service; enabled; vendor prese>
Active: active (running) since Sat 2022-06-20 08:51:53 EDT; 6s ago
Process: 74025 ExecStart=/usr/sbin/nginx (code=exited, status=0/SUCCESS)
Process: 74023 ExecStartPre=/usr/sbin/nginx -t (code=exited, status=0/SUCCESS)
Process: 74021 ExecStartPre=/usr/bin/rm -f /run/nginx.pid (code=exited, statu>
Main PID: 74026 (nginx)
Tasks: 3 (limit: 11409)
Memory: 8.1M
CGroup: /system.slice/nginx.service
├─74026 nginx: master process /usr/sbin/nginx
├─74027 nginx: worker process
└─74028 nginx: worker process
At this point, we assumed that you have enabled the firewalld in the requirements part.
Now you need to enable HTTP connections with the following command:
sudo firewall-cmd --permanent --add-service=http
Then, check that the HTTP firewall service was added correctly with the following command:
sudo firewall-cmd --permanent --list-all
Output
public
target: default
icmp-block-inversion: no
interfaces:
sources:
services: cockpit dhcpv6-client http ssh
ports:
protocols:
masquerade: no
forward-ports:
source-ports:
icmp-blocks:
rich rules:
Now reload the firewall to apply the changes:
sudo firewall-cmd --reload
Now your Nginx web server is installed on Rocky Linux 8.
How to check the Nginx webserver
At this point, you can check that your server is up and running with your server’s public IP address.
If you don’t have your server’s public IP address you can get it with the following command:
hostname -I
Or you can use the curl tool to get your IP from icanhazip.com with the following command:
curl -4 icanhazip.com
Then, type your IP address in your web browser to access the default Nginx page.
http://your_server_IP_address
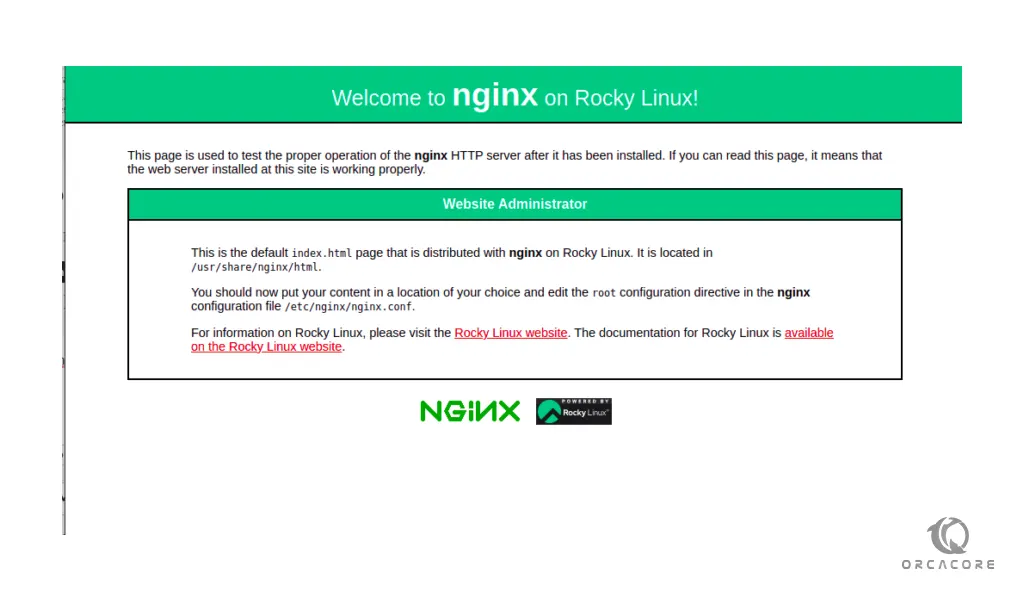
If you see this page means that your Nginx web server is correctly installed and it is up and running on Rocky Linux 8.
How to manage the Nginx process
Now that you have your web server up and running you can manage the Nginx process on Rocky Linux 8.
To stop your web server you can use the following command:
sudo systemctl stop nginx
When your Nginx web server is stopped you can start it again with the following command:
sudo systemctl start nginx
To stop and start the service again you can use the command below:
sudo systemctl restart nginx
You need to reload the Nginx web server when you have made configuration changes on Rocky Linux 8. to do this you can run the following command:
sudo systemctl reload nginx
Nginx is configured to start automatically when the server boots. if you don’t want to this happen run the following command:
sudo systemctl disable nginx
To make Nginx starts at boot again you can use the following command:
sudo systemctl enable nginx
Now you can set up server blocks to host multiple websites within the same Nginx web server on Rocky Linux 8.
let’s see how it works.
How to set up the Nginx server blocks
Nginx server blocks are the same as the Apache virtual hosts, allowing a single server to respond to multiple domain names and serving different content for each of them.
In this step, we will set up a server block for our domain named nginx.orcacore.net. you should replace it with your own domain name in the commands.
First, you need to create a directory for your domain with the following command:
sudo mkdir -p /var/www/nginx.orcacore.net/html
Then, you need to assign ownership of the directory with the $USER environment variable, which should reference your current system user with the following command:
sudo chown -R $USER:$USER /var/www/nginx.orcacore.net/html
Here you need to create a sample index.html page to test the server block configuration. here we use vi text editor to create it, you can use your favorite text editor:
sudo vi /var/www/nginx.orcacore.net/html/index.html
Then, add the following HTML code into the file:
<html>
<head>
<title>Welcome to nginx.orcacore.net</title>
</head>
<body>
<h1>Success! Your Nginx server is successfully configured for <em>nginx.orcacore.net</em>. </h1>
<p>This is a sample page.</p>
</body>
</html>
Save and close your file when you are finished.
At this point, you need to create a server block with the correct directives that point to our custom webroot.
Create a new server block at /etc/nginx/conf.d/nginx.orcacore.net.conf:
sudo vi /etc/nginx/conf.d/nginx.orcacore.net.conf
Now paste in the following configuration block:
server {
listen 80;
listen [::]:80;

root /var/www/nginx.orcacore.net/html; index index.html index.htm index.nginx-debian.html; server_name nginx.orcacore.net www.nginx.orcacore.net; location / { try_files $uri $uri/ =404; } }
When you are done with this, save and close the file.
Run the following command to make sure that there are no syntax errors in any of your Nginx files on Rocky Linux 8:
sudo nginx -t
In your output you should see:
Output
nginx: the configuration file /etc/nginx/nginx.conf syntax is ok
nginx: configuration file /etc/nginx/nginx.conf test is successful
To enable your changes, restart Nginx with the following command:
sudo systemctl restart nginx
You need to allow your custom document root to be served as HTTP content, to do this run the following command:
chcon -vR system_u:object_r:httpd_sys_content_t:s0 /var/www/nginx.orcacore.net/
Now you can test your custom domain setup by typing your domain name in your web browser:
http://your_domain_name
If you see the page below it means that your Nginx server is correctly configured to serve your domain.
For more information, you can visit the Nginx Documentation page.
Conclusion
At this point, You learn How to install Nginx on Rocky Linux 8. Also, you learn the management process for the Nginx web server and you can easily set up Nginx server blocks.
Hope you enjoy it.