Share your love
Install Pritunl VPN Server and Client on Ubuntu 20.04: Free VPN Server

In this guide, we want to show you how to install Pritunl VPN Server and Client on Ubuntu 20.04. Pritunl VPN server is a free, open-source enterprise VPN server that anyone can use to set up a secure VPN tunnel across networks. It provides a simple and user-friendly web interface and has the ability to create a wide range of cloud VPN networks. It provides an official client package and supports all OpenVPN clients for most devices and platforms. Follow the guide steps on the Orcacore website to start your Pritunl VPN Setup on Ubuntu 20.04.
Table of Contents
Steps To Install Pritunl VPN Server and Client on Ubuntu 20.04
To complete Pritunl VPN Setup on Ubuntu 20.04, you must log in to your server as a non-root user with sudo privileges. To do this, you can follow our guide on Initial Server Setup with Ubuntu 20.04.
Required Packages for Pritunl VPN Setup
First, you need to update and upgrade your local package index with the command below:
# sudo apt update
# sudo apt upgrade -y
Then, use the following command to install the required packages:
sudo apt install gpg curl gnupg2 software-properties-common apt-transport-https lsb-release ca-certificates -yAt this point, you need to add the MongoDB and Pritunl VPN Server repositories on your Ubuntu 20.04. To do this, follow the steps below.
Add MongoDB GPG Key and Repository on Ubuntu 20.04
Import MongoDB APT repository keys to your system by using the following curl command:
curl -fsSL https://www.mongodb.org/static/pgp/server-5.0.asc | sudo gpg --dearmor -o /etc/apt/trusted.gpg.d/mongodb-5.gpgNext, use the command below to add the MongoDB repository:
echo "deb [ arch=amd64,arm64 ] https://repo.mongodb.org/apt/ubuntu $(lsb_release -cs)/mongodb-org/5.0 multiverse" | sudo tee /etc/apt/sources.list.d/mongodb-org-5.0.listAdd Pritunl GPG Key and Repository on Ubuntu 20.04
Now you need to use the command below to import the Pritunl GPG keys:
# sudo apt-key adv --keyserver hkp://keyserver.ubuntu.com --recv 7AE645C0CF8E292AOutput
gpg: key 7AE645C0CF8E292A: public key "Pritunl <contact@pritunl.com>" imported
gpg: Total number processed: 1
gpg: imported: 1Then, use the following command to add the Pritunl repository on Ubuntu 20.04:
echo "deb http://repo.pritunl.com/stable/apt $(lsb_release -cs) main" | sudo tee /etc/apt/sources.list.d/pritunl.listInstall Pritunl and MongoDB on Ubuntu 20.04
At this point, you need to run the system update and install the Pritunl and mongo-server packages:
# sudo apt update
# sudo apt install mongodb-org pritunl -y
Now use the commands below to start and enable the services:
# sudo systemctl start pritunl mongod
# sudo systemctl enable pritunl mongod
Configure and Access Pritunl VPN Server on Ubuntu 20.04
At this point, you can access your Pritunl VPN setup web interface by typing your server’s IP address in your web browser:
http://your-server-ipYou should see the following screen:
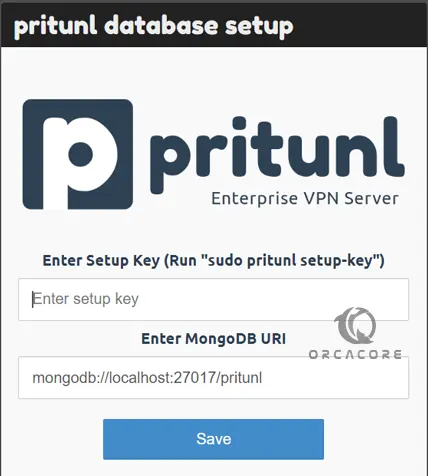
You’ll need the Setup Key to continue. To do this, run the command below in your terminal:
sudo pritunl setup-keyOutput
ca3e792f00744afaa4bb004f993b9487Enter your setup key and click Save. Then, you will see the Pritunl VPN Server sign-in screen on Ubuntu 20.04.
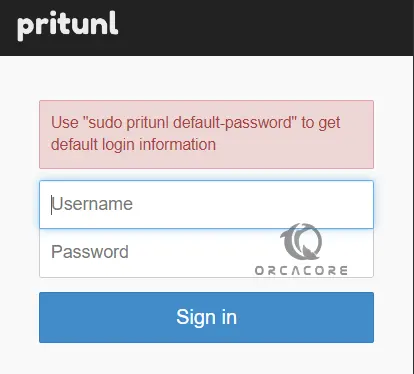
At this point, you need to run the command below to get your default username and password:
sudo pritunl default-passwordOutput
Administrator default password:
username: "pritunl"
password: "KFYjHRQXKBmL"Enter the username and password on the login screen and click Sign in. You will see the initial setup page where you can change the admin user and password, set the domain, and Let’s Encrypt SSL. When you are done click Save or you can set it up later.
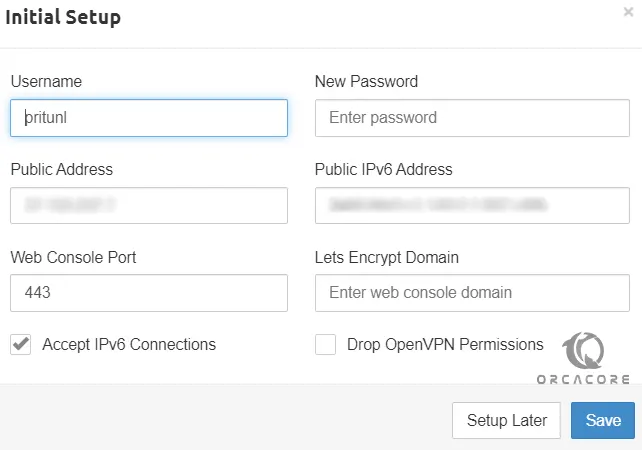
At this point, you can configure the organizations, users, and servers from the Pritunl dashboard on Ubuntu 20.04.

Add Organizations To Pritunl
You can click on Users and add the VPN users. Users are mapped to servers in an organization.

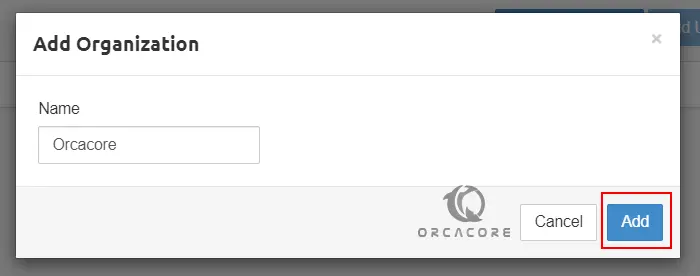
To create a new organization click on ‘Add organization’ then specify a name and ‘Add’.
Add VPN Server To Pritunl
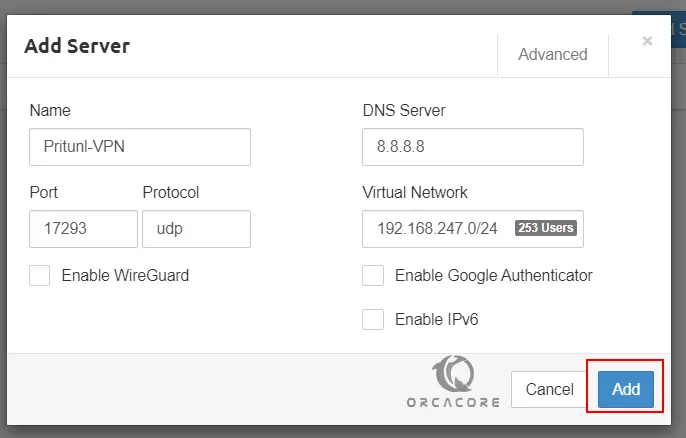
At this point, you can create a VPN server on Ubuntu 20.04 by clicking on ‘servers’ and then ‘Add server’.
Provide the server information required then click ‘Add’.
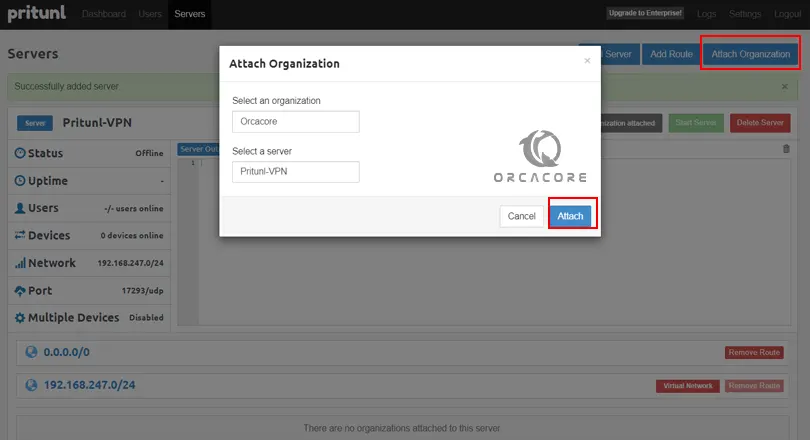
Finally, you need to attach the server to an organization by clicking on ‘Attach organization’ and choosing your organization.
Add Users To Pritunl
At this point, you can click on ‘Add user’ to create a user profile on your VPN server on Ubuntu 20.04. Enter the information that is needed and click Add.
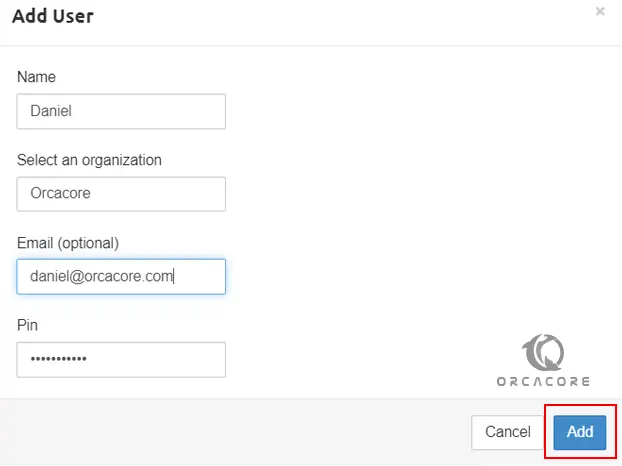
Note: To add many users at once, use the ‘Bulk Add user’ function on the web interface.
Set up Pritunl VPN Client
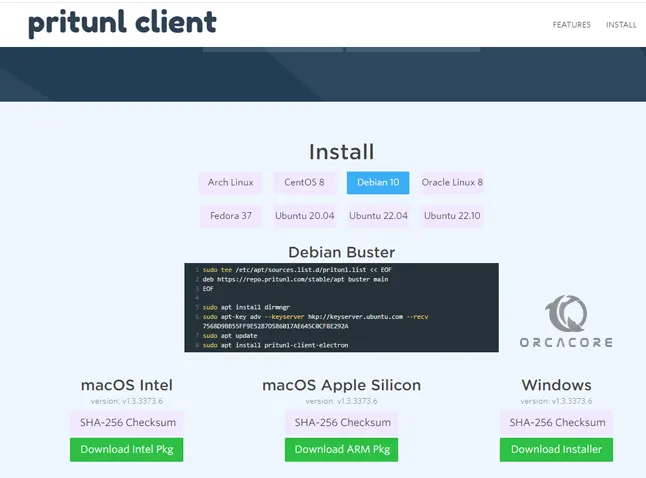
At this point, you can visit the Pritunl VPN clients page and choose one for your client machine to download and install. The installation part is described on the official page. Here we have downloaded the Windows Client.
Once the VPN client has been installed, log in to the Pritunl VPN server to download the user profile. Click on ‘Users’ select the particular user and click on the download icon to get the user profile.

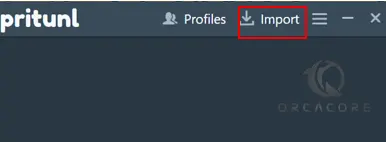
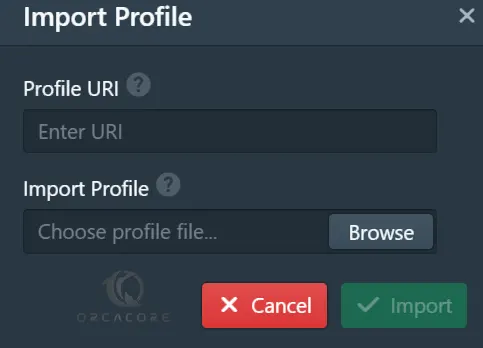
Next, launch your Pritunl VPN client, then choose “Import Profile”.
Locate the user’s profile .tar file downloaded and import it or you can use the Client URL, then you’ll be able to connect to the Pritunl VPN server.
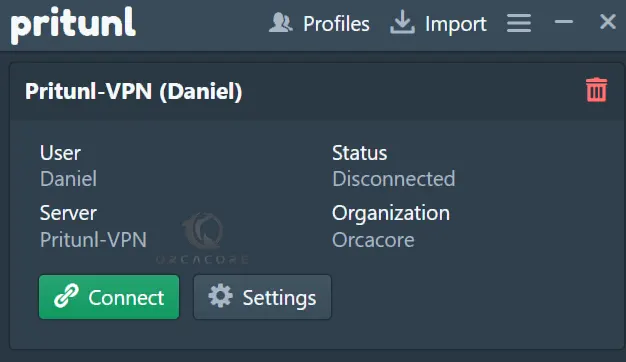
That’s it, you are done with Pritunl VPN Setup on Ubuntu 20.04.
Conclusion
Pritunl helps you to set up a secure VPN tunnel across networks. At this point, you have learned to Install Pritunl VPN Server and Client on Ubuntu 20.04.
Hope you enjoy using it. You may also like these articles:
Reset Root Password on Ubuntu 20.04
Install OpenJDK 19 on Ubuntu 20.04
Installing XWiki on Ubuntu 20.04