Share your love
Best Steps To Install Sublime Text on AlmaLinux 8/9

This tutorial intends to teach you to Install Sublime Text on AlmaLinux. Sublime Text is an application that helps you manage text editing processes for codes, markups, and prose. Also, it allows members to manage syntax definitions and highlighting using built-in features, such as multi-line constructs, laze embeds, and non-deterministic grammars.
In this guide on the Orcacore website, you will learn to install Sublime Text by adding a stable repository to your server. You can use this guide for both AlmaLinux 8 and AlmaLinux 9.
Also, keep in mind that this is an unregistered and copied version and you can use it for free. But to use it in a full-featured version you need to use a registered version.
Table of Contents
Steps To Install Sublime Text on AlmaLinux
To Install Sublime Text on AlmaLinux, you must have access to your server as a non-root user with sudo privileges. For this purpose, you can visit the AlmaLinux initial guides:
Initial Server Setup with AlmaLinux 8
Initial Server Setup with AlmaLinux 9
Now follow the steps below to Install Sublime Text on AlmaLinux.
Step 1 – Add Sublime Text GPG Key on AlmaLinux
First, you must add the Sublime Text GPG key to your server. To do this, you can use the command below:
sudo rpm -v --import https://download.sublimetext.com/sublimehq-rpm-pub.gpgStep 2 – Add Stable Sublime Text Repository to AlmaLinux
Then, you must add the Sublime Text repo to your server. To do this, you can use the command below to add the stable repo:
sudo dnf config-manager --add-repo https://download.sublimetext.com/rpm/stable/x86_64/sublime-text.repoOutput
Adding repo from: https://download.sublimetext.com/rpm/stable/x86_64/sublime-text.repoNote: There is a development repository for Sublime that is available for registered users. To do this, you can use the following repository:
sudo dnf-config-manager --add-repo https://download.sublimetext.com/rpm/dev/x86_64/sublime-text.repoNext, run the system update with the following command:
sudo dnf update -yStep 3 – Command To Install Stable Sublime Text
At this point, you can use the following command to Install Sublime Text on AlmaLinux:
sudo dnf install sublime-text -yWhen your installation is completed, you can verify it by checking the Sublime Text version:
subl -versionOutput
Sublime Text Build 4152Step 4 – Get Started With Sublime Text Editor
At this point, you can easily access your Sublime Text software from the terminal. To do this, run the command below:
sublOr you can launch your Sublime software from your desktop application finder. From there search for the Sublime Text app.
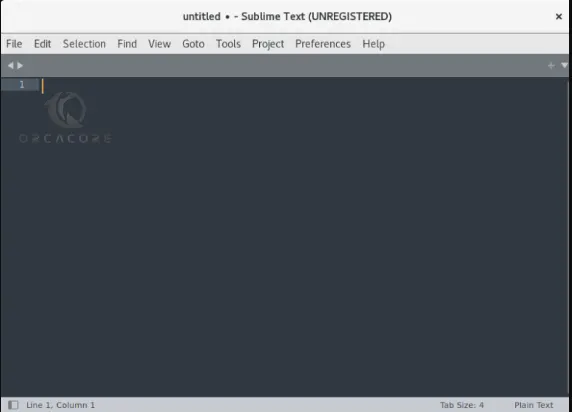
When you have launched your app, you will see the Sublime text editor screen.
From the Sublime Text app, you can easily add plugins and themes from the Preferences tab. Also, you can modify the font size by using the keys CTRL + and CTRL –.
Another amazing feature that Sublime has is to install packages to this app. To do this, you can navigate to Tools >> Command Pallette >> and Type Install Package.
For more information, you can visit the Sublime Text Documentation.
Summing Up
At this point, you have learned to Install Sublime Text on Both AlmaLinux 8 and AlmaLinux 9 by adding the stable Sublime repo and launching it from the command line and desktop. Remember that this is an unregistered version and development users must register for it.
Hope you enjoy it. You may be interested in these articles too: