Share your love
Install Visual Studio Code on Rocky Linux 8 with Easy Steps
This guide intends to teach you to Install Visual Studio Code on Rocky Linux 8. Visual Studio Code is “a free editor that helps the programmer write code, helps in debugging and corrects the code using the intelli-sense method ”. In normal terms, it facilitates users to write the code easily.
It can be run on your desktop and the web and is available for Windows, macOS, Linux, and Raspberry Pi OS. Now follow the guide steps below on the Orcacore website to complete the VS Code setup on Rocky Linux 8.
Table of Contents
Steps To Install Visual Studio Code on Rocky Linux 8
To add the VS code repository and install it on Rocky Linux 8, you must log in to your server as a non-root user with sudo privileges. To do this, you can follow our guide on Initial Server Setup with Rocky Linux 8.
1. Install VS Code on Rocky Linux 8
First, you need to update your local package index with the following command:
sudo dnf update -yThen, install the development tools by using the command below:
sudo dnf groupinstall "Development Tools" -yVisual studio code packages are not available in the default Rocky Linux repository. So you need to add it to your server.
Import Visual Studio Code GPG key
Here you need to import the GPG key to verify the authenticity of the packages to be installed. To do this, run the command below:
sudo rpm --import https://packages.microsoft.com/keys/microsoft.ascAdd VS Code Repository
Now use the following command to import the repository on your server:
printf "[vscode]\nname=packages.microsoft.com\nbaseurl=https://packages.microsoft.com/yumrepos/vscode/\nenabled=1\ngpgcheck=1\nrepo_gpgcheck=1\ngpgkey=https://packages.microsoft.com/keys/microsoft.asc\nmetadata_expire=1h" | sudo tee -a /etc/yum.repos.d/vscode.repo
When you are done, run the system update:
sudo dnf update -yNow you can install Visual Studio code on Rocky Linux 8 by using the following command:
sudo dnf install code -y2. How To Launch VS Code?
At this point, you can use different ways to open your VS code. You can easily launch your software, by using the following command:
codeOr, you can run the code & command, which you can continue to use the terminal during the application session:
code &Also, you can open VSCode from your desktop. To do this, follow the following path:
Applications -> Programming -> Visual Studio CodeWhen you start VS Code for the first time, a window like the following will be displayed:
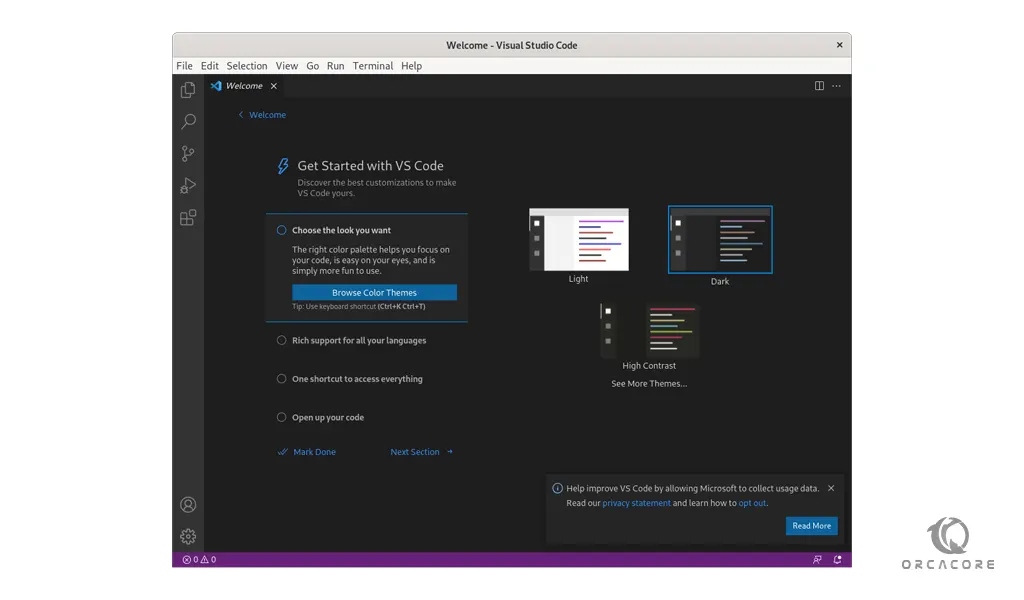
You can now begin installing extensions and configuring VS Code according to your preferences.
For more information, you can visit Visual Studio Code Documentation.
3. Update Visual Studio Code on Rocky Linux 8
When a new version of Visual Studio Code is released you can update the package through your desktop standard Software Update tool or by running the following commands:
# sudo dnf update -y
# sudo dnf upgrade -y
4. Remove VS Code From Rocky Linux 8
When you no longer want VSCode installed on your system, use the following command to remove it:
sudo dnf autoremove code -yNext, remove the repository using the following command if you plan never to re-install the IDE again:
sudo rm /etc/yum.repos.d/vscode*Conclusion
VS Code is used by programmers and developers for writing, editing, and managing code in various programming languages. At this point, you have learned to Install Visual Studio (VS) Code on Rpcky Linux 8.
Hope you enjoy it. You may also like these articles:
Install TensorFlow on Rocky Linux 8
Install Varnish Cache with Nginx on Rocky Linux 9
SFTP Server Setup Rocky Linux 8
7-zip installation Rocky Linux 8
PHP ionCube Loader Rocky Linux 8