Share your love
How To Install WordPress on cPanel
In this article, we want to teach you How To Install WordPress on cPanel.
WordPress is an open-source, free website creation tool written in the programming language PHP.
It is licensed under General Public License, which allows anyone to not only use the software but also to modify it to suit individual needs and share those modifications with others.
Install WordPress on cPanel
You can set up WordPress manually without enabling the cPAddon function for it.
To install WordPress manually on cPanel follow the steps below.
Download and Upload WordPress on cPanel
First, you need to visit the WordPress Downloads page and download the zip file on your system.
Then, log in to your cPanel account.
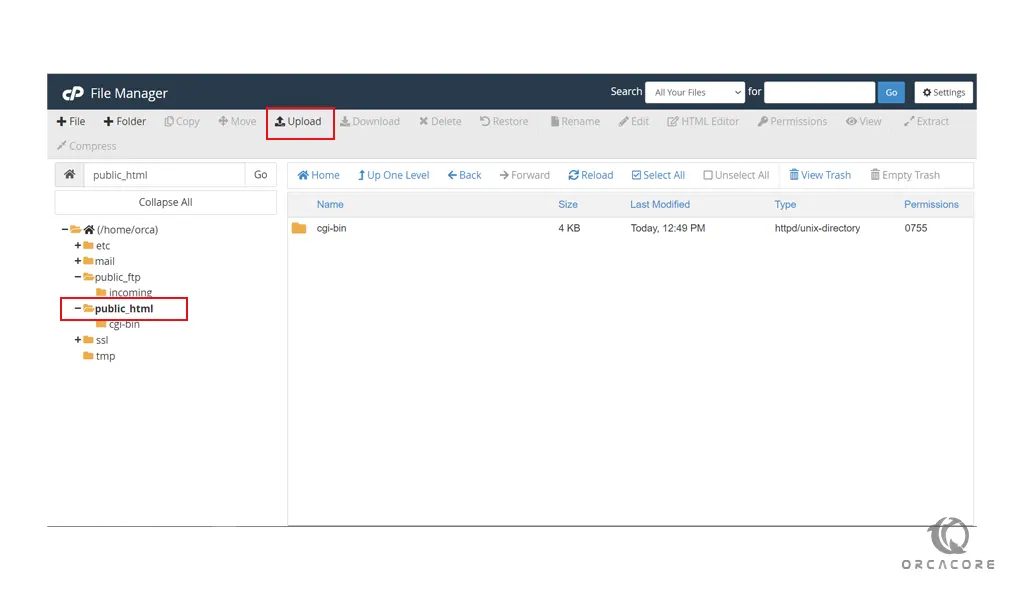
From your cPanel search for the File Manager Tool and open it.
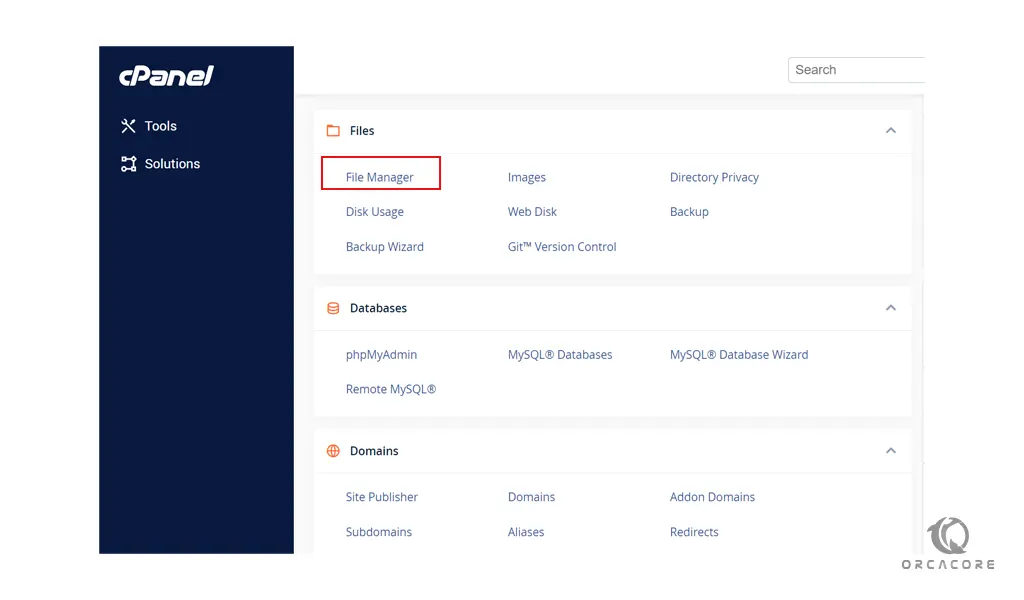
Next, at the file manager find the public_html directory.
The public_html directory is your webroot, the directory in which you want to store all your websites.
At this point, you need to upload all contents of the WordPress folder on cPanel, but not the folder itself. After the upload, all WP files and subfolders should reside in public_html.
Then, you need to extract your uploaded file as shown below.
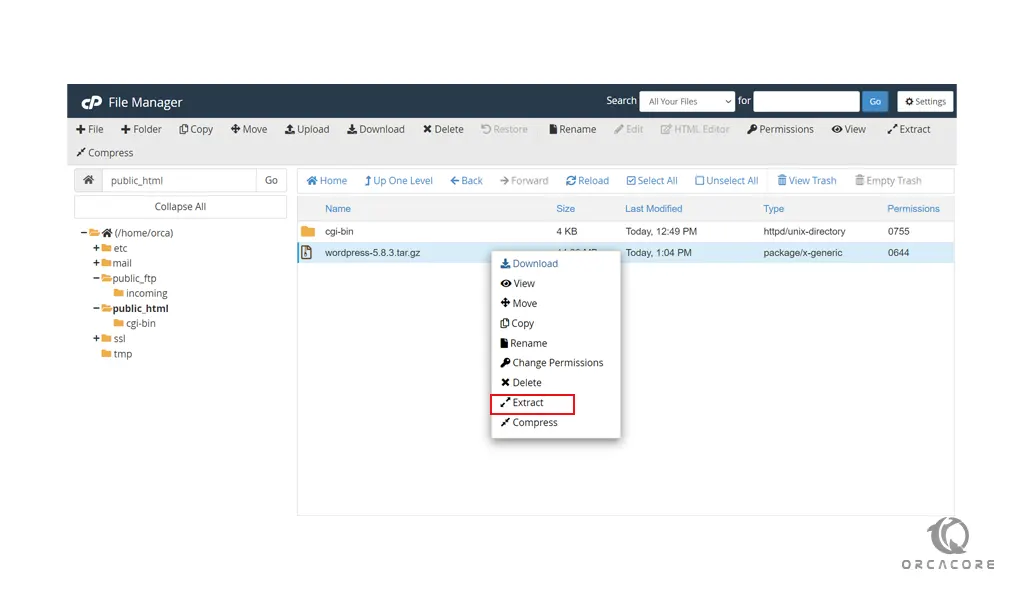
Now the files should be extracted into a folder named WordPress. Go to the WordPress file and select all the files and move them into the public_html directory. After that, delete the WordPress folder and the zip file that you have extracted.
Right now, you can initiate the WordPress install by browsing your_domain_name.com.
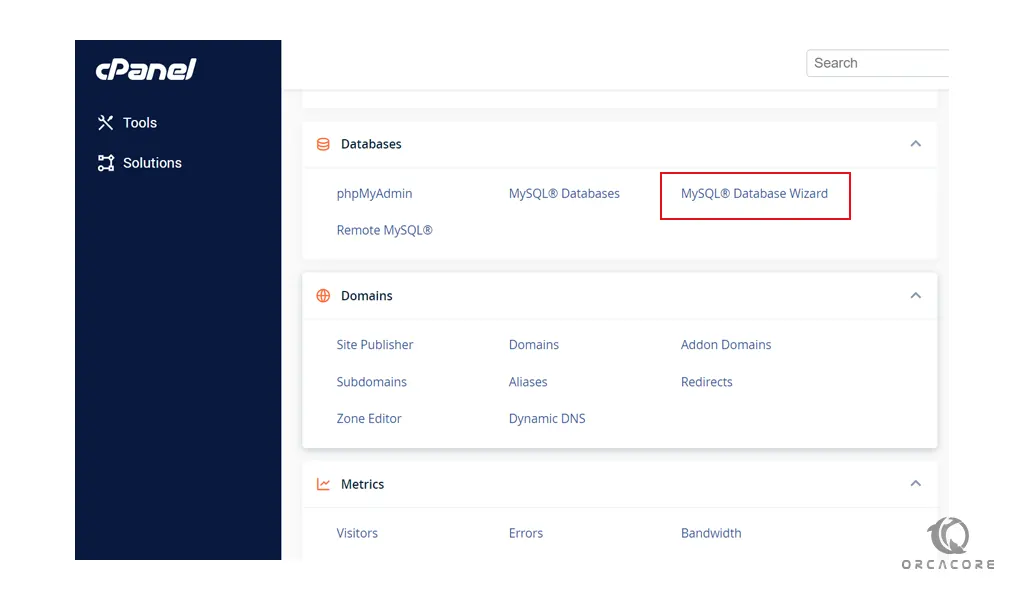
Before you start your WordPress installation, you need to create a MySQL database and user.
Create MySQL Database and User for WordPress
From your cPanel dashboard, click on the MySQL Database Wizard.
The first step is to choose a name for your Database and click on the Next button.
Then, you need to create a database user. Choose a name for your user and set a password for it and click on the Create User button.
The next step would be to assign database privileges. For the initial database user, select the All Privileges checkbox. And click on the Make Changes button to assign the privileges.
To verify, go back and scroll down to view current databases. There should be a database and a privileged user assigned to the database.
When you have finished this step, you can navigate to your_domain.com and complete your WordPress installation.
Access WordPress Web Interface
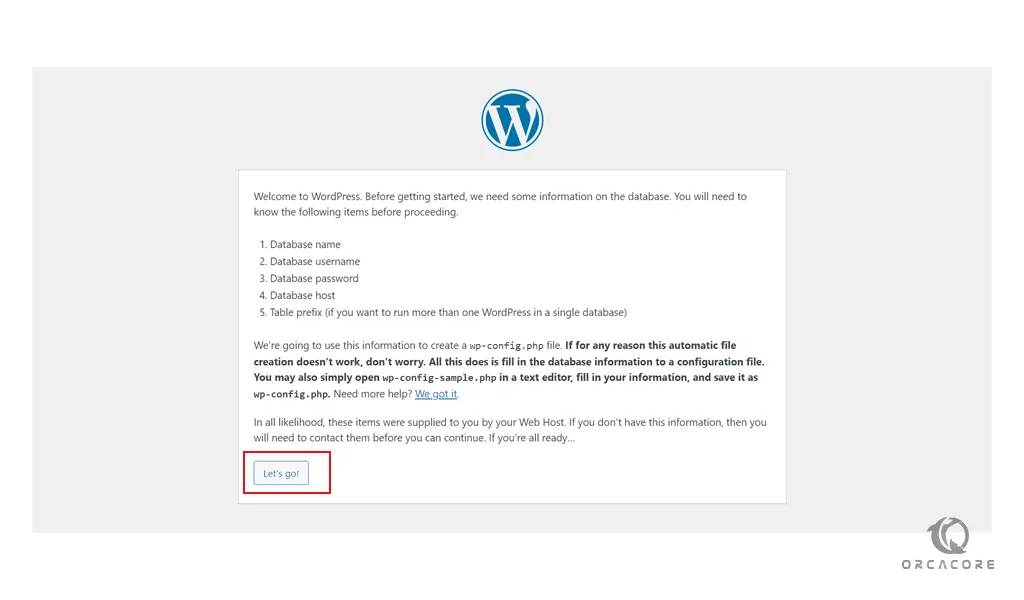
When you have navigated to your Domain name, you need to choose your desired language first.

Then, to install WordPress you need to provide your MySQL information that you have set on cPanel. Click on the Let’s Go button.
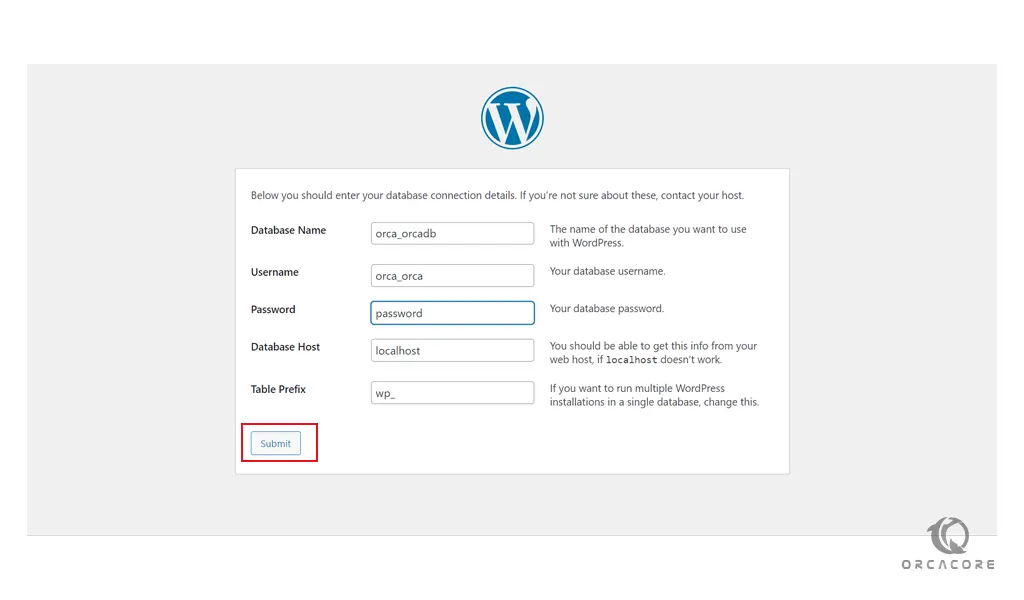
Provide your database details to install WordPress on cPanel. And click on the submit button.
On the next page, click on the Run the Installation button. You will see the WordPress main setup page.
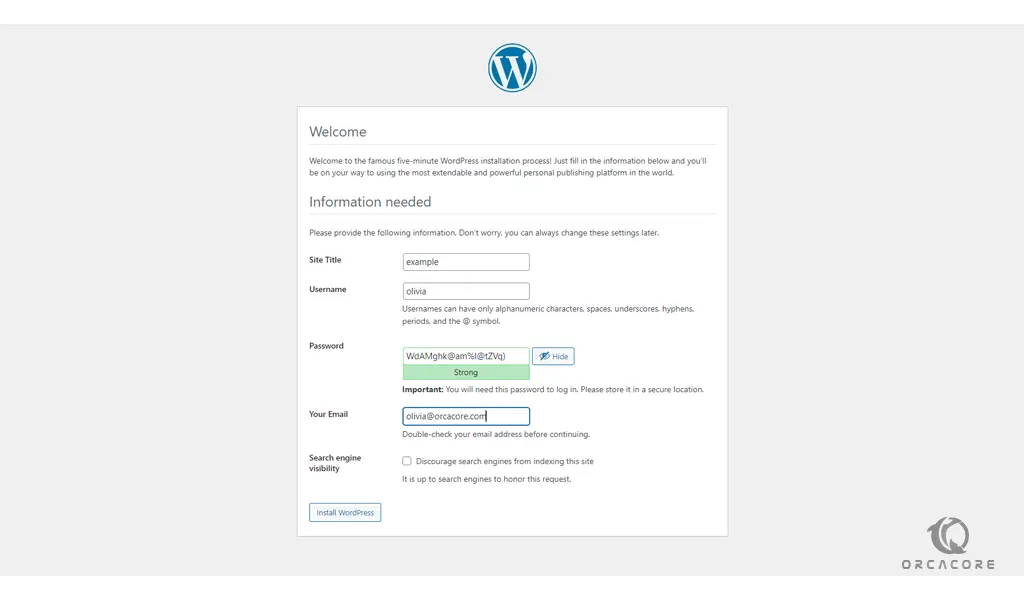
Set the information that is needed and click on the Install WordPress button.
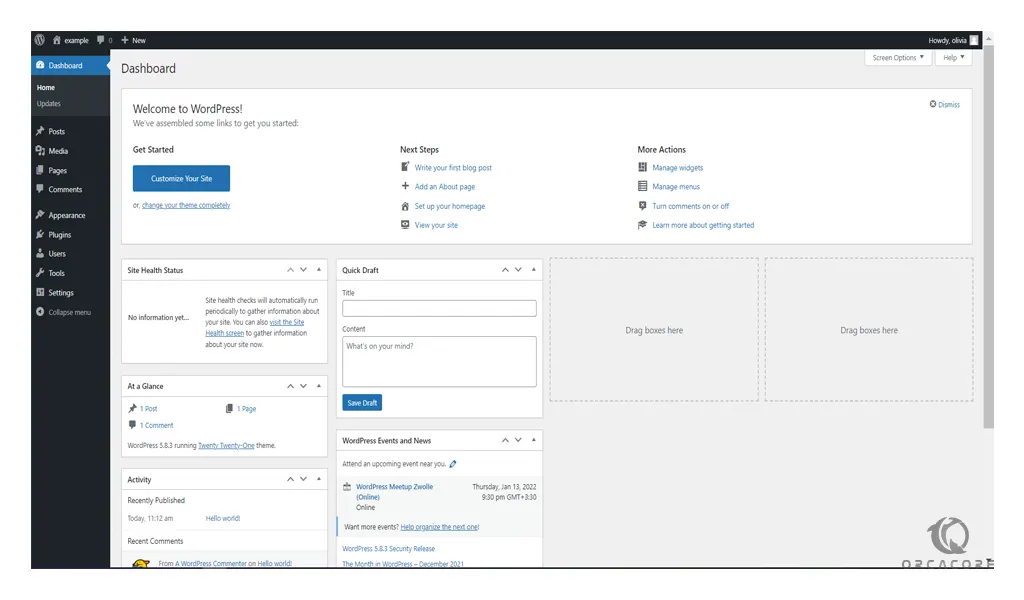
Then, click on the login button and enter your username and password that you have set for your WordPress and you will see your WordPress dashboard.
Conclusion
At this point, you learn to install WordPress on cPanel step by step.
Hope you enjoy using it.
May you will be interested in these articles: