Share your love
Joomla CMS LTS with LAMP Stack on Debian 12: Best Setup
This guide intends to teach you to Set up Joomla CMS LTS with LAMP Stack on Debian 12 Bookwoorm and Access it from the Web Interface. Joomla is one of the most popular content management systems that is available for free and open-source. It allows you to create your website and apps with a user-friendly GUI. Now you can follow the steps below provided by the Orcacore team to start your Joomla CMS installation on Debian 12.
Table of Contents
Steps To Install Joomla CMS LTS with LAMP Stack on Debian 12
Before you start to set up Joomla CMS LTS with LAMP Stack on Debian 12, you must have access to your server as a non-root user with sudo privileges and set up a basic UFW firewall. To do this, you can check this guide on Initial Server Setup with Debian 12 Bookworm.
Because we want to install Joomla CMS with LAMP stack, you must install it on your server. For this purpose, you can visit this guide on Install LAMP Stack on Debian 12.
Also, you need a valid domain name that is pointed to your server’s IP address.
When you are done, follow the steps below to complete Joomla CMS LTS with LAMP Stack on Debian 12.
Step 1 – Create Joomla CMS Database and User on Debian 12
At this point, you must log in to your MariaDB shell which you have installed from the LAMP Stack installation guide. To do this, run the command below:
sudo mysql -u root -pThen, you need to create a database for Joomla CMS by using the following command:
MariaDB [(none)]> CREATE DATABASE joomladb;Next, create a user database, grant all the privileges to it, and set a strong password for it with the command below:
MariaDB [(none)]> GRANT ALL PRIVILEGES ON joomladb.* TO 'joomlauser'@'localhost' IDENTIFIED BY 'password';Now flush the privileges and exit from the MariaDB shell:
MariaDB [(none)]> FLUSH PRIVILEGES;
MariaDB [(none)]> EXIT;
Step 2 – PHP Configuration for Joomla CMS on Debian 12
At this point, you need some PHP extensions for your Joomla installation. To do this, run the command below:
sudo apt install php-common libapache2-mod-php php-cli php-fpm php-mysql php-json php-opcache php-gmp php-curl php-intl php-mbstring php-xmlrpc php-gd php-xml php-zipNow you must edit your php.ini file and make some configuration changes to it. To do this, you can use the command below: You can use your desired text editor to open the file like vi editor or nano editor.
sudo vi /etc/php/8.2/fpm/php.iniFind the following lines and change their values as shown below:
memory_limit = 512M
upload_max_filesize = 256M
post_max_size = 256M
max_execution_time = 300
Also, uncomment the following and line and set your correct time zone:
date.timezone = America/New_YorkWhen you are finished, save and close the file.
Step 3 – Download Joomla LTS from Official Site
At this point, you can visit the official site and get the latest version by using the following wget command:
sudo wget https://downloads.joomla.org/cms/joomla5/5-0-0/Joomla_5-0-0-Stable-Full_Package.zip?format=zipThen, unzip your Joomla downloaded file in the /var/www/html/joomla directory with the command below:
sudo unzip Joomla_5-0-0-Stable-Full_Package.zip?format=zip -d /var/www/html/joomlaSet Correct Permissions and Ownership for Joomla CMS
Now you must set the correct permissions and ownership for your Joomla directory with the commands below:
# sudo chown -R www-data:www-data /var/www/html/joomla
# sudo chmod -R 755 /var/www/html/joomla
Step 4 – Configure Apache To Server Joomla CMS Web Pages
At this point, you must create an Apache virtual host file for your Joomla CMS on Debian 12. To do this, you can use the command below:
sudo vi /etc/apache2/sites-available/joomla.confAdd the following content to the file:
<VirtualHost *:80>
 ServerAdmin admin@example.com
 DocumentRoot /var/www/html/joomla/
 ServerName example.com
 ServerAlias www.example.com

 ErrorLog ${APACHE_LOG_DIR}/error.log
 CustomLog ${APACHE_LOG_DIR}/access.log combined

 <Directory /var/www/html/joomla/>
        Options FollowSymlinks
        AllowOverride All
        Require all granted
 </Directory>
</VirtualHost>
When you are done, save and close the file.
Next, use the following command to disable the default page:
sudo a2dissite 000-default.confThen, enable your created virtual host file and re-write the module by using the commands below:
# sudo a2ensite joomla.conf
# sudo a2enmod rewrite
Now restart Apache to apply the changes:
sudo systemctl restart apache2Step 5 – Firewall Configuration to Access Joomla CMS
At this point, we assumed that you have enabled the UFW firewall. Now you must allow port 80 through the firewall by using the command below:
sudo ufw allow 80/tcpThen, reload the firewall to apply the new rules:
sudo ufw reloadStep 6 – Access Joomla CMS Installer via Web Interface
At this point, you can continue your Joomla CMS installation on Debian 12 via the Web interface. Type your server IP address or domain name in your desired web browser:
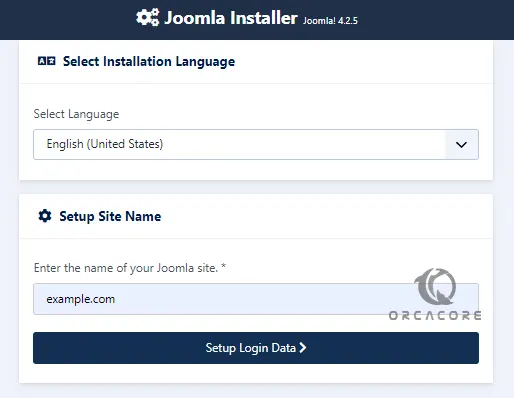
http://server-ip Or example.comYou will see your Joomla installer. Select your desired language, enter your Joomla site name, and click Set up login data.
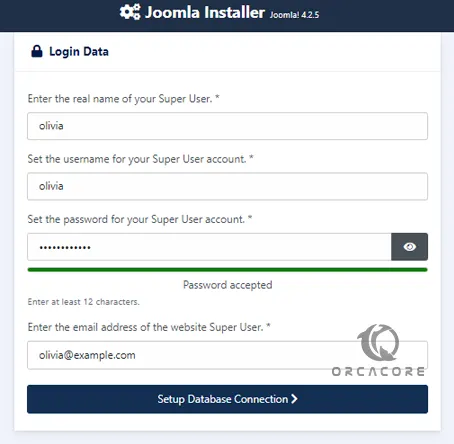
Next, you need to enter your login data and click Setup database connection.
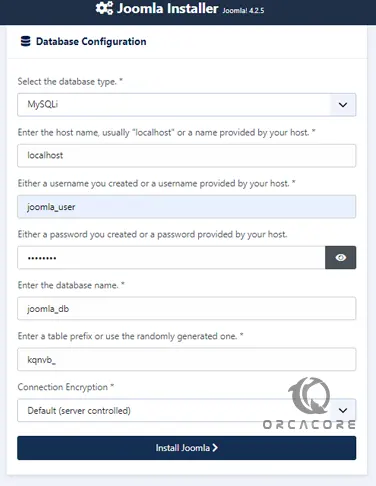
Next, enter the database credentials that you have provided before on Debian 12 and click Install Joomla.
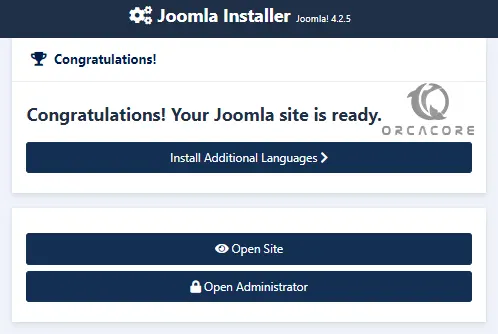
When your installation is completed, you will see the following screen. Click Open Administrator.
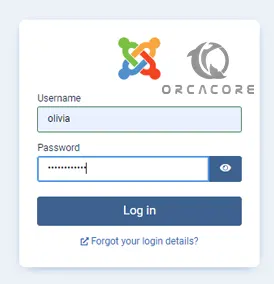
Then, enter your Joomla super username and password and click Login.
At this point, you will see your Joomla dashboard.
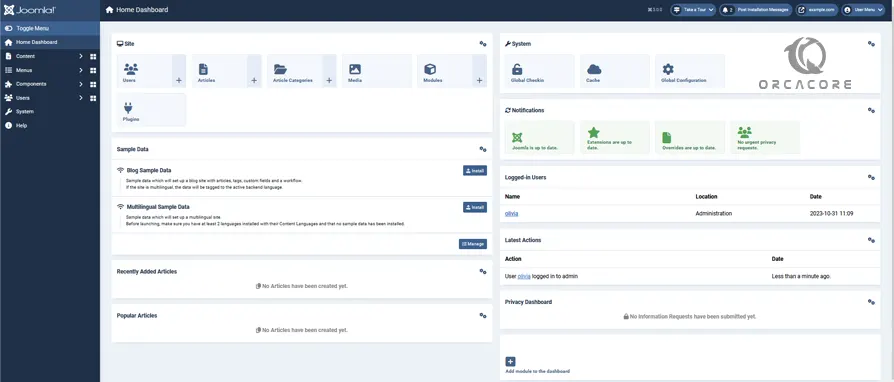
At this point, you can start to publish your web content and manage your site.
Step 7 – Get SSL Certificates from Let’s Encrypt for Joomla CMS
At this point, if you want to secure Joomla by getting the SSL certificates from Let’s Encrypt, you can install certbot and run it to get the Apache SSL certificates from Let’s Encrypt. To do this step by step, you can visit this guide on Secure Apache Web Server with Let’s Encrypt on Debian 12.
Conclusion
At this point, you have learned to Install and configure Joomla CMS LTS with LAMP Stack on Debian 12 Bookowrm, Access your Joomla installer via the Web interface, and start using your dashboard.
Hope you enjoy using it. If you need any help, please comment for us.