Share your love
Best Steps to Pritunl VPN Server Setup on Debian 12 – Configure Clients

This guide will teach you Pritunl VPN Server Setup on Debian 12 and set up your VPN clients. Pritunl is a free and open-source VPN server that uses OpenVPN and WireGuard protocols to provide secure network connections. Also, it is a popular VPN server because of its ease of use and user-friendly interface.
Now you can follow the steps below on the Orcacore website to start your Pritunl VPN Server Setup on Debian 12 and then configure your clients.
Table of Contents
Step-by-Step Guide For Pritunl VPN Server Setup on Debian 12
Before you start your Pritual VPN Server Setup on Debian 12, you need to access your Debian server as a non-root user with sudo privileges. To do this, you can follow the Debian 12 Initial Setup Guide.
Now follow the steps below to complete the Pritunl VPN Server Setup on Debian 12.
Step 1 – Install Required Packages for Pritunl Server Setup
First, you need to run the system update and upgrade with the following command:
sudo apt update && sudo apt upgrade -yThen, use the following command to install the required packages:
sudo apt install gpg curl gnupg2 software-properties-common apt-transport-https lsb-release ca-certificates -yStep 2 – Add MongoDB Repository for Pritunl Setup
At this point, you need to add the MongoDB repository for your Pritunl server installation on Debian 12. First, add the GPG key with the following curl command:
curl -fsSL https://pgp.mongodb.com/server-6.0.asc | \
sudo gpg --dearmor -o /etc/apt/trusted.gpg.d/mongodb-server-6.0.gpg
Then, use the command below to add the MongoDB repository:
echo "deb [ arch=amd64,arm64 signed=/etc/apt/trusted.gpg.d/keyrings/mongodb-server-6.0.gpg ] https://repo.mongodb.org/apt/ubuntu jammy/mongodb-org/6.0 multiverse" | sudo tee /etc/apt/sources.list.d/mongodb-org-6.0.list
Step 3 – Add Pritunl VPN Repository on Debian 12
At this point, you need to add the Pritunl repository to your server. To do this, you need to import the GPG keys with the command below:
curl https://raw.githubusercontent.com/pritunl/pgp/master/pritunl_repo_pub.asc | sudo apt-key add -Then, use the command below to add the Pritunl repository package on Debian 12:
echo "deb http://repo.pritunl.com/stable/apt $(lsb_release -cs) main" | sudo tee /etc/apt/sources.list.d/pritunl.listStep 4 – Install Pritunl Server and MongoDB on Debian 12
Now you need to run the system update to apply the added repositories:
sudo apt updateThen, use the command below to install Pritunl and MongoDB on Debian 12:
sudo apt install mongodb-org pritunl -yStep 5 – Start and Enable the Pritunl VPN Server and MongoDB
Once your installation of Pritunl VPN Server Setup on Debian 12 is completed, you need to start and enable the services by using the commands below:
# sudo systemctl start pritunl mongod
# sudo systemctl enable pritunl mongod
Verify your Pritunl service is active and running on Debian 12:
sudo systemctl status pritunl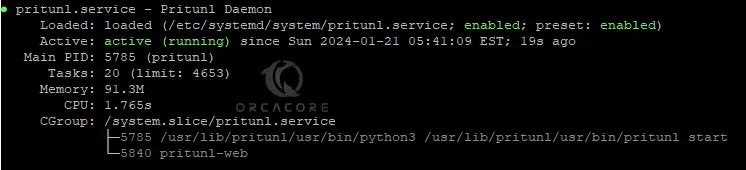
Also, you can verify your MongoDB service:
sudo systemctl status mongod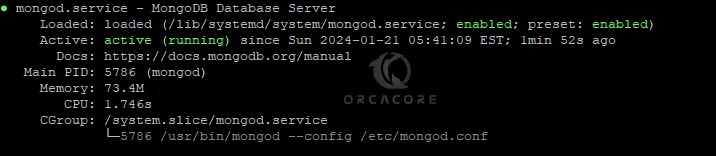
Step 6 – Pritunl Server Setup on Debian 12 via Web Interface
At this point, you have finished Pritunl VPN Server Setup on Debian 12, now you can access your Pritunl VPN server web interface by typing your server’s IP address in your web browser:
http://your-server-ipYou should see the following screen:
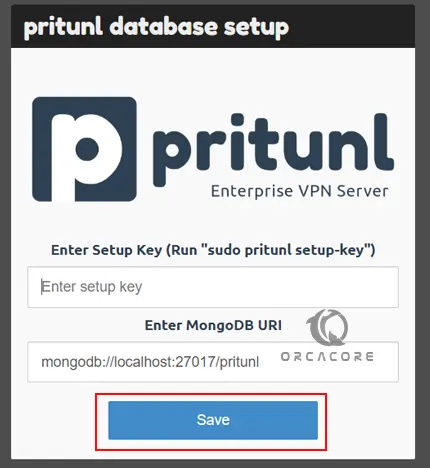
As you can see, you need your Pritul setup key. To do this, from your terminal run the following command:
sudo pritunl setup-keyExample Output
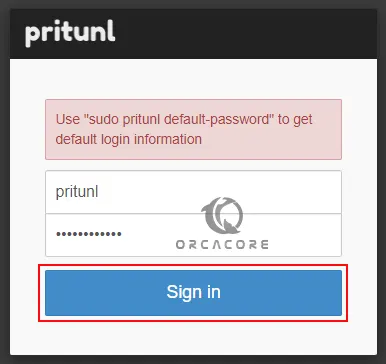
e02e8a736a2442b1b10e3d9ec8cd5c93Now enter your setup key on the above screen and click Save. Next, you will presented on a login screen. From your terminal, you need to run the command below to get your default username and password:
sudo pritunl default-passwordExample Output
Administrator default password:
username: "pritunl"
password: "g7ETr0ZbGqms"Enter your login credentials and click sign in.
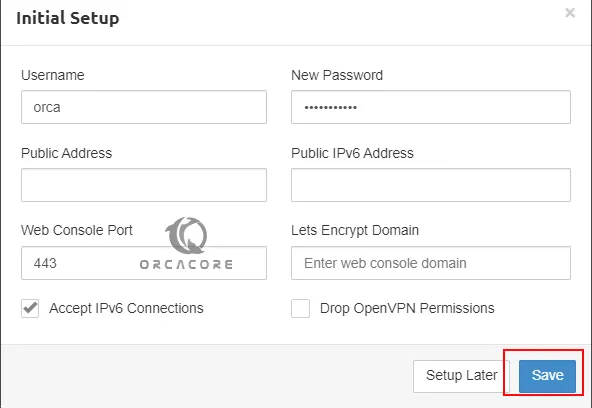
Initial Pritunl VPN Server Setup
Now you will see the initial setup page where you can change the admin user and password, set the domain, and Let’s Encrypt SSL. When you are done click Save or you can set it up later.
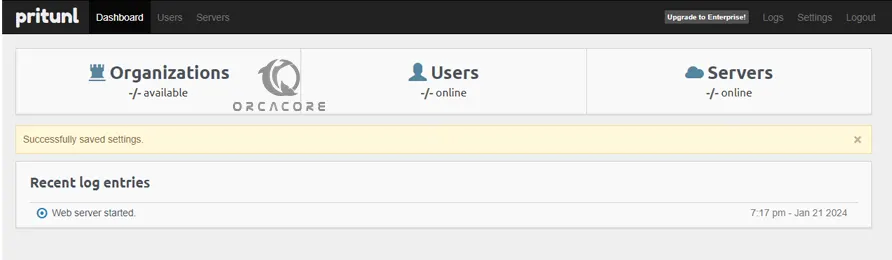
At this point, you will see your Pritunl server dashboard. From there, you can configure the organizations, users, and servers.
Configure Organizations on Pritunl
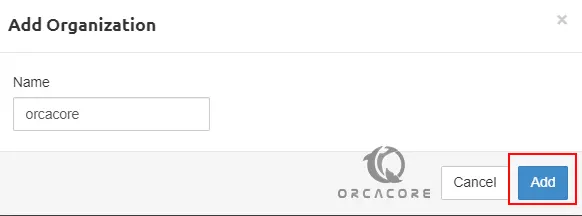
From your Pritunl dashboard, you can click on Users to add organizations. Users are mapped to servers in an organization.
To create a new organization click on ‘Add organization’ then specify a name and click ‘Add’.

Create a VPN Server with Pritunl
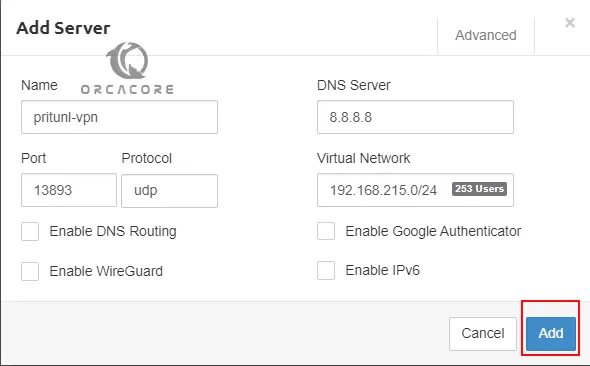
At this point, you can easily create a VPN server from your Pritunl dashboard. Click on Servers and Add Server.

Then, provide the server information and click Add.
Next, you will see the following screen. From there, you need to attach an organization.
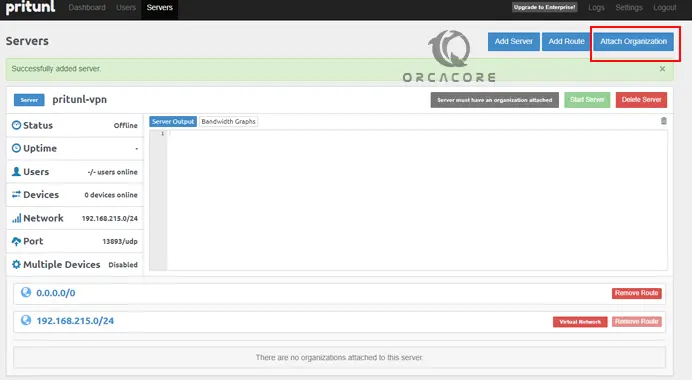
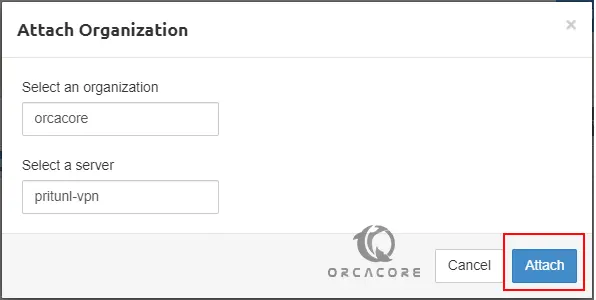
From there, attach your desired organization and click Attach.
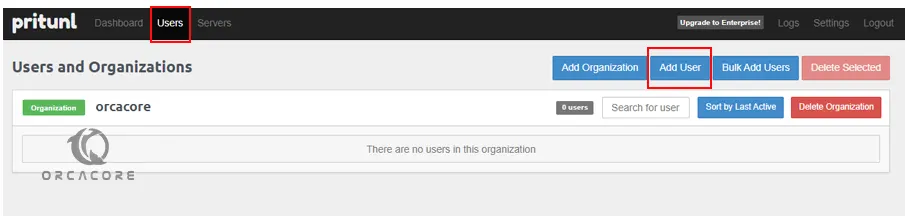
Add VPN Users to the Pritunl Server
At this point, you can click on Users to create a user profile on your VPN server on Debian 12.
Enter the information that is needed and click Add. Your PIN must be only digits.
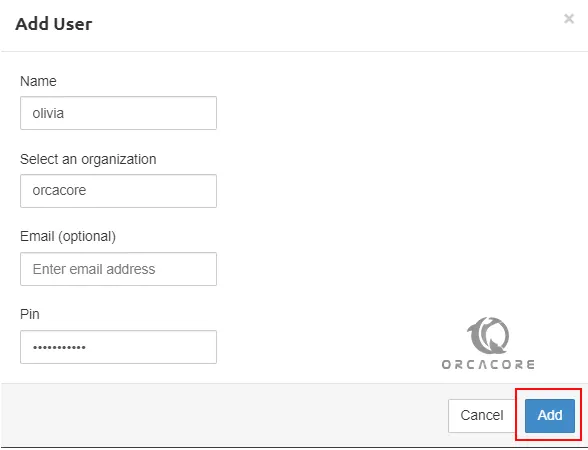
Note: To add many users at once, use the Bulk Add User function on the web interface.
Step 7 – Configure VPN Clients For the Pritunl VPN Server
At this point, you can visit the Pritunl VPN clients page and choose one for your client machine to download and install. The installation part is described on the official page. Here we have downloaded the Windows Client.
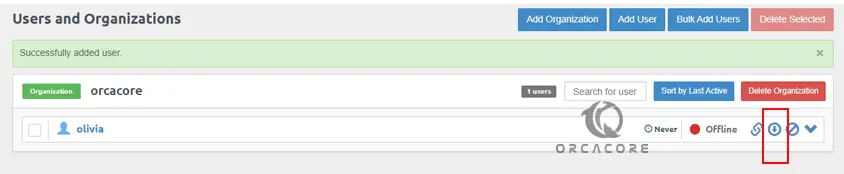
Once your VPN client is installed and configured, you need to log in to the Pritunl VPN server to download the user profile. To do this, click on Users from the dashboard, select the particular user, and click on the download icon to get the user profile.
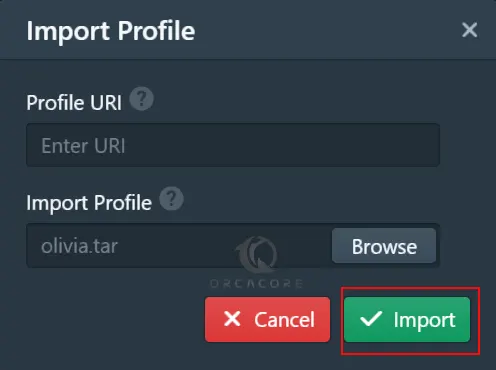
Next, you need to launch your Pritunl VPN client app and choose import profile.

Locate the user’s profile .tar file downloaded and import it or you can use the Client URL.
Then you’ll be able to connect to the Pritunl VPN server. Press connect and enter your PIN code to connect to the server.
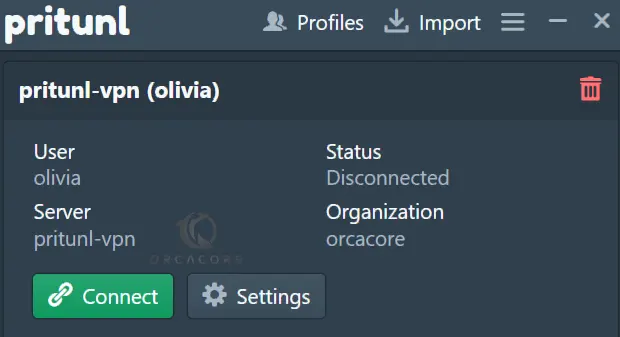
As you saw, you have easily completed the Pritunl VPN Server Setup on Debian 12 and configured the clients.
Final Words on Pritunl VPN Setup
Pritunl is often used by organizations looking for a reliable and cost-effective VPN solution that provides flexibility, strong security, and ease of use. It is particularly appealing to businesses that require secure remote access to their networks.
At this point, you have learned Pritunl VPN Server Setup on Debian 12 and also configure the VPN clients. Hope you enjoy it. If you need any help, please comment for us.
You may like to read the following articles too:
Install and Configure OpenVPN on Rocky Linux 9