Share your love
Set up and Configure an SVN Server on Centos 7
In this article, we want to teach you How To Set up and Configure an SVN Server on Centos 7.
SVN stands for Subversion. It is a centralized version control system. It is an open-source tool for version control and it comes under an Apache license.
How To Set up and Configure an SVN Server on Centos 7
To install the SVN server on Centos 7, You need to log in to your server as a non-root user with sudo privileges. To do this, you can follow the Initial Server Setup with Centos 7.
Also, you need to set up a basic firewall. For this, you can check the Setup Firewall with firewalld on Centos 7.
Now follow the steps below to set up an SVN on Centos 7.
Install Apache and SVN on Centos 7
First, update your local package index with the following command:
sudo yum update
Then, install Apache on your server with the following command:
sudo yum install httpdHere you need to remove Apache’s default welcome page with the following command:
sudo sed -i 's/^/#&/g' /etc/httpd/conf.d/welcome.confNext, you should prevent Apache from showing files in the “/var/www/html” directory with the command below:
sudo sed -i "s/Options Indexes FollowSymLinks/Options FollowSymLinks/" /etc/httpd/conf/httpd.confAt this point, you can use the following command to install SVN on Centos 7 and an Apache module to make SVN work with Apache:
sudo yum install subversion mod_dav_svnNow that you have installed SVN on your server, you need to make some configuration changes for SVN.
Configure SVN on Centos 7
At this point, you need to open the SVN configuration file with your favorite text editor, here we use vi:
sudo vi /etc/httpd/conf.modules.d/10-subversion.confAdd the following content to the file:
<Location /svn>
DAV svn
SVNParentPath /svn
AuthName "SVN Repos"
AuthType Basic
AuthUserFile /etc/svn/svn-auth
AuthzSVNAccessFile /svn/authz
Require valid-user
</Location>
When you are done, save and close the file.
Note: In this configuration, we specified an HTTP access authentication file “/etc/svn/svn-auth” and a user permission control file “/svn/authz”. Both of them will be created later.
Now you need to create a directory for SVN and switch to it on Centos 7 with the following commands:
$ sudo mkdir /svn$ cd /svn
Then, create the SVN repository and set the correct permissions for it with the commands below:
$ sudo svnadmin create repo1
$ sudo chown -R apache:apache repo1
At this point, you need to use the following commands to create an HTTP access authentication file “/svn/svn-auth” and an SVN user account on Centos 7. Here we named our user “user1”, you can change it with your own.
$ sudo mkdir /etc/svn
$ sudo htpasswd -cm /etc/svn/svn-auth user1
You will be asked to enter a password for your user.
Set the correct permissions with the following commands:
$ sudo chown root:apache /etc/svn/svn-auth$ sudo chmod 640 /etc/svn/svn-auth
If you want to create more SVN user accounts on Centos 7, use the following commands:
$ sudo htpasswd -m /etc/svn/svn-auth user2
$ sudo htpasswd -m /etc/svn/svn-auth user3
Note: Do not use the “-c” flag from now on, or you will rebuild the authentication file and erase all the user accounts you set up earlier.
Here you need to copy the/svn/repo1/conf/authzwith the following command:
sudo cp /svn/repo1/conf/authz /svn/authzThen, open the file with your favorite text editor, here we use vi:
sudo vi /svn/authzWe assume that:
- “user1” is the administrator.
- “user2” is a qualified user who owns read and write permissions to the SVN repo “repo1”.
- “user3” is a trainee who can only read the contents of SVN repo “repo1”.
At the [groups] section add the following contents:
[groups]
admin=user1
repo1_user=user2
repo1_trainee=user3
And add the following line to the file:
[/]
@admin=rw

[repo1:/]
@repo1_user=rw
@repo1_trainee=r
When you are done, save and close the file.
Start Apache and Add Firewall rules on Centos 7
Now you need to start and enable Apache on Centos 7 with the following commands:
$ sudo systemctl start httpd.service
$ sudo systemctl enable httpd.service
We assumed that you have enabled a firewall from the requirements. You need to open the HTTP port through the firewall with the following command:
sudo firewall-cmd --zone=public --permanent --add-service=httpThen, reload the firewall to apply the new rules:
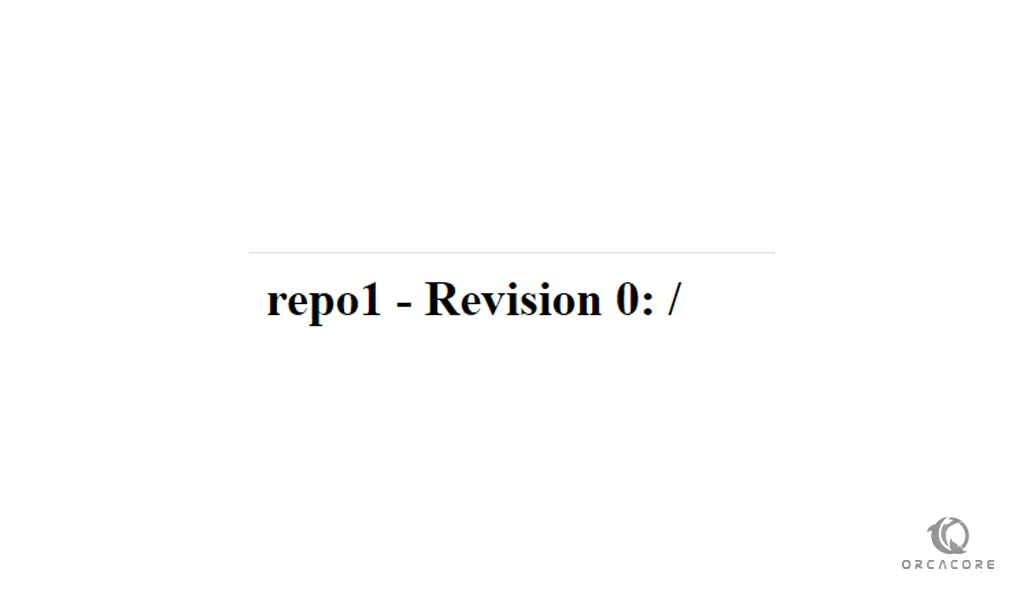
sudo firewall-cmd --reloadNow you can access your SVN repository on Centos 7 by typing your server’s IP address in your web browser followed by /svn/repo1:
http://<your-server-ip>/svn/repo1/
You should enter your username and password that you have created for your SVN and you will see:
Conclusion
At this point, you learn to install and configure an SVN Server on Centos 7.
Hope you enjoy it.