Share your love
Set up Nginx Proxy Manager on AlmaLinux 8: Best Setup
In this guide from the Orcacore website, we want to teach you How To Set up Nginx Proxy Manager on AlmaLinux 8. Nginx Proxy Manager is a tool in the Load Balancer / Reverse Proxy category of a tech stack. It comes as a pre-built Docker image that enables you to easily forward to your websites running at home or otherwise, including free SSL, without having to know too much about Nginx or Letsencrypt.
Table of Contents
Set up Nginx Proxy Manager on AlmaLinux 8 By Using Docker
To complete this guide, you must log in to your server as a non-root user with sudo privileges and set up a basic firewall. To do this, you can follow our guide on the Initial Server Setup with AlmaLinux 8.
Also, you need a domain name that points to your server’s IP address.
Now, follow the steps below to set up Nginx Proxy Manager on your AlmaLinux server.
1. Configure Firewall For Nginx Proxy Manager
First, you must have FirewallD installed on your server. To check the FirewallD status, run the command below:
sudo firewall-cmd --stateOutput
runningThen, you must open the following port through the AlmaLinux firewall:
$ sudo firewall-cmd --permanent --add-service=http
$ sudo firewall-cmd --permanent --add-service=https
$ sudo firewall-cmd --permanent --add-port=81/tcp
To apply the new rules, reload the firewall:
sudo firewall-cmd --reload2. Requirements for Nginx Proxy Manager: Install Docker
Because we want to set up the Nginx proxy manager with Docker, you must have Docker installed on your server.
To do this, run the commands below one by one:
$ sudo dnf install -y yum-utils
$ sudo yum-config-manager \
    --add-repo \
    https://download.docker.com/linux/centos/docker-ce.repo
$ sudo yum install docker-ce docker-ce-cli containerd.io
When your installation is completed, start and enable your Docker service with the command below:
sudo systemctl start docker --nowIf you don’t want to use Sudo to run Docker commands, you need to add your user to the docker group. To do this, run the following command:
sudo usermod -aG docker $(whoami)If you need to add a user to the Docker group that you’re not logged in as, run the following command:
sudo usermod -aG docker usernameAt this point, log out of your server and then back in with the same user to enable these changes.
Note: For more information about Docker, you can check this guide on installing Docker on AlmaLinux 8.
3. Requirements for Nginx Proxy Manager: Install Docker Compose
Here, you need to download and install Docker Compose on your server. To do this, run the command below:
sudo curl -L "https://github.com/docker/compose/releases/download/1.29.2/docker-compose-$(uname -s)-$(uname -m)" -o /usr/local/bin/docker-composeSet the correct permissions for the file:
sudo chmod +x /usr/local/bin/docker-composeNote: To get more information, you can check this guide on installing Docker Compose on AlmaLinux 8.
4. Create a Docker Compose File for Nginx Proxy Manager
At this point, you can start your Nginx Proxy Manager setup. First, you need to create a directory for your Nginx Proxy Manager:
mkdir ~/nginx-proxyNavigate to your Nginx Proxy directory on AlmaLinux 8:
cd ~/nginx-proxyFrom the Nginx proxy directory, create directories for data and SSL certificates:
mkdir {data,letsencrypt}Now use the command below to create and open the docker-compose.yml file. You can use your desired text editor, like the Vi Editor or Nano Editor, to create it:
sudo vi docker-compose.ymlAdd the following content to the file:
version: "3"
services:
  npm-app:
    image: 'jc21/nginx-proxy-manager:latest'
    container_name: npm-app
    restart: unless-stopped
    ports:
      - '80:80' # Public HTTP Port
      - '443:443' # Public HTTPS Port
      - '81:81' # Admin Web Port
      # Add any other Stream port you want to expose
      # - '21:21' # FTP
    environment:
      DB_MYSQL_HOST: "npm-db"
      DB_MYSQL_PORT: 3306
      DB_MYSQL_USER: "npm"
      DB_MYSQL_PASSWORD: "npm"
      DB_MYSQL_NAME: "npm"
      # Uncomment the line below if IPv6 is not enabled on your host
      # DISABLE_IPV6: 'true'
    volumes:
      - ./data:/data
      - ./letsencrypt:/etc/letsencrypt
    depends_on:
      - npm-db
    networks:
      - npm-nw
      - npm-internal

  npm-db:
    image: 'mariadb:latest'
    container_name: npm-db
    restart: unless-stopped
    environment:
      MYSQL_ROOT_PASSWORD: 'npm'
      MYSQL_DATABASE: 'npm'
      MYSQL_USER: 'npm'
      MYSQL_PASSWORD: 'npm'
    volumes:
      - ./data/mysql:/var/lib/mysql
    networks:
      - npm-internal

networks:
  npm-internal:
  npm-nw:
    external: true
When you are done, save and close the file.
The first part of the file is where we import Nginx proxy manager’s image and set some environment variables in the form of database credentials. We also expose ports 80, 81, and 443 to the server for access. You can expose more ports, such as 21, for FTP access. You can disable IPV6 support by uncommenting the line DISABLE_IPV6: 'true'. We have mapped several directories from our host to Docker for data and SQL storage.
We are using two networks here. One is the internal network npm-internal to connect the proxy manager and the database. This one is optional since it is automatically created. But here, we are doing it manually by giving it a name of our choice.
We have added an external network to the proxy manager container called npm-nw. This network is essential because you can use it to connect the proxy manager to any other Docker containers you install. Using a network will allow you to connect any container directly without the need to expose its ports to the server.
5. Run Nginx Proxy Manager on AlmaLinux 8
At this point, you need to create the external network npm-nw. Internal networks are automatically created. Run the following command to create the external network:
docker network create npm-nwOutput
a5310551bb46b9f751d7109eec26588f70bf53bfa356541236ec570b08cfc00bThen, use the following command to launch the Docker container:
docker-compose up -dOutput
Status: Downloaded newer image for jc21/nginx-proxy-manager:latest
Creating npm-db … done
Creating npm-app … doneCheck the status of your containers:
docker psOutput
CONTAINER ID IMAGE COMMAND CREATED STATUS PORTS NAMES
228d2cf45994 jc21/nginx-proxy-manager:latest "/init" About a minute ago Up About a minute 0.0.0.0:80-81->80-81/tcp, :::80-81->80-81/tcp, 0.0.0.0:443->443/tcp, :::443->443/tcp npm-app
11e8ac436394 mariadb:latest "docker-entrypoint.s…" About a minute ago Up About a minute 3306/tcp npm-db6. Access Nginx Proxy Manager UI
At this point, you can access the Nginx proxy manager UI by using the following URL:
http://your-server-IP:81
Or
http://your-domain:81
You will see the Nginx Proxy Manager Login screen. Enter the following default credentials to sign in:
Email address: admin@example.com
Password: changeme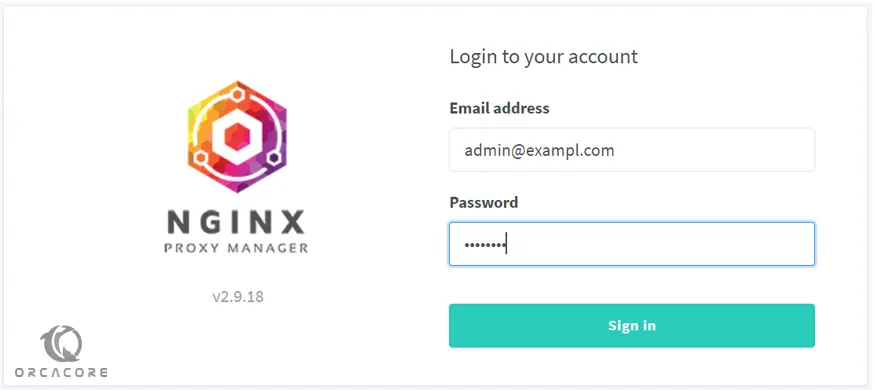
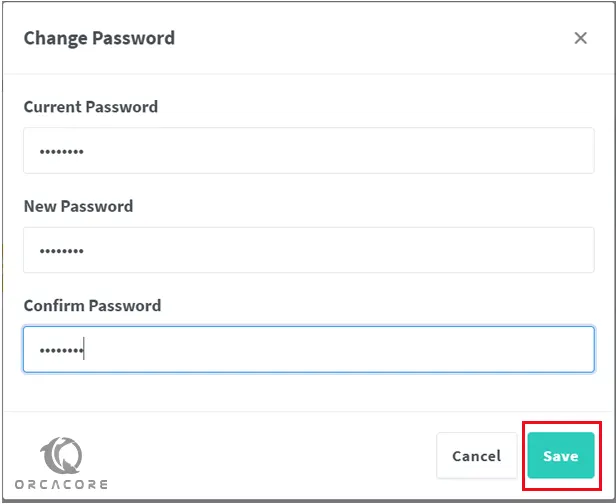
On initial login, you will have to update the administrator details.
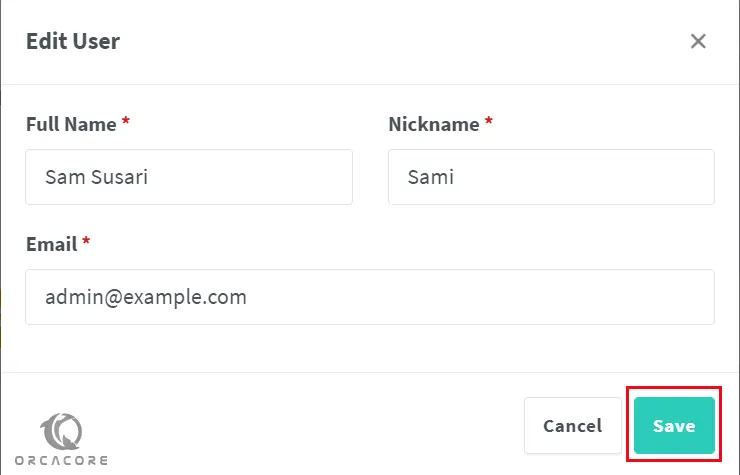
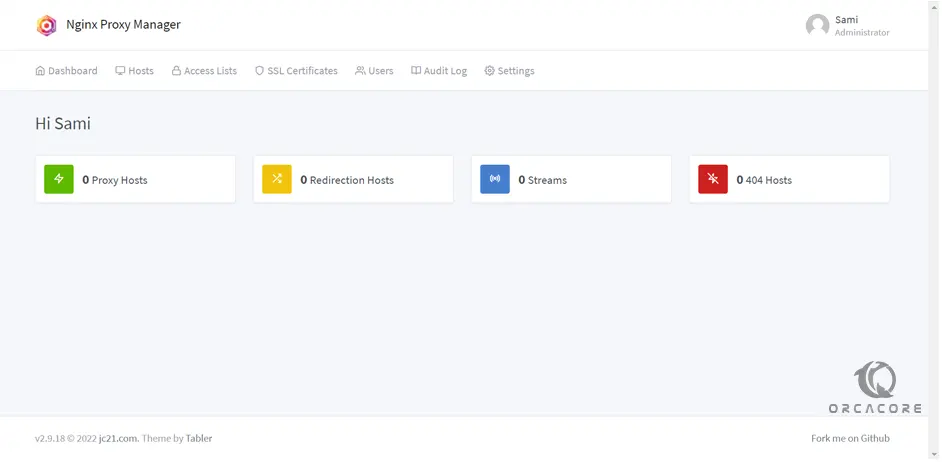
Once you update all the user details, you will get to the main dashboard from where you can configure your proxy hosts.
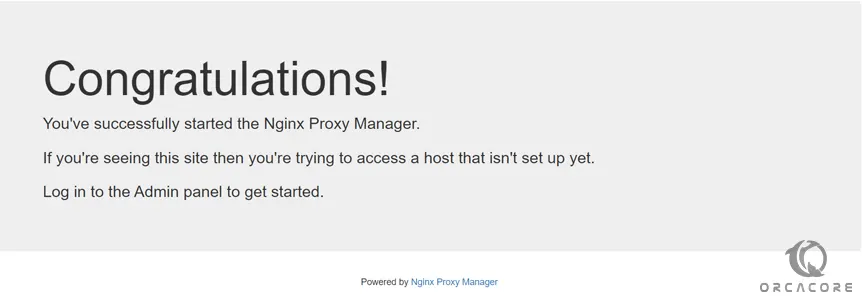
If you open the URL http://yourserverIP in your browser, you will be taken to a default page that the proxy manager has set.
7. Setting up a Domain Name and SSL for Nginx Proxy Manager
This step is optional, but it is useful if you want to put the application behind SSL. You need to set a domain name for accessing Nginx Proxy Manager.
First, click on Hosts >> Proxy Hosts from the dashboard menu on AlmaLinux 8 to open the Proxy Hosts page.
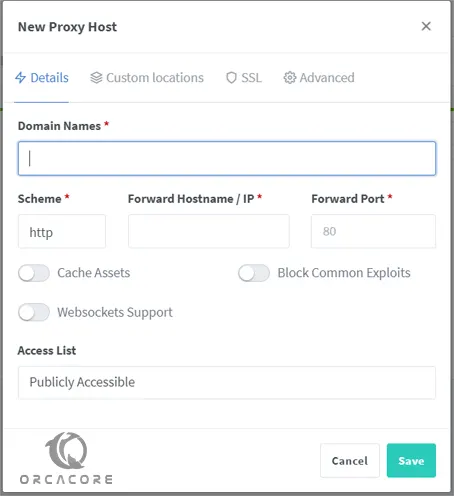
From there, click on the Add Proxy Host button to continue.
In the Details screen, add the FQDN name, in my case: (npm.orcacore.net), and click on it. Enter your Server’s IP address and 81 as the Forward Port.
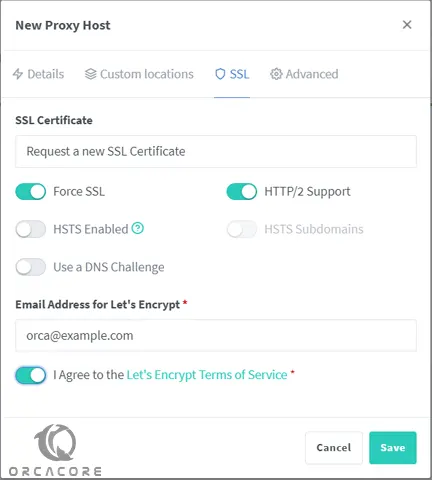
Switch to the SSL tab. Select Request a new SSL Certificate from the dropdown menu. Select the options Force SSL and HTTP/2 support. If you want to enable HSTS, you can enable that as well.
Note: If you have your domain configured via Cloudflare, don’t enable the option Force SSL; otherwise, you will be stuck in a redirection loop.
Enter your email address, agree to the Let’s Encrypt Terms of Service (TOS), and click the Save button to finish.
Your domain should be live and working. Try opening https://your-domain in your browser, and you should get Nginx Proxy Manager’s login screen.
Conclusion
Setting up Nginx Proxy Manager with Docker on AlmaLinux 8 is a straightforward way to manage reverse proxies, SSL certificates, and access control through an easy-to-use web interface. By using Docker, you ensure a clean, isolated environment that simplifies deployment and updates.
Hope you enjoy it. Please subscribe to us on Facebook, X, and YouTube.
You may also like these articles:
How To Install Sysdig on AlmaLinux 8
Install ModSecurity with Apache on AlmaLinux 8
Set up PHP Composer on AlmaLinux 8
FAQs
How do I access the Nginx Proxy Manager dashboard?
Once the container is running, visit http://your-server-ip:81 to access the dashboard.
Can I manage multiple domains through Nginx Proxy Manager?
Absolutely. Nginx Proxy Manager makes it easy to manage multiple domains and subdomains with separate configurations.
How do I update Nginx Proxy Manager?
Simply pull the latest Docker image and restart the container using Docker Compose.