Share your love
How To Set up SVN Server on Rocky Linux 8
In this guide, we intend to teach you How To Set up SVN Server on Rocky Linux 8.
SVN stands for Subversion. It is called as SVN because of its commands (its command name svn).
Subversion is open-source and comes under the Apache License, and it was developed by CollabNet Inc in 2000. It was operated much like CVS (Concurrent versions system). In 2009, Apache Incubator accepted it and made it a top-level apache product.
SVN is used to manage the current and previous versions of files like source code, documentation, and files. It acts as a time machine for the developers and allows them to go back and browse the history of the project.
How To Set up SVN Server on Rocky Linux 8
To install SVN on your server, you need to log in to your server as a non-root user with sudo privileges and set up a basic firewall. To do this, you can check our guide the Initial Server Setup with Rocky Linux 8.
Now you can follow the steps below to install SVN on your server.
Install SVN Server on Rocky Linux 8
First, you need to update your local package index with the following command:
sudo dnf update
Then, install the Epel release repository on Rocky Linux 8 with the command below:
sudo dnf install epel-release
Now you can use the following command to install SVN on your server:
sudo dnf install subversion mod_dav_svn
Configure SVN on Rocky Linux 8
The SVN module package will create an Apache configuration file. You need to make some configuration changes to it. Open the file with your favorite text editor, here we use vi:
sudo vi /etc/httpd/conf.d/subversion.conf
Add the following contents to the file:
<Location /svn>
   DAV svn
   SVNParentPath /var/www/svn
   AuthType Basic
   AuthName "Apache SVN Repositories"
   AuthUserFile /etc/svn/svn-auth
   Require valid-user
</Location>
When you are done, save and close the file.
Next, you need to create SVN directories on Rocky Linux 8 with the command below:
sudo mkdir /var/www/svn /etc/svn/
Switch to the directory with the following command:
cd /var/www/svn
At this point, you can create an SVN repository with the following command, here we named it myrepo, you can choose your own name:
sudo svnadmin create myrepo
Then, set the correct permissions for it:
sudo chown -R apache.apache myrepo
Here you need to create an SVN HTTP access authentication file on Rocky Linux 8 with the command below:
sudo touch /etc/svn/svn-auth
Add your first SVN user in the SVN authentication file, here we named it orca:
sudo htpasswd -cm /etc/svn/svn-auth orca
In your output you will see:
Output
New password:
Re-type new password:
Adding password for user orca
You can add more SVN users on Rocky Linux 8 with the command below:
sudo htpasswd -m /etc/svn/svn-auth user
Now set the correct permissions for the SVN authentication file with the following commands:
$ sudo chown root:apache /etc/svn/svn-auth
$ sudo chmod 640 /etc/svn/svn-auth
Next, you need to enable and restart your httpd service with the following commands:
$ sudo systemctl enable --now httpd
$ sudo systemctl restart httpd
We assumed that you have enabled firewalld at the beginning of the article. Now you need to open the HTTP port through the firewall with the command below:
sudo firewall-cmd --add-service=http --permanent
Then, reload the firewall to apply the new rules:
sudo firewall-cmd --reload
Access SVN Repository
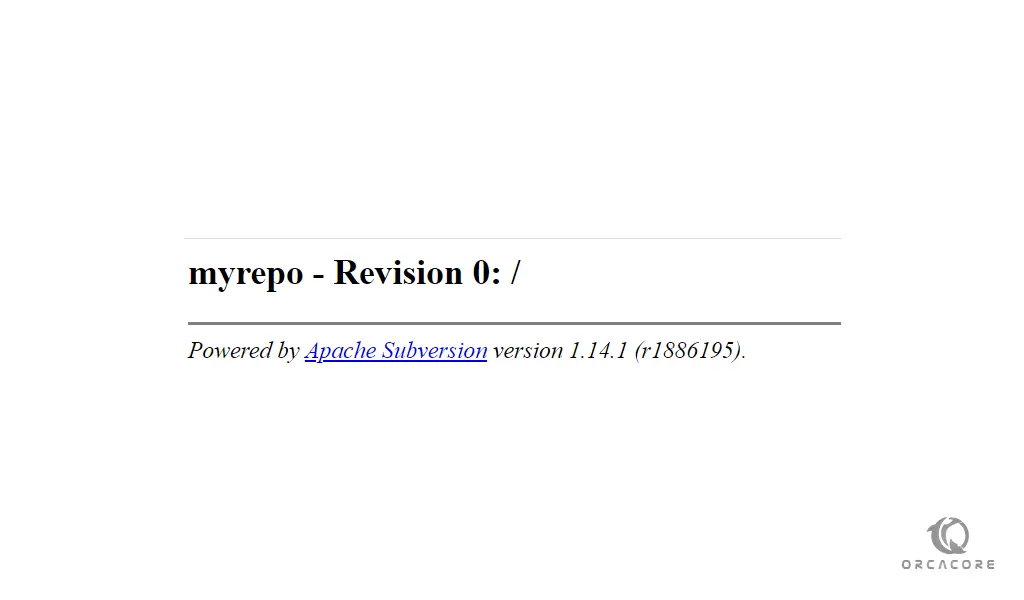
At this point, you can access the SVN repo by typing your server’s IP address in your web browser followed by /svn/myrepo:
http://server_ip_or_hostname/svn/myrepo
You should enter your username and password that you have defined before to access the SVN repo.
For more information, you can visit the Apache Subversion Documentation page.
Conclusion
At this point, you learn to Set up SVN Server on Rocky Linux 8.
Hope you enjoy using it.