Share your love
Easy Slack Installation Steps on Rocky Linux 8 from CLI
This guide intends to teach you Slack Installation Steps on Rocky Linux 8 from CLI. As described on the Slack Official site, It is a collaboration platform designed to get you out of email and meetings so you can do your best work, stay connected to the people who matter most, and give you back time to do the things you love. Now follow the guide steps below provided by the Orcacore team to start your Slack installation in the latest version and start using it to stay connected with your friends.
Table of Contents
Slack Installation Steps on Rocky Linux 8 from CLI
To complete Slack Installation Steps on Rocky Linux 8 from CLI, you must have access to your server as a non-root user with sudo privileges. For this purpose, you can visit this guide on Initial Server Setup with Rocky Linux 8.
Step 1 – Install Required packages for Slack on Rocky Linux 8
First, you must run the system update with the command below:
sudo dnf update -yThen, you need to install the Epel repository on Rocky Linux 8 with the following command:
sudo dnf -y install epel-releaseStep 2 – Download and Install Slack from Linux Command Line
Now visit the Slack download page to download the RPM latest version of Slack by using the wget command:
Remember to replace the version with the latest version you have seen on the download page.
sudo wget https://downloads.slack-edge.com/releases/linux/4.33.73/prod/x64/slack-4.33.73-0.1.el8.x86_64.rpmAt this point, you can use the following command to install Slack:
sudo dnf localinstall slack-4.33.73-0.1.el8.x86_64.rpmWhen your installation is finished, you can verify your Slack installation by checking the details of your RPM package:
rpm -qi slackIn your output you will see:
Output
Name        : slack
Version     : 4.33.73
Release     : 0.1.el8
Architecture: x86_64
Install Date: Wed 26 Jul 2023 07:00:30 AM EDT
Group       : Unspecified
Size        : 273754916
License     : MIT
Signature   : RSA/SHA512, Wed 14 Jun 2023 12:46:25 PM EDT, Key ID d1eac4827eb66c16
Source RPM  : slack-4.33.73-0.1.el8.src.rpm
Build Date  : Wed 14 Jun 2023 12:41:12 PM EDT
Build Host  : da179c2ea7bb
Relocations : /usr
URL         : https://github.com/tinyspeck/slack-desktop.git
Summary     : Slack Desktop
Description :
Slack Desktop
Step 3 – How To Launch Slack on Rocky Linux 8?
Now that you have Slack installed on your Rocky Linux 8, you can launch it to your command line:
slackOr on your Rocky Linux 8 desktop from the Activities section click on the Slack icon.
You will see the Slack login interface:
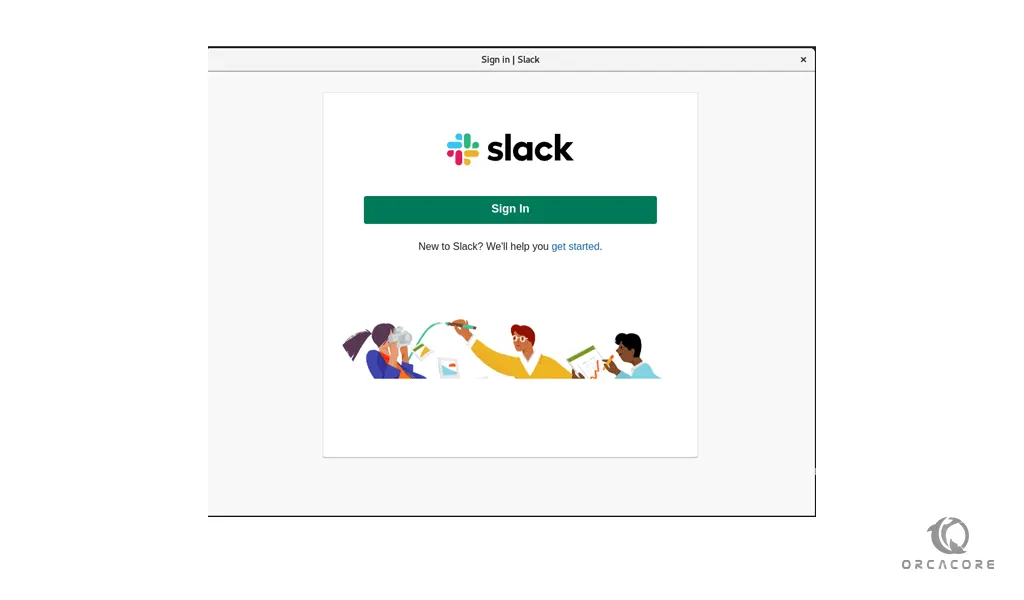
From here, you can sign in to a workspace you are already a member of, or create a new workspace and start collaborating with your friends and fellow developers.
Step 4 – How To Update Slack App?
You can update the Slack package with the following command when a new version is released:
sudo dnf update slack -yStep 5 – How To Uninstall Slack App?
If you don’t want to use Slack anymore, you can easily remove it with the following command:
sudo dnf remove slack -yConclusion
At this point, you have finished the Slack installation steps on Rocky Linux 8 from CLI and launched the Slack app from the command line and your Linux desktop. Hope you enjoy it.
You may be interested in these articles: