Share your love
Add Administrator ACL on Virtualizor
Thanks for following our website posts for any IT pro tutorials and skills, especially the Virtualizor Tutorials. In this tutorial, we want to learn how to add administrator ACL on the Virtualizor panel.
How to add administrator ACL plans in Virtualizor?
Virtualizor is my favorite control panel for creating and managing a large number of VPS. Therefore we need to be able to add users and manage them. Meanwhile, some users should have admin access to the panel, But I don’t want to give them my root access. Virtualizor has an option in which you can set administrator access levels (ACL) for users. you can follow the below steps to learn how we can add ACL.
Step 1 – Where is the Administrator ACL menu?
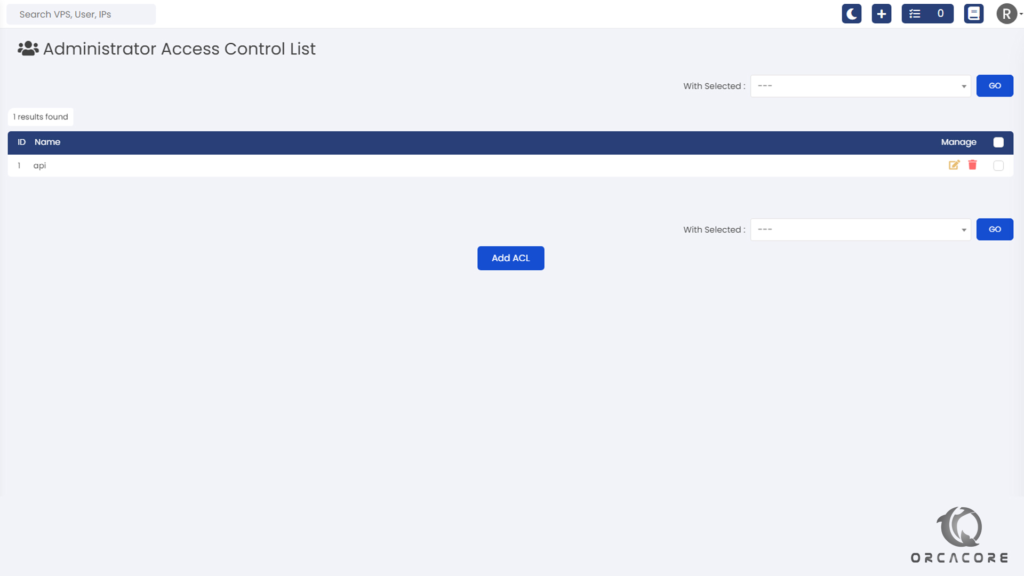
Login to your Virtualizor panel and navigate to the “Users” menu and select the “Administrator ACL” sub-menu. You see one Access control list that is available by default for the Virtualizor API.
Step 2 – How to add an administrator Access Control List?
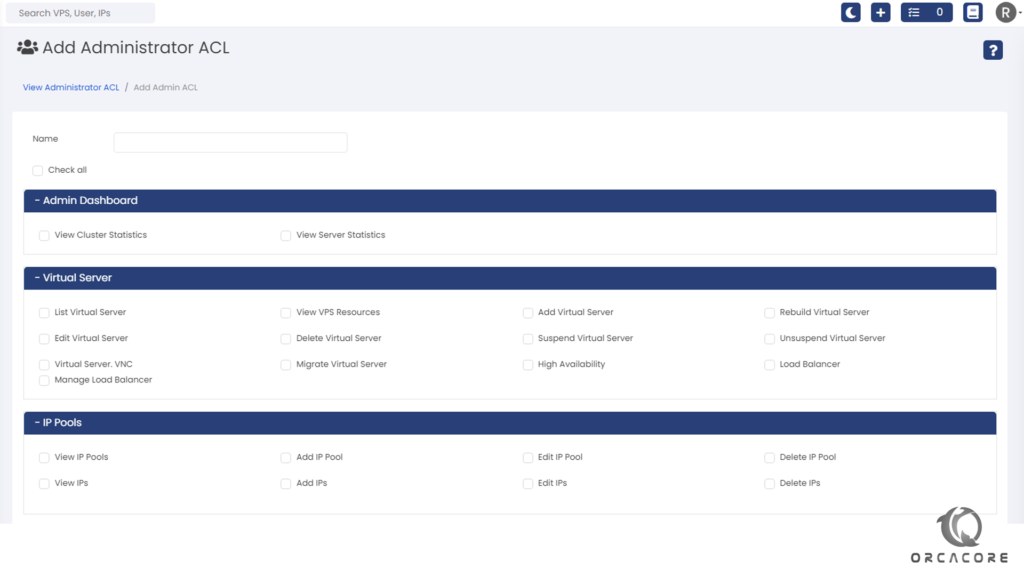
After finding the Administrator access level (ACL) menu in the last step, click on “Add ACL” to open a page where we can define the Name and access levels. According to the below image, we should define a name for the ACL and check the checkbox if you want the user will have access to this section or not.
In the end, click on “Save” to create a new ACL.
Step 3 – How to edit and delete ACL in Virtualizor?
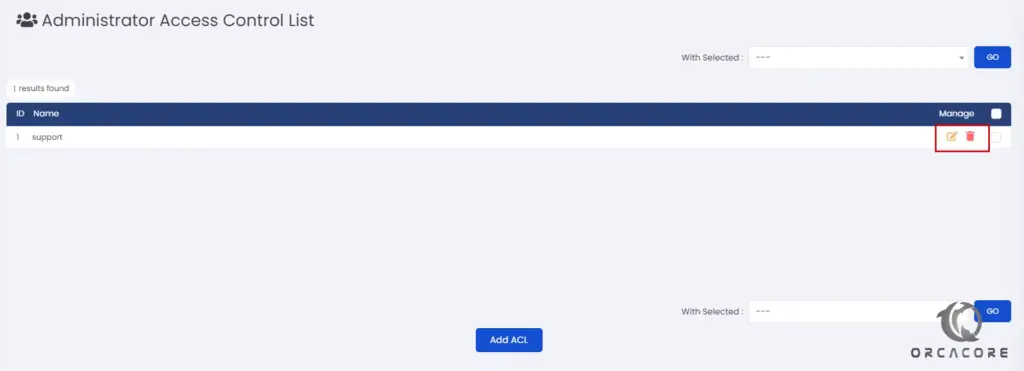
Simply, you can find the administrator access level “ACL” menu from Step 1 and see all ACL lists. At the end of each line, you can see 2 icons, use them to edit or delete each ACL you want.
Conclusion
Now, we learn how to create, edit and delete an ACL in a Virtualizor panel. wish you enjoy reading this tutorial. Please don’t hesitate to inform us if you have any questions about this post by commenting on the page.


