Share your love
Quick and Best Way for VirtualBox Setup on AlmaLinux 9
This tutorial intends to teach you VirtualBox Setup on AlmaLinux 9. As you may know, VirtualBox is a powerful and open-source virtualization software. It allows you to run multiple operating systems on a single machine. VirtualBox is available for multiple host operating systems, including Windows, macOS, Linux, and Solaris. The Extension Pack contains additional features and capabilities that are not included in the standard VirtualBox installation.
Now you can follow the steps below on the Orcacore website to start your VirtualBox Setup on AlmaLinux 9.
Table of Contents
Learn VirtualBox Setup on AlmaLinux 9
Before you start your VirtualBox setup, you must access your server as a non-root user with sudo privileges. To do this, you can check the AlmaLinux 9 Initial Setup Guide.
Then, follow the steps below to complete VirtualBox Setup on AlmaLinux 9.
Step 1 – Add VirtualBox RPM Package on AlmaLinux 9
First, you must install some required packages with the command below:
sudo dnf install kernel-devel kernel-headers gcc perl bzip2 wget curl make -yThe kernel-devel version installed will be different from the version of the kernel on your server. To resolve this, run the system update and reboot your server:
# sudo dnf update -y
# sudo reboot
At this point, you must add the official repository to your server. To do this, you can add the following RPM Package to your server:
sudo dnf config-manager --add-repo=https://download.virtualbox.org/virtualbox/rpm/el/virtualbox.repoThen, run the system update to apply the changes:
sudo dnf update -y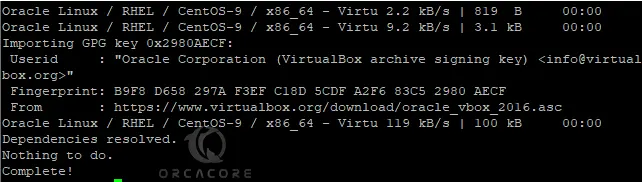
Step 2 – VirtualBox Setup on AlmaLinux 9
Now you can list the available VirtualBox packages on your server by using the command below:
sudo dnf search virtualbox
As you can see, the latest version is VirtualBox 7.0. To install it, you can simply run the command below:
sudo dnf install VirtualBox-7.0 -yStep 3 – Get the VirtualBox Extension Pack
At this point, you install the extension pack for more features. It is important to note that the Extension Pack must match the version of VirtualBox installed on the system to ensure compatibility. To do this, visit the Downloads page and get the right package by using the following wget command:
sudo wget https://download.virtualbox.org/virtualbox/7.0.14/Oracle_VM_VirtualBox_Extension_Pack-7.0.14.vbox-extpackNext, you need to build the kernel modules with the command below:
sudo /sbin/vboxconfig
Then, use the following command to install your package:
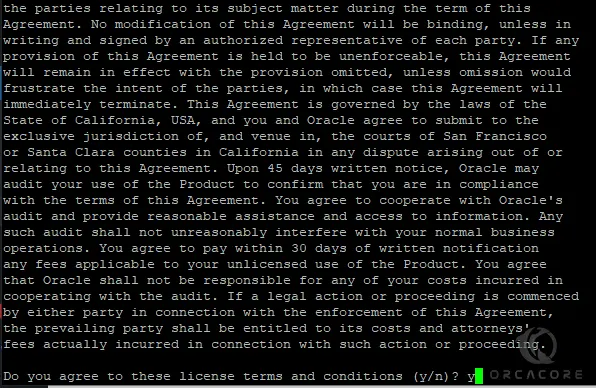
sudo vboxmanage extpack install Oracle_VM_VirtualBox_Extension_Pack-7.0.14.vbox-extpackPress yes to continue your extension pack installation.
Once it is completed, you will get the following output:

Step 4 – Run and Access VirtualBox on AlmaLinux 9
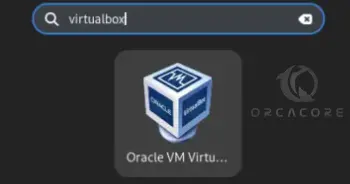
Now you can search for VirtualBox from your desktop. Click on it to open the app.
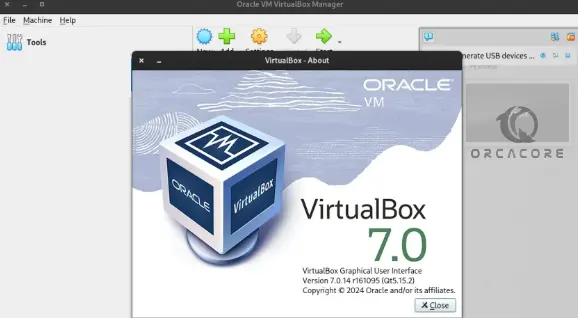
Once you run the app, you will see your VirtualBox dashboard.
Then, from your VirtualBox app, you can navigate to the File –> Tools –> Extension Pack Manager. You should see your extension pack is active.

From there, you can easily run multiple OS in a single physical machine. That’s it, you are done with the VirtualBox setup on AlmaLinux.
Summing Up
VirtualBox offers a wide range of features, including support for multiple guest operating systems, flexible resource allocation, snapshot functionality, and networking options. With VirtualBox Setup on AlmaLinux 9, users have a powerful platform for running multiple operating systems.
We Hope you enjoy using it. Also, you may like to read the following articles:
Install VirtualBox and Extension Pack on Debian 12 Terminal