
Share your love
AlmaLinux 9 Gnome Desktop Environment Installation – Easy Setup

This tutorial intends to teach you AlmaLinux 9 Gnome Desktop Environment Installation. Gnome is a free and open-source desktop environment that is available for all Linux distros. AlmaLinux 9 ships with Gnome version 40.4.0. You can easily get the Gnome desktop by using the “Server with GUI“ group.
AlmaLinux contains Gnome mini and Gnome. GNOME Mini contains a core GNOME environment with a Firefox browser. GNOME contains a full GNOME environment with popular workstation applications like LibreOffice and more.
You can now follow the steps below provided by the Orcacore team to start the AlmaLinux 9 Gnome Desktop Environment Installation.
Table of Contents
AlmaLinux 9 Gnome Desktop Environment Installation
Before you start, you must have access to your server as a root or non-root user with sudo privileges. For this purpose, you can check the Initial Server Setup with AlmaLinux 9.
Step 1 – Run System update and List Available Environment Groups
The first step of AlmaLinux 9 Gnome Desktop Environment Installation is to run the system update and get the available environment groups on your server. To do this, you can use the following commands:
sudo dnf update -ySearch for available environment groups with the command below:
sudo dnf group listIn your output you will see:
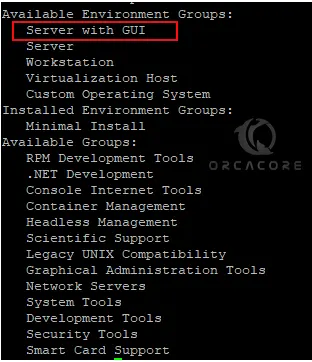
As you can see, you should have the Server with GUI package under your available environment groups in AlmaLinux 9.
You can easily use this package to start AlmaLinux 9 Gnome Desktop Environment Installation.
Step 2 – Gnome GUI Desktop Installation on AlmaLinux 9
At this point, you can simply use the following command to install the Server with the GUI package:
sudo dnf groupinstall "Server with GUI"As you can see, the package contains Gnome. Enter Y to complete your installation.
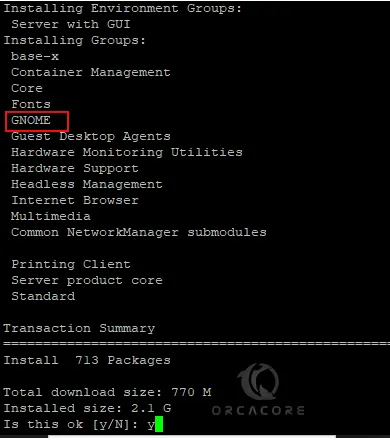
This process may take some time to complete.
Step 3 – Enable Gnome GUI Mode on AlmaLinux 9
At this point, you can enable the graphical interface GUI mode by using the following command:
sudo systemctl set-default graphical.targetIn your output, you will see:

As you can see, the default target has been removed and the graphical target is enabled.
Finally, reboot your server to apply the changes:
rebootStep 4 – Access AlmaLinux 9 Gnome GUI Desktop
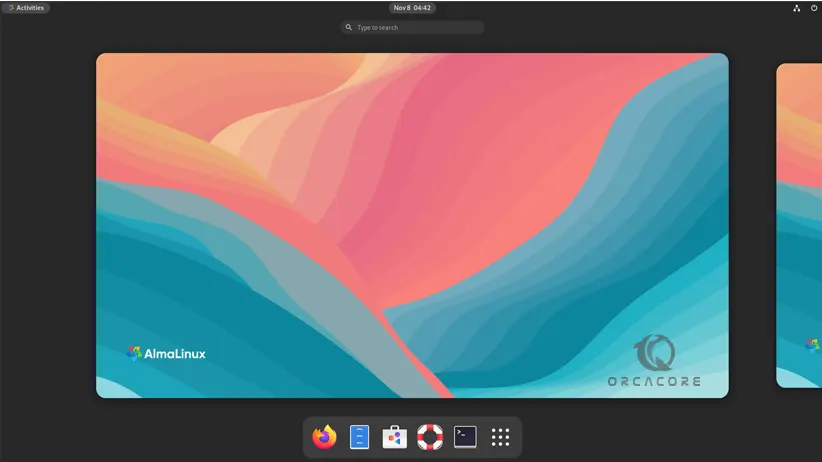
At this point, you can access your GUI desktop by using the XRDP session. Once you log in, you will see your Gnome GUI desktop.
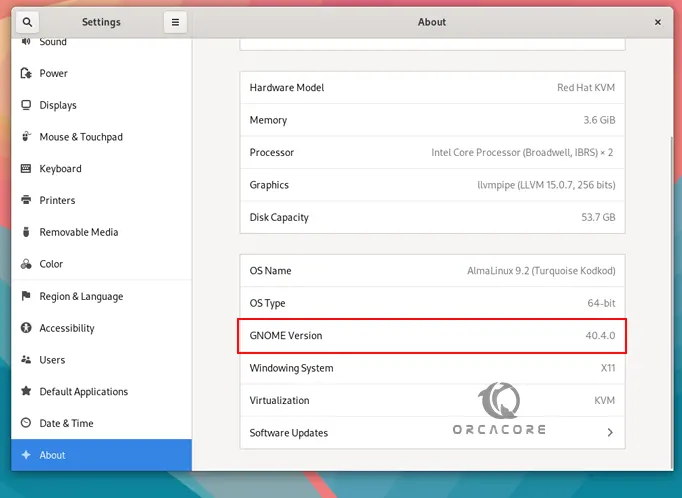
When you read about your system information, you will see you have Gnome version 40.4.0.
That’s it, you are done. For more information, you can check the Official Gnome page.
Conclusion
At this point, you have learned Gnome desktop environment Installation steps on AlmaLinux 9 and enabled the GUI mode. Also, you can easily access your desktop GUI by using the XRDP. Hope you enjoy using it.
Also, you may like the following articles:
Prometheus Installation and Configuration on Debian 12
Create a Virtual Machine with VirtualBox in Windows
FAQs
Is GNOME installed by default on AlmaLinux 9?
GNOME is not installed by default if you choose a minimal or server installation during the AlmaLinux setup.
How do I set GNOME as the default desktop environment?
You can easily run: sudo systemctl set-default graphical.target
How to start the GNOME desktop environment after installation?
If the system starts in text mode, you can start GNOME manually with the following command: sudo systemctl start graphical.target
How do I uninstall GNOME from AlmaLinux 9?
To remove GNOME, use the following command: sudo dnf groupremove "Server with GUI" -y


