Share your love
Best Practices for CyberPanel Installation on Ubuntu 22.04
In this guide, we want to discuss CyberPanel Installation on Ubuntu 22.04. In simple words, CyberPanel is one of the most advanced and user-friendly admin panels that you can use. Now you can proceed to the following steps on the Orcacore website to get more information about CyberPanel and start its installation on Ubuntu 22.04.
Table of Contents
Complete Guide For CyberPanel Installation on Ubuntu 22.04 LTS
Before we start to discuss the CyberPanel intro and CyberPanel Installation on Ubuntu 22.04, remember that you must have access to your server as a root user, because it doesn’t allow you to use sudo. Then, you must set up a basic firewall with UFW. To do this, you can visit this guide on Setup a basic firewall on Ubuntu 22.04.
Step 1 – What is CyberPanel?
CyberPanel is an advanced and easy-to-use control panel that is developed with Java and Python. Also, it uses LiteSpeed as a web server on both free and enterprise versions. This makes it faster than using Apache and Nginx. CyberPanel has a simple GUI.
Step 2 – Features of CyberPanel
At this point, we want to introduce some amazing features of CyberPanel. The most useful features of CyberPanel include:
- Create User Accounts
- Set various PHP versions
- Edit DNS Records
- Manage MySQL databases
- Upload files
- Automate full and incremental backups
- and more.
Now that you have become familiar with CyberPanel, you can follow the steps below to start CyberPanel Installation on Ubuntu 22.04.
Step 3 – Run System Update and Upgrade on Ubuntu 22.04 LTS
As we said, you must run the commands with the Root user. First, run the system update and upgrade by using the following commands:
# sudo apt update
# sudo apt upgrade -y
Step 4 – Download CyberPanel Installer Script on Ubuntu 22.04
CyberPanel provides an installer script that you can easily use to install and configure CyberPanel on your server. To download the CyberPanel installer script, you can use the following wget command:
wget -O installer.sh https://cyberpanel.net/install.sh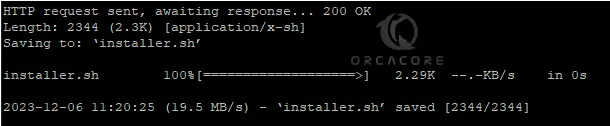
Then, set the correct permissions for your downloaded installer:
chmod +x installer.shStep 5 – Install and Configure CyberPanel on Ubuntu 22.04
At this point, you can start to run and install CyberPanel on your server. To do this, run the following command:
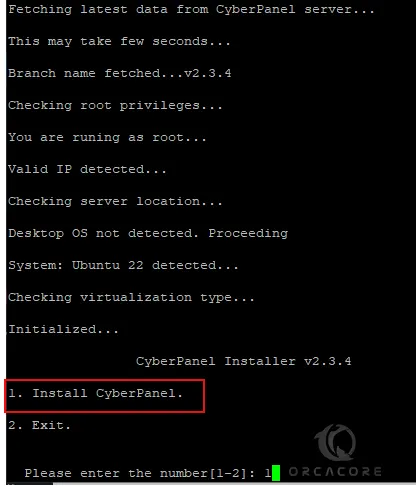
sh installer.shOnce you run the CyberPanel installer, the installer will start to check your system and ask you to start CyberPanel Installation on Ubuntu 22.04. Press 1 to continue.
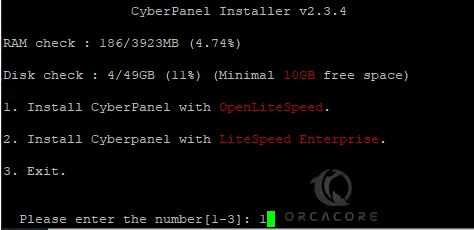
Next, you will be asked to Install CyberPanel with Free OpenLiteSpeed or Enterprise version. In this guide, we use the Free version. So press 1 to continue.
Now you must press Y to install the full service for CyberPanel.

At this point, you can set up remote MySQL. In this case, we press N to continue.

Here you can simply press Enter to continue with the latest version.

Then, you can choose an admin password for CyberPanel. Here we set a new password.

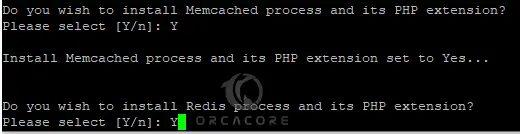
Now you can install Memcached, Redis, and its PHP extensions by pressing Y.
It is recommended to enable WatchDog service which can help you to detect problems in the tables and data. So press no to continue.

At this point, you can wait until your CyberPanel installation and configuration process is completed on Ubuntu 22.04. Once it is completed, you will get the following output. Press Y to reboot your server.

Step 6 – Configure UFW Rules For CyberPanel
At this point, you must configure UFW rules for your CyberPanel on Ubuntu 22.04.
To do this, you can run the following commands:
# ufw allow 8090,80,443,21,25,587,465,110,143,993,53/tcp
# ufw allow 40110:40210/tcp
# ufw allow 53/udp
Then, reload the firewall to apply the new rules:
ufw reloadStep 7 – Access CyberPanel Dashbaord
At this point, you can easily access your CyberPanel dashboard by visiting the URL you have got from the installation. From your web browser, you can follow the URL below:
https://your-server-ip:8090You will see your CyberPanel Login screen. Enter admin as the username, and enter the password you have set for it. Click Sign in.
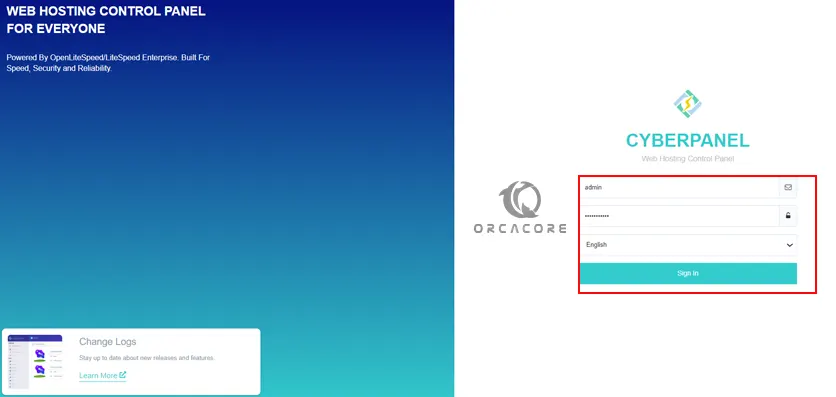
Once you log in, you will see your CyberPanel dashboard and its options on Ubuntu 22.04.
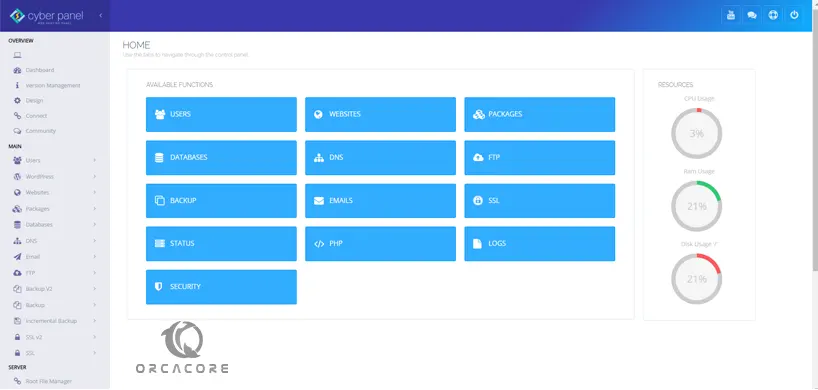
As you can see, it provides you with many useful features that you can use to create websites and manage them, and many more tasks that you can easily manage.
To get more information and usage, you can visit the official website docs page.
Conclusion
At this point, you have learned the CyberPanel review and its features, downloaded the installer script, installed and configured it, and accessed the CyberPanel dashboard on Ubuntu 22.04. As you saw, the installation and configuration are so easy.
Hope you enjoy it. Also, you may like to read the following articles: