Share your love
Easy Steps to Configure Apache Server in Centos 7

In this article, we want to teach you how to Install and Configure Apache Server in Centos 7. Apache HTTP Server is a free and open-source web server that delivers web content through the internet. It is commonly referred to as Apache and after development; it quickly became the most popular HTTP client on the web.
You can now proceed to the following steps provided by the Orcacore team to Configure Apache Server in Centos 7.
Table of Contents
Steps To Install and Configure Apache Server in Centos 7
Before you start to Install and Configure Apache Server in Centos 7, you need to log in to your server as a non-root user with sudo privileges. To do this, you can follow our article the Initial Server Setup with Centos 7.
Now follow the steps below to Configure Apache Server in Centos 7.
Step 1 – Installing Apache Web Server on Centos 7
To install Apache on Centos 7 you can follow these steps:
1) First, you should update the local packages with the following command:
sudo yum update -y2) Then, you can install the Apache package by running the following command:
Sudo yum install httpd -yStep 2 – Configure Firewall For Apache on Centos 7
In this step to Configure Apache Server in Centos 7, you should enable the firewall’s HTTP service with the following command:
sudo firewall-cmd --permanent --add-service=httpNote: If you see an error that firewall-cmd doesn’t exist, you should install Firewalld and then run the above command.
For installing Firewalld on CentOS 7, you can use the following commands:
# sudo yum install firewalld -y
# sudo systemctl start firewalld
# sudo systemctl enable firewalld
You can find more information by using this guide on Set up a Firewall with Firewalld on Centos 7.
After installing and starting the firewall service, you should add the HTTP service through your firewalld rules.
You can enable the HTTPS service with the following command:
sudo firewall-cmd --permanent --add-service=httpsThen, you should reload the firewall with the following command:
sudo firewall-cmd --reloadAfter the firewall reloads, you are ready to start the service and check the webserver.
Step 3 – Start and check the Apache webserver on Centos 7
Apache does not automatically start on CentOS once the installation completes. You will need to start the Apache process manually by following these steps:
1) Start httpd with the following command:
sudo systemctl start httpdYou will see an active status in your output when the service is running. In the next step, we show you how to check your web server status.
2) To access your Apache default page on Centos 7 you need your IP address. In two ways you can get your IP address :
- Type this command on your command line
hostname –I- Or you can use curl to request your IP from icanhazip.com, which will give you your public IPv4 address as seen from another location on the internet:
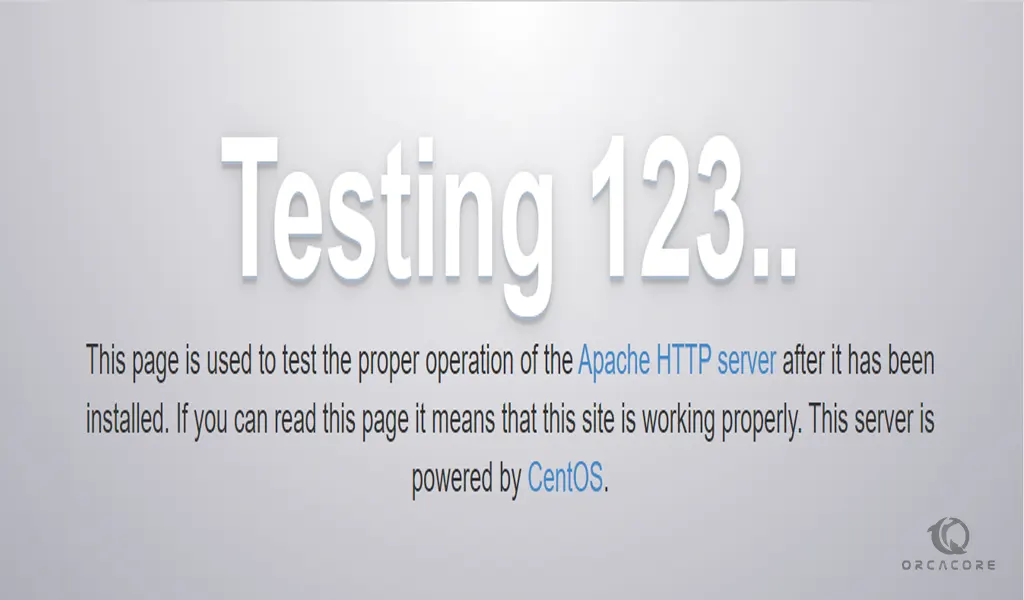
curl -4 icanhazip.comOnce you have your server’s IP address, enter it into your browser’s address bar:
http://your_server_ipYou’ll see the default CentOS 7 Apache web page like the image below.
Now the service is installed and running, you can now use different systemctl commands to manage the service.
Step 4 – Managing the Apache process on Centos 7
1. To stop your Apache webserver on Centos 7, you can use the following command:
sudo systemctl stop httpd2. To start your webserver use the following command:
sudo systemctl start httpd3. To stop and start your webserver use this command:
sudo systemctl restart httpd4. If you make configuration changes you can reload your web server by this command:
sudo systemctl reload httpd5. To disable your webserver use the following command:
sudo systemctl disable httpd6. To enable your webserver, use this command:
sudo systemctl enable httpdNote: If you plan to secure your Apache web server, you can use Lets Encrypt. To get more information, you can check this guide on Secure Apache with Let’s Encrypt on Centos 7.
To get more information about Apache, you can visit the official Apache Docs page.
Conclusion
At this point, you have learned to Install and Configure Apache Server in Centos 7. You just need to update your system and then install the httpd package after that you can easily configure firewall rules and start to use your web server in Centos 7.
I hope you enjoy it. Also, you may like to read the following articles:
Install Nessus Scanner on Centos 7
Check and Install Security Updates on Centos 7
FAQs
How do I install Apache on CentOS 7?
As described in the above guide on Configure Apache Server in Centos 7, you can easily install Apache with the command below:sudo yum install httpd -y
Where is Apache’s default document root in CentOS 7?
The default document root for Apache in CentOS 7 is located in the /var/www/html directory.
What is the default Apache configuration file in CentOS 7?
The main Apache configuration file is located in the /etc/httpd/conf/httpd.conf directory.