Share your love
Install Android Studio on Windows Server 2019 with Easy Steps
In this article, we want to teach you to Install Android Studio on Windows Server 2019. Android Studio is the official integrated development environment (IDE) for Android application development. It is based on the IntelliJ IDEA, a Java integrated development environment for software, and incorporates its code editing and developer tools.
To support application development within the Android operating system, Android Studio uses a Gradle-based build system, emulator, code templates, and GitHub integration. Every project in Android Studio has one or more modalities with source code and resource files. These modalities include Android app modules, Library modules, and Google App Engine modules.
Now follow the guide steps below on the Orcacore website to Install Android Studio on Windows Server 2019.
Table of Contents
Install Android Studio on Windows Server 2019
To install Android Studio on your Windows server, you can follow the steps below.
Android Studio Setup on Windows Server 2019 with screenshots
First, you need to visit the Android Studio Downloads page and get the recommended Windows package.
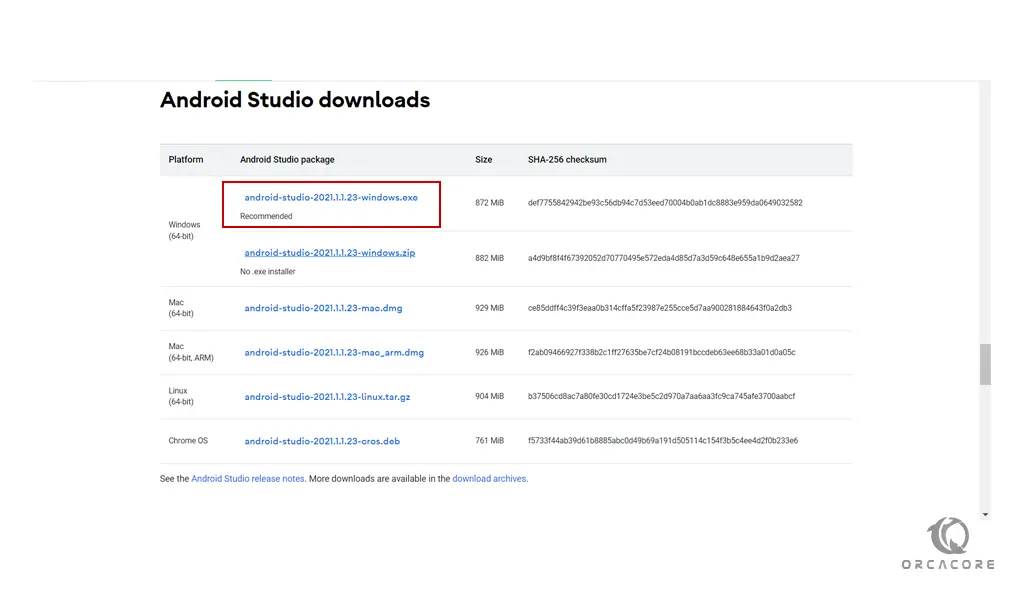
Then, check that I have read and agree with the above terms and conditions option and click download. When your download is completed, click on your downloaded file to open it.
You will see your Android Studio setup. Click Next to continue.
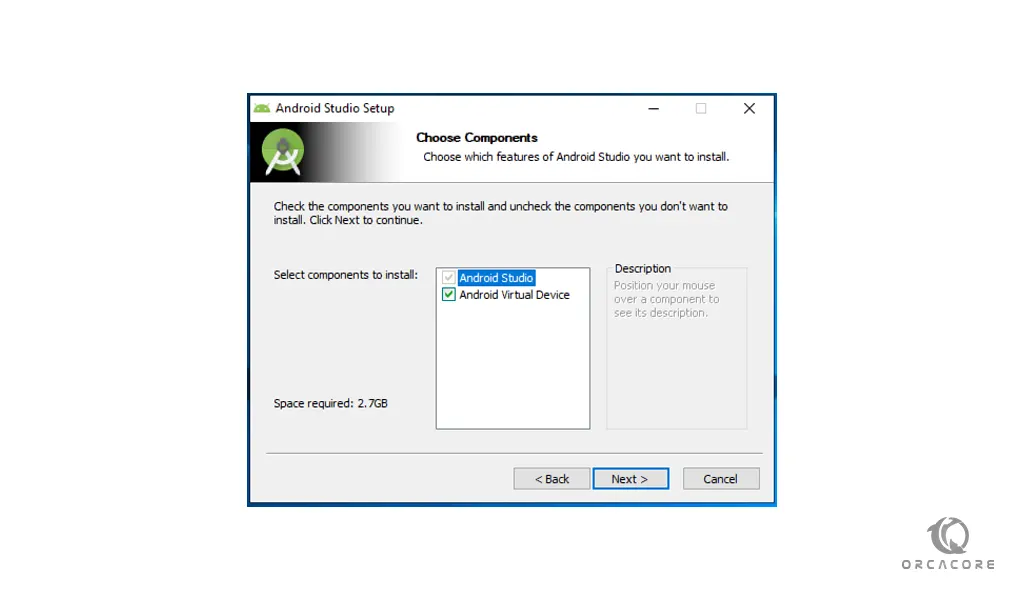
At this point, you will see the option to select components. Choose both options and click Next.
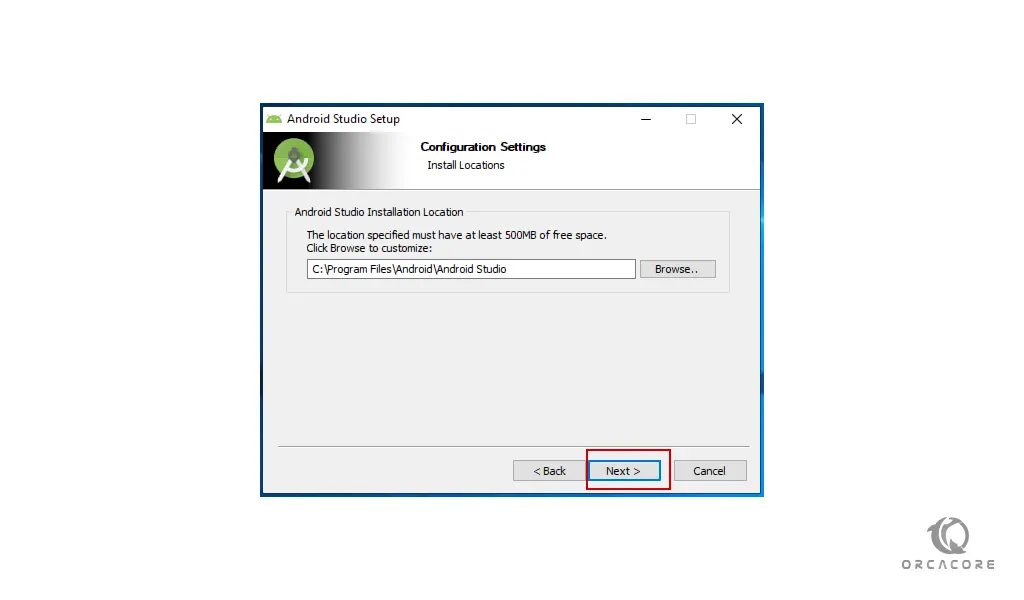
Next, you need to choose your Android Studio installation path on Windows Server 2019 and click Next.
At this point, in the start menu folder screen, accept the default setting and click Install.

Finally, click on Finish to complete the installation of Android Studio on Windows Server 2019.
Configure Android Studio on Windows Server 2019
Once you start Android Studio for the first time, it asks you to enter the Studio settings. Check the box next to Do not import settings and click Ok.
After clicking OK, you may be asked to submit usage statistics to Google. Then, click Next.
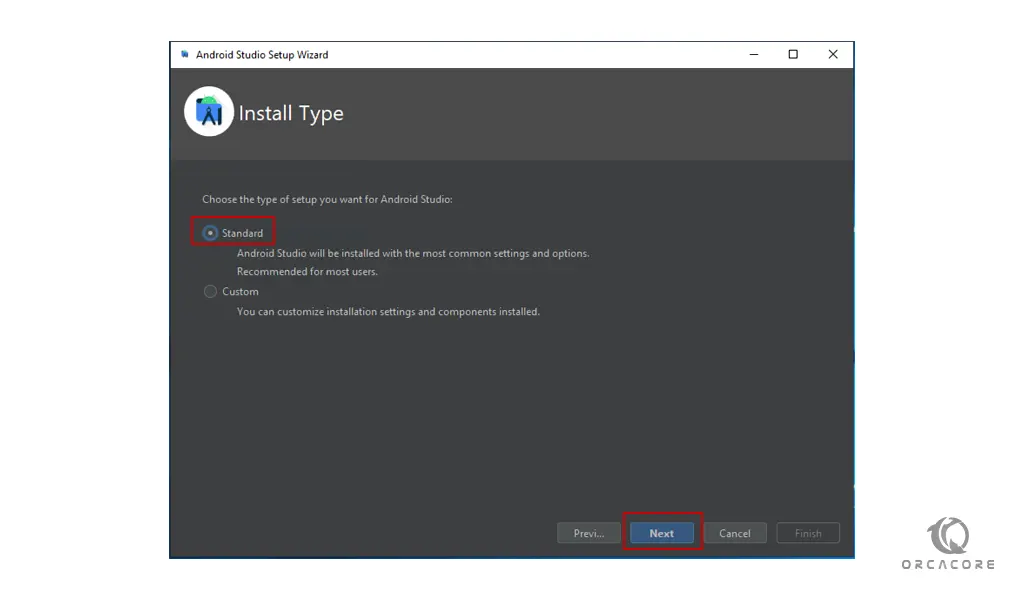
At this point, you need to choose your Android Studio installation type on Windows Server 2019. Here we choose the Standard type and click Next.
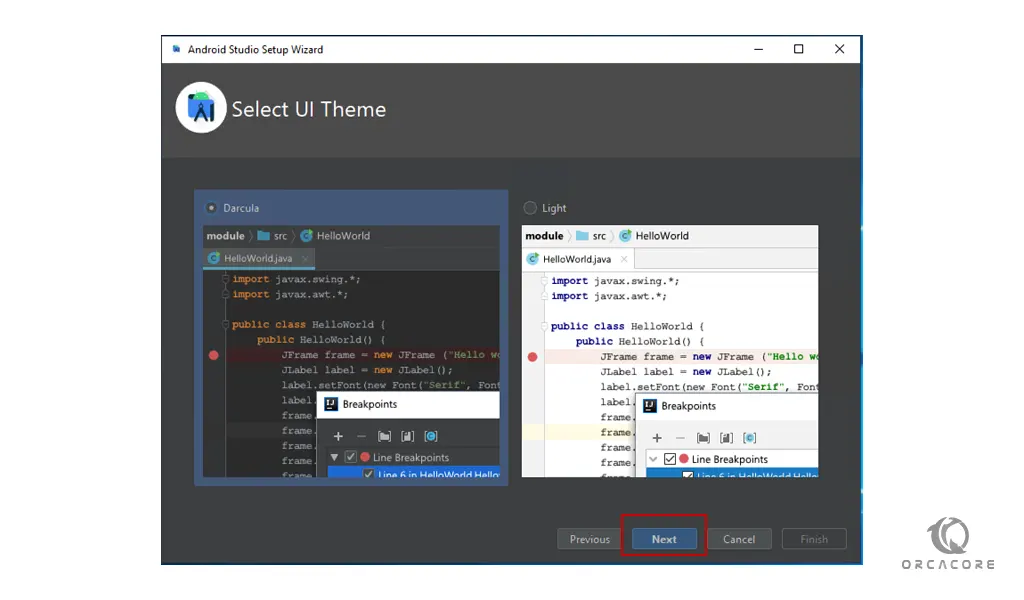
The next item is the “UI Theme” selection page with two options Light & Darcula. Select your desired theme and click Next.
Next, you need to verify the installation settings and click Next.
Then, you need to accept the licenses for the components that you want to install and click Finish.
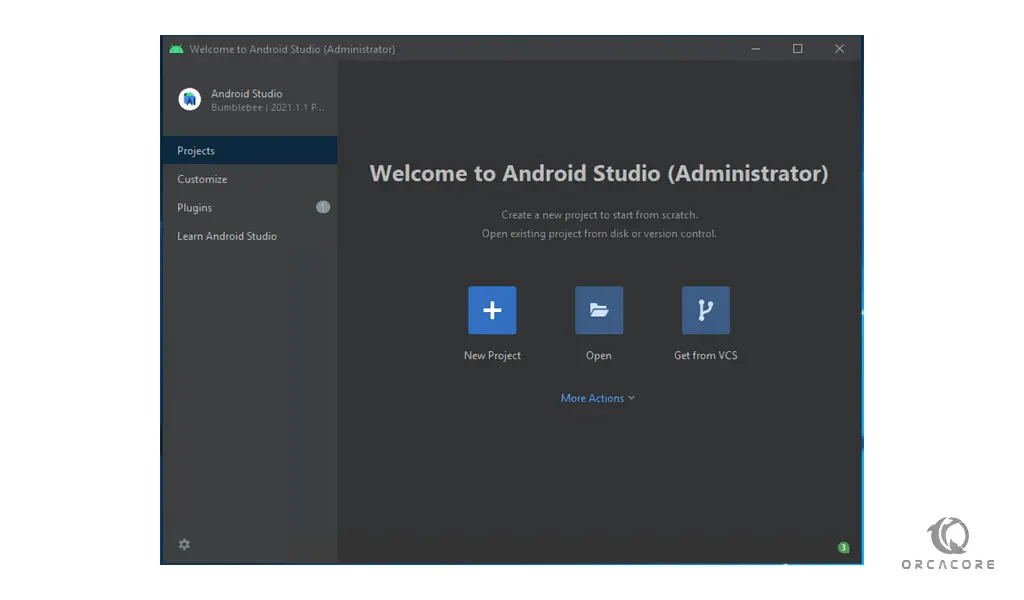
When your download is completed again click Finish to see your Android Studio dashboard on Windows Server 2019.
That’s it, you are done with the steps to Install Android Studio on Windows Server 2019. Now you can start your programming for the Android platform.
Conclusion
At this point, you learn to Install Android Studio on Windows Server 2019. Windows Server 2019 provides a stable platform, and with Android Studio, you get all the features needed to build, test, and run your apps. This setup is perfect for developers looking for a reliable way to create Android applications.
Hope you enjoy it. Also, you may like to read the following articles:
Run Visual Studio on Windows Server 2022
Configure Hyper V in Windows Server 2022