Share your love
Run Visual Studio on Windows Server 2022 – Easy Steps
This guide intends to teach you to Install and Run Visual Studio on Windows Server 2022. Visual Studio is an integrated development environment (IDE) developed by Microsoft. It provides a comprehensive set of tools and features for building applications, including web applications, desktop applications, mobile apps, cloud-based services, and games.
Here we try to teach you how to download and run Visual Studio on Windows Server 2022. To do this, you can follow the steps below provided by the Orcacore team.
Table of Contents
Quickly Install and Run Visual Studio on Windows Server 2022
Before you start your Visual Studio setup, you need to be sure you have the following requirements.
Visual Studio System Requirements
Here are the minimum requirements to run Visual Studio on Windows Server 2022:
- ARM64 or x64 processors, and note that ARM 32 processors are not supported.
- Minimum 4 GB of RAM.
- Minimum 850MB of space for basic installation.
- The minimum display resolution of WXGA (1366 by 768).
Also, you need to have the Microsoft .NET Framework installed on your server. If you don’t have it, you can get it by visiting this link.
Now you can log in to your Windows Server as an Administrator and follow the steps below to complete this guide.
Step 1 – Download and Set up Visual Studio 2022 Community Edition
At this point, you can download the Visual Studio 2022 community edition by visiting this link. Once your download is completed, open the setup wizard to start your installation.
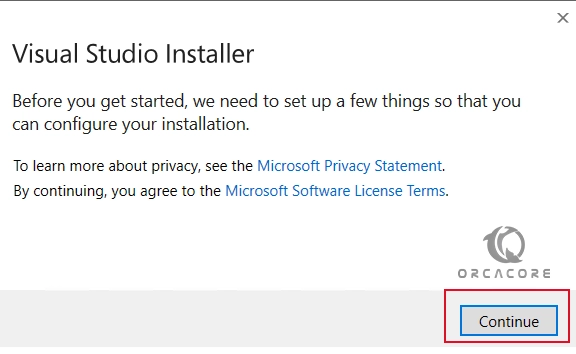
First, click Continue to get ready for your Visual Studio 2022 installation.
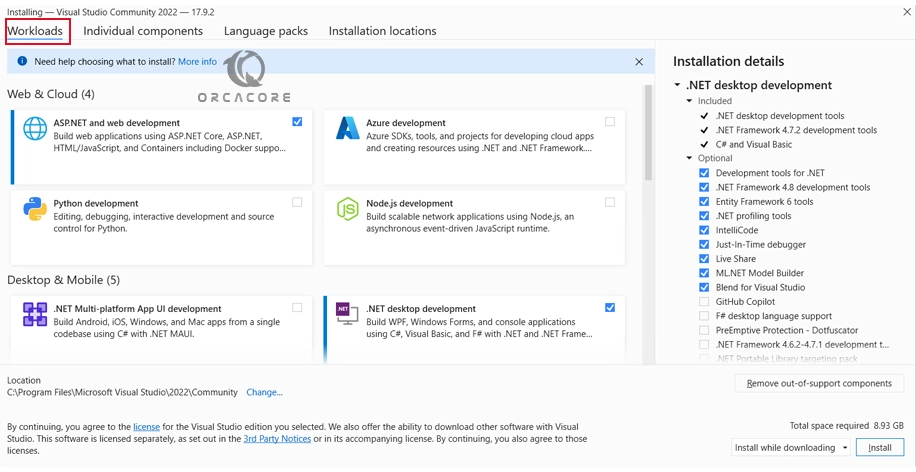
Then, the Installer will ask for the features you wish to install. You have the following options:
- Workloads
- Individual Components
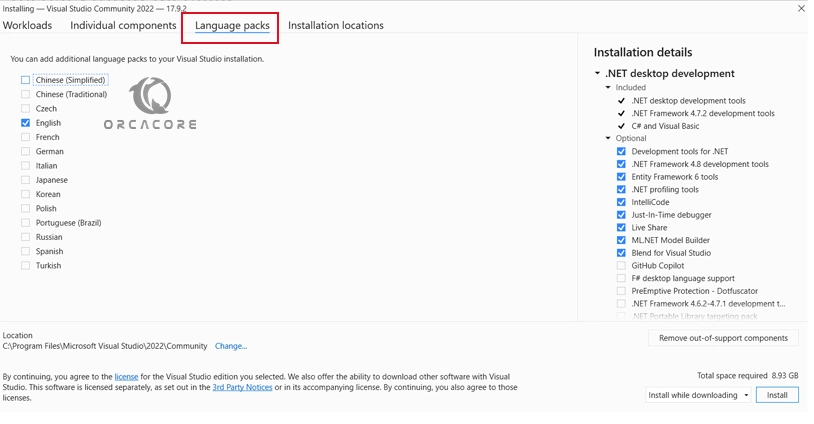
- Language Packs
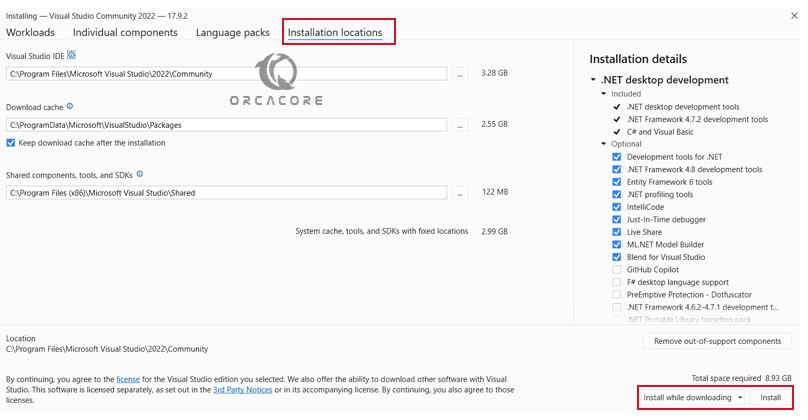
- Installation Location
Select the required options one by one. For the Workloads we select .NET Desktop development and ASP.NET and web development.
In the individual components, you can select your desired components. Once you select your workloads it will automatically choose the components. You can keep it by default.

Next, choose your desired language.
Finally, if you want to change the installation location, you can change it or keep it by default. Click Install to start your Visual Studio 2022 installation.
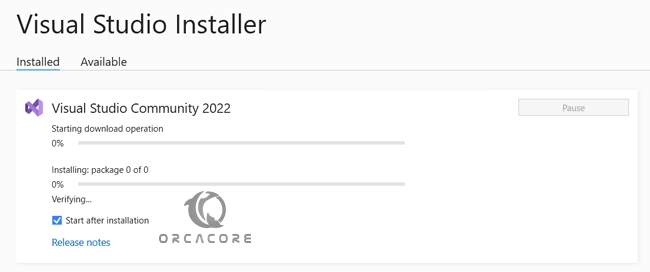
Wait until your installation is completed. This may take some time.
Step 2 – Run Visual Studio 2022
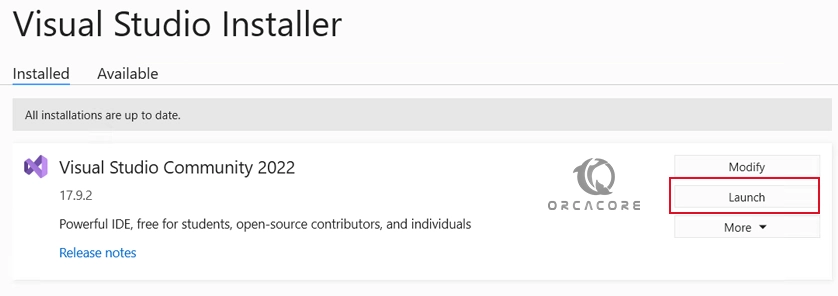
Once your installation is completed, you will see the following screen. Click on Launch.
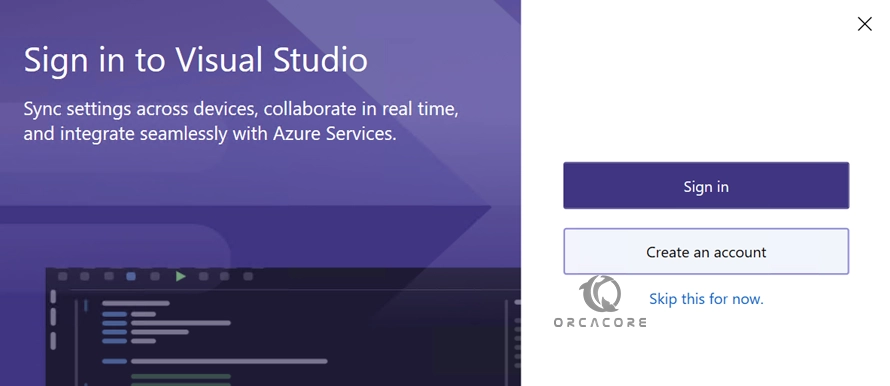
Now you can create an account, sign in to an existing account, or skip it.
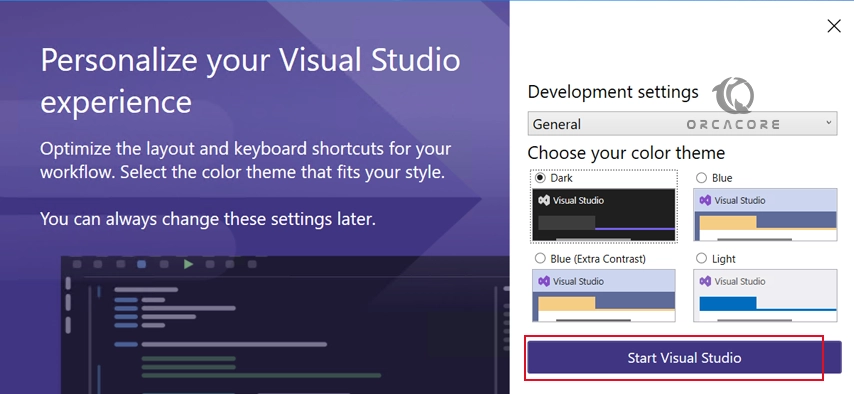
Then, you can select your settings, choose your theme, and Start Visual Studio 2022 on Windows Server.
Then, you will access your Visual Studio 2022 app.
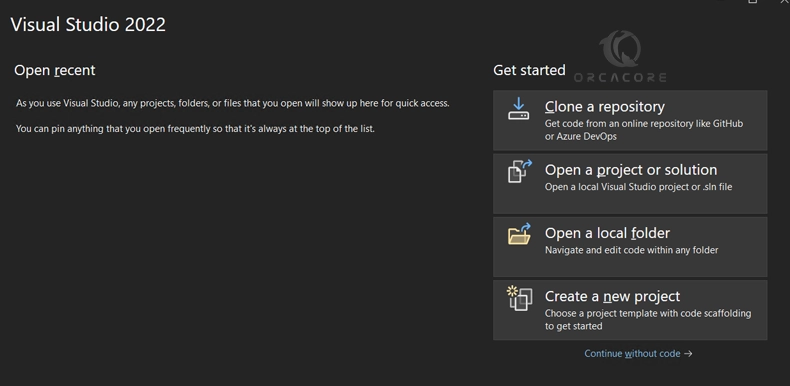
From there, you can design, develop, debug, and deploy software applications efficiently.
Conclusion
At this point, you have learned to Quickly Install and Run Visual Studio on Windows Server 2022. Visual Studio offers amazing tools and features that you can use to build applications. Hope you enjoy it.
Also, you may like to read the following articles:
Allow Remote Desktop Connection on Windows Server 2022
Configure Auto Shutdown on Windows 11
Sublime Text Editor Setup on Windows 11
Customize Mouse Speed on Windows 11
Install and Use ClamAV Antivirus on Windows
FAQs
What versions of Visual Studio are compatible with Windows Server 2022?
Visual Studio 2019 and Visual Studio 2022 are compatible with Windows Server 2022. Ensure you check the specific system requirements for each version during installation.
Do We need a specific edition of Windows Server 2022 to run Visual Studio?
No specific edition is required. Visual Studio can be run on any edition of Windows Server 2022 (Standard or Datacenter) as long as the system meets the necessary hardware and software requirements.
Can We run Visual Studio in a Remote Desktop Services (RDS) environment?
Yes, Visual Studio can be run in an RDS environment on Windows Server 2022, allowing multiple users to access the IDE remotely.