Share your love
Install ClamAV on Windows 10 / 11 – Powerful Antivirus

This tutorial intends to teach you to Install ClamAV on Windows and Use this Powerful Antivirus. ClamAV is an open-source antivirus engine designed to detect and remove malicious software (malware) from files and email messages. It is known for its effectiveness in identifying various types of malware, including viruses, trojans, worms, and other malicious software threats.
In this guide from the Orcacore website, we want to show you how to set up ClamAV in Windows and start using it.
Table of Contents
A Comprehensive Guide To Install ClamAV on Windows
Before you Install ClamAV on Windows, you must log in to your Windows Client like Windows 10 or Windows 11, and follow the steps below. In this guide, we use Windows 11 to show you the guide steps.
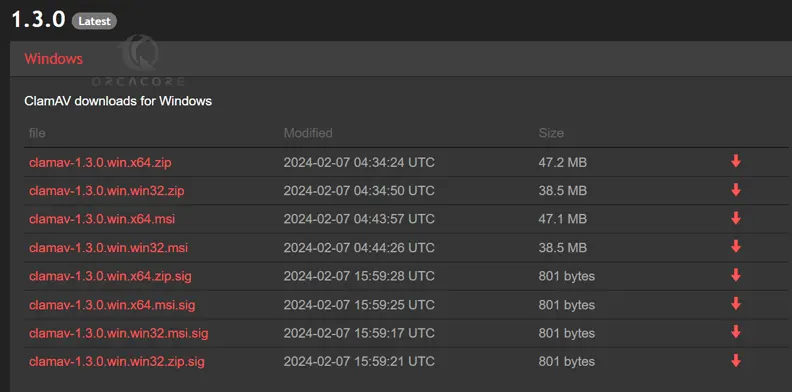
Step 1 – Download and Install ClamAV on Windows
First, you must visit the official downloads page and get the latest package of ClamAV for Windows.
Once your download is completed, open the file and extract the ClamAV package to your desired folder.
Step 2 – ClamAV Config Files Setup on Windows
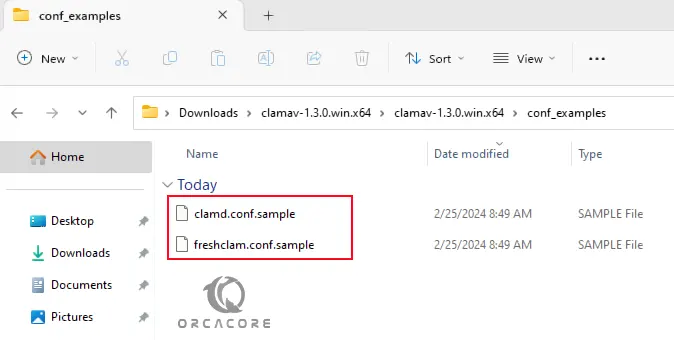
At this point, you must navigate to your ClamAV installation directory and look for the file named conf_examples.

In this file, you should see two files named clamd.conf.sample and freshclam.conf.sample.
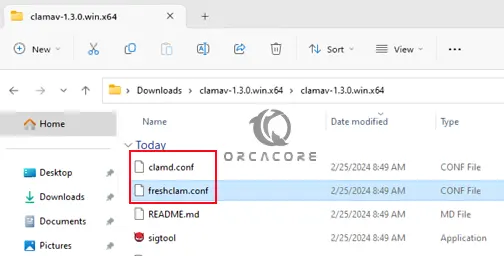
Next, you need to copy these files to the installation directory. In this example, the files will be copied to C:\Users\Administrator\Downloads\clamav-1.3.0.win.x64\clamav-1.3.0.win.x64.
Step 3 – Configure ClamAV on Windows
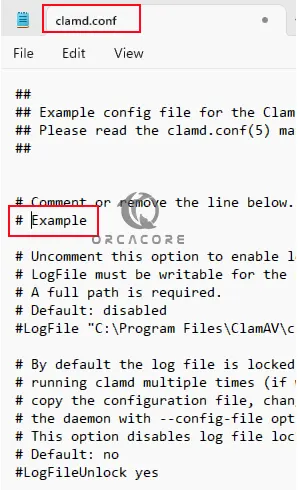
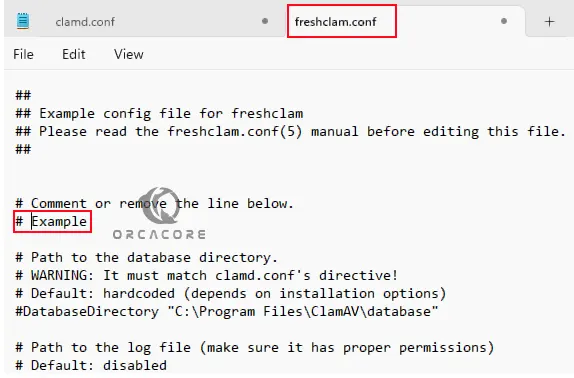
At this point, you need to rename clamd.conf.sample to clamd.conf and freshclam.conf.sample to freshclam.conf.
Once you are done, open these files in your desired text editor like Notepad.
In the files, find line 8 with the word Example. You must comment or remove this line on both files.
Then, save and close the files.
Step 4 – Access ClamAV From CMD
At this point, you need to open your command prompt and navigate to your ClamAV installation path on Windows. In this example, it looks like this:
cd C:\Users\Administrator\Downloads\clamav-1.3.0.win.x64\clamav-1.3.0.win.x64Once you navigated, run the freshclam command to update the antivirus library:
freshclam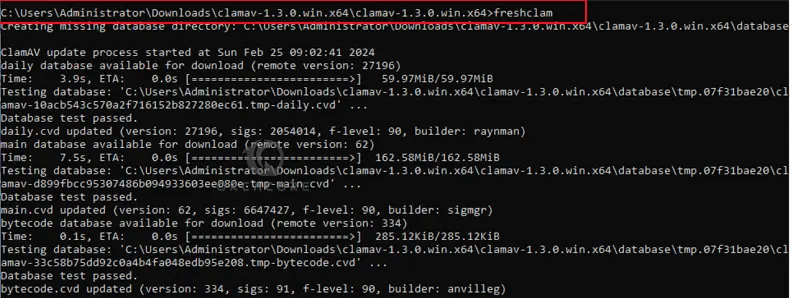
At this point, your ClamAV setup is completed and you can start using it.
Step 5 – Start Using ClamAV From CMD
From your current directory, you can scan all the files by using the command below:
clamscan -r /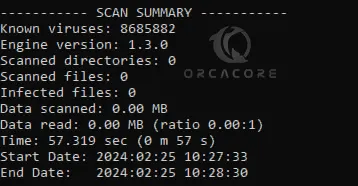
You can scan the files but only show the infected files. To do this, you can use the following ClamAV command on Windows CMD:
clamscan -r -i /[path-to-folder]Also, you can scan infected files in a specific directory recursively and then remove them by using the command below:
clamscan --infected --remove --recursive /path-to-folderThe options used in the commands mean:
- –infected: prints only infected files
- –remove: removes infected files
- –recursive: all directories and subdirectories in that path will be scanned
To move or copy infected files into a particular directory, you can execute the following commands.
clamscan --move=directory [file/directory]

clamscan --copy=directory [file/directory]
To get more help about ClamAV, you can use the command below:
clamscan -h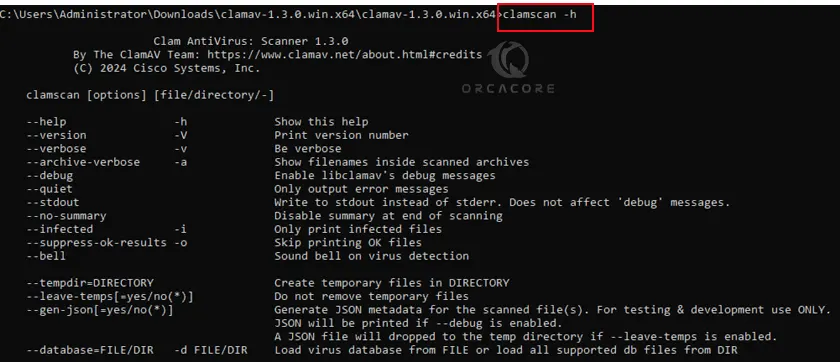
Conclusion
At this point, you have learned to Install ClamAV on Windows. It provides users with a powerful and effective solution for protecting their systems against malware threats. Hope you enjoy using it. Also, you may like to read the following articles:
Disable Real-time Protection on Windows 11
Malwarebytes Free Edition Setup on Windows
Configure BitLocker Encryption on Windows 11 Pro
Encrypt a File with Gpg4win on Windows
Note: If you are a Linux user, you can check the following guide to learn about ClamAV setup on Linux: