Share your love
Malwarebytes Setup on Windows 10 / 11 – Free Edition
This guide intends to teach you Malwarebytes Setup on Windows. Malwarebytes is a popular software for detecting and removing malware, spyware, and other malicious apps and software. Also, it comes with two versions: Free and Premium.
Malwarebytes Free Edition: This free version is a manual scanning tool. It can scan and remove malware from your system. Also, it is used as an extra layer for your system security. But it doesn’t contain real-time protection.
Malwarebytes Premium Edition: The paid version comes with real-time protection, blocking malware, ransomware, etc. Also, it includes other features such as web protection.
In this guide from the Orcacore website, we want to show you how to Install Malwarebytes Free version on your Windows. Anytime you want you can easily upgrade your app to the premium version.
Table of Contents
Steps To Malwarebytes Setup on Windows – Free Edition
Before you start your Malwarebytes Setup on Windows 10 / 11, you must log in to your Windows Client like Windows 10 or Windows 11, and follow the steps below.
The installation process can be done in just a few simple steps.
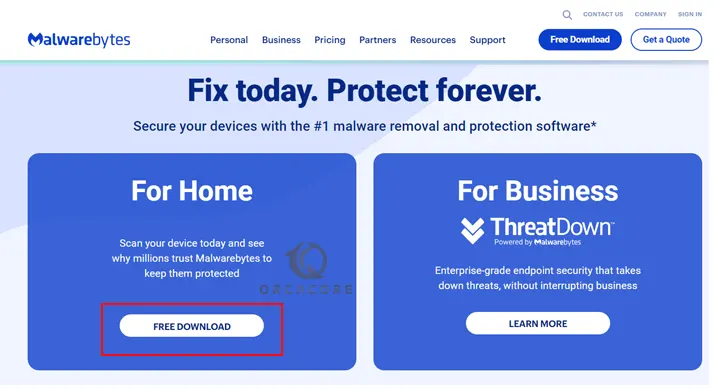
Step 1 – Download Malwarebytes Free Version for Windows
The first step is to download the installer setup from its official website. Click on Malwarebytes Free Version to start your download process.
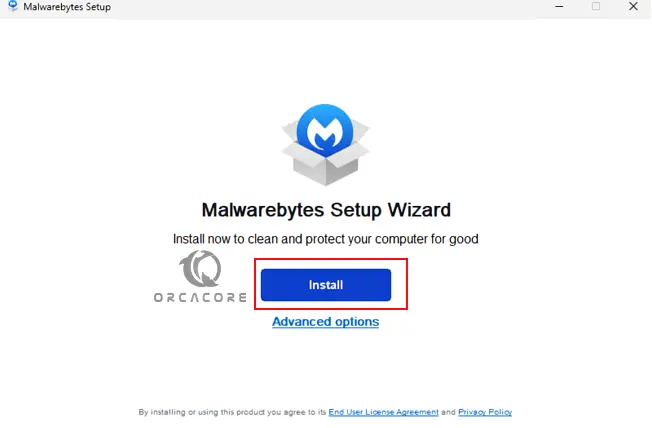
Step 2 – Run Malwarebytes Installer Setup
Once your download is completed, open your downloaded file to run your Malwarebytes installer.
Then, click on the Install button to start your setup.
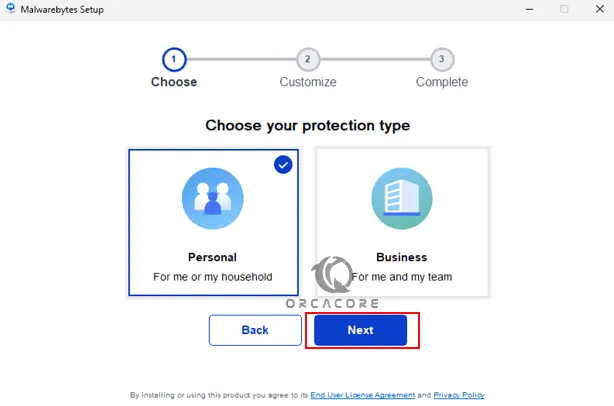
Step 3 – Malwarebytes Setup Process on Windows
At this point, you need to choose your protection type. You can choose personal or business type. Here we select Personal type and click Next.
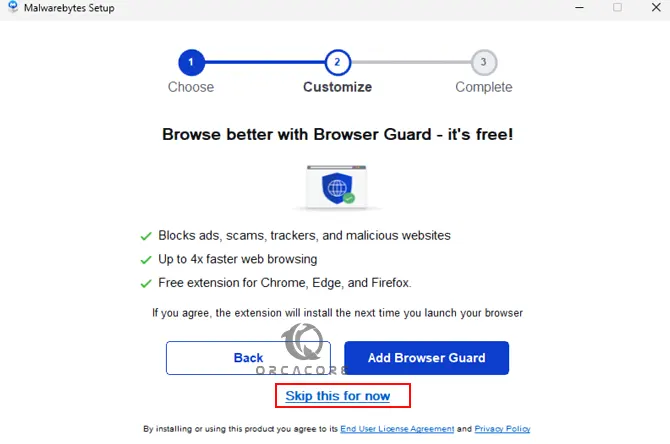
Then, you will see the customization screen. You can skip it for now.
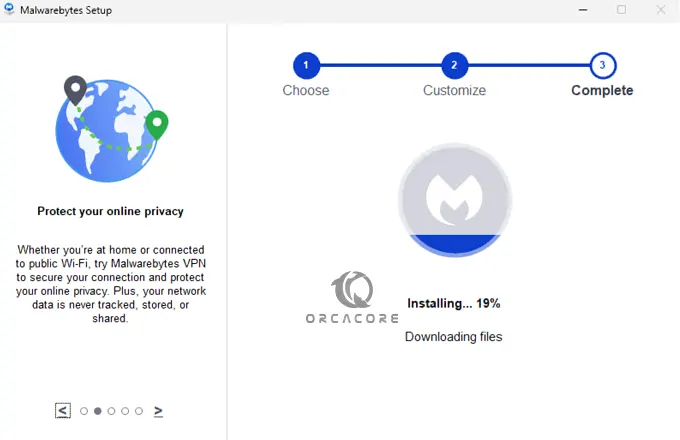
Wait until your Malwarebytes setup installation is completed on Windows.
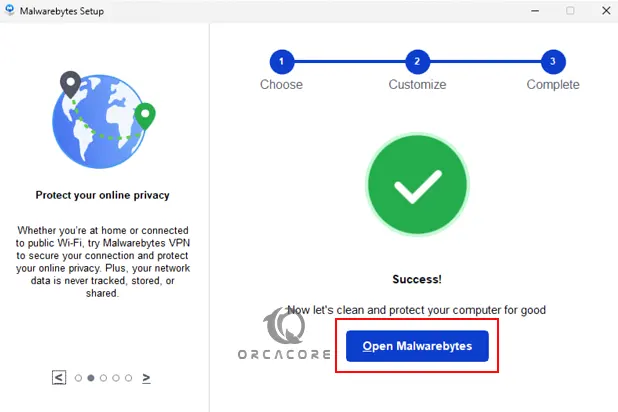
Once it is finished, click on Open Malwarebytes.
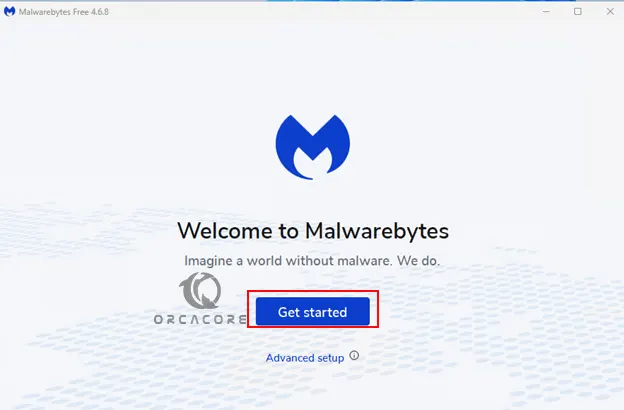
Step 4 – Get Started with Malwarebytes and Run the First Scan
At this point, you can activate your premium version or start your trial version. Click on Get Started button.
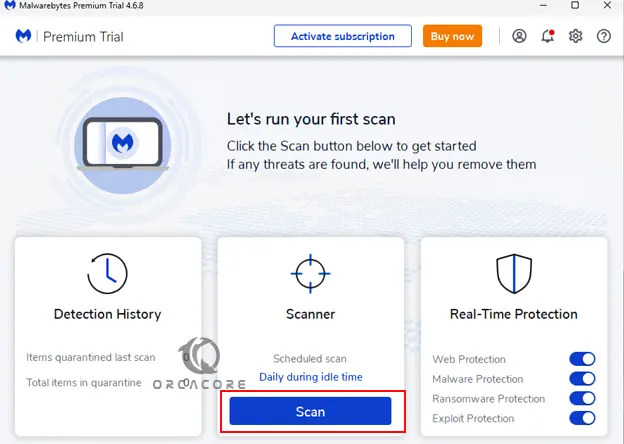
Next, click on the Scan button to run your first scan with Malwarebytes setup on Windows.
At this point, you need to wait to finish your scan process.
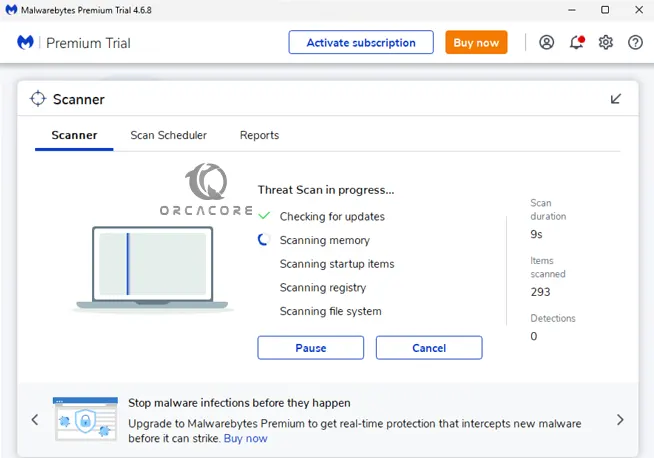
Once your scan process is completed, you can view your results.

For more protection features you can upgrade your Malwarebytes to a premium version and get the benefits from it to increase your Windows security.
Final Thoughts on Malwarebytes
Malwarebytes is an effective tool for malware detection and removal for both personal and business use. Here are some reasons that it is recommended to use this powerful software:
- Efficiency in Malware Removal
- Complement to Antivirus Software
- User-Friendly Interface
- Regular Updates
- Premium Features
- Reputation and Trust
- Resource Usage
- Compatibility
Hope you enjoy using Malwarebytes Setup on Windows. Also, you may like to read the following articles:
Configure BitLocker Encryption on Windows 11 Pro