Share your love
Set up Burp Suite Community Edition on Windows 10/11 – Easy Setup

In this guide, you will learn to Set up Burp Suite Community Edition on Windows. Burp Suite is a web vulnerability scanner. It has a lot of features such as a proxy, repeater, decoder, and many more that you can use for your web scanning. Burp Suite provides two versions which are the Professional and Community editions. This tutorial will use the community edition which is the free version of Burp suite.
Now follow the guide steps from the Orcacore team to Set up Burp Suite Community Edition on Windows 10/11.
Table of Contents
Steps To Set up Burp Suite Community Edition on Windows
Before you start your Burp Suite installation, log in to your Windows Client and follow the steps below.
Step 1 – Download Burp Suite Community Edition for Free
First, you must visit the Burp Suite official site and click on the Community Edition product.
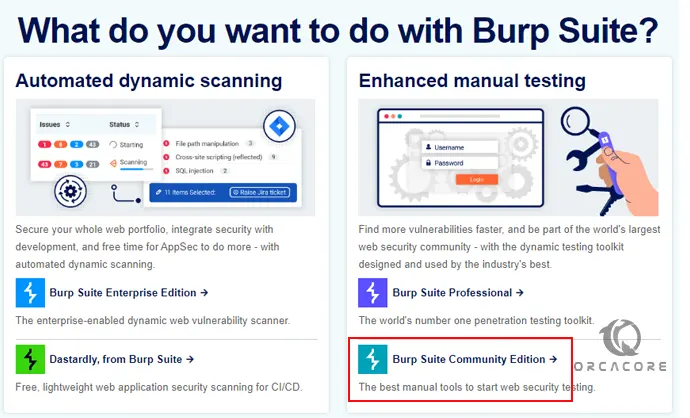
Then, click on Go Straight To Downloads.

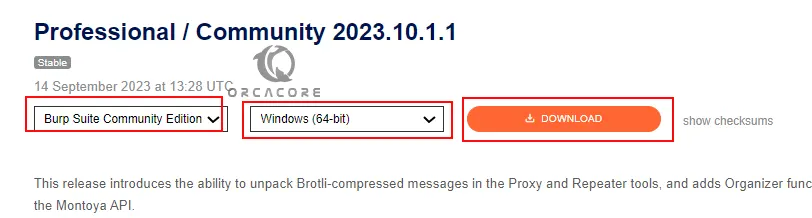
From there, you must choose the Burp Suite community edition and your operating system then click on Download.
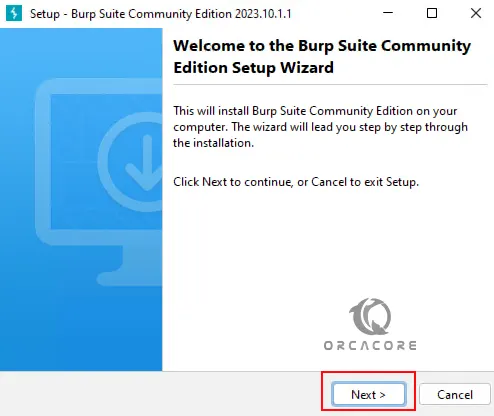
When your download is completed, click on your file to open your setup wizard.
Step 2 – Install Burp Suite on Windows
At this point, you can start to install the Burp suite. On the welcome screen, click Next.
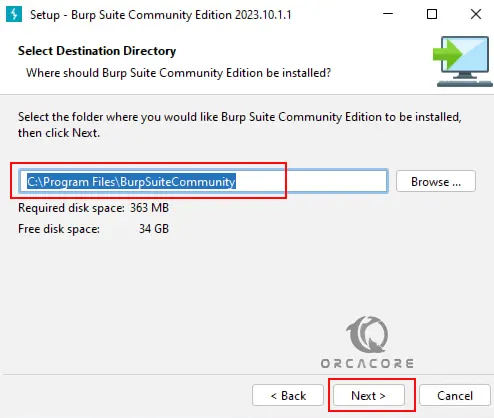
Then, select the path you want to install Burp Suite and click Next.
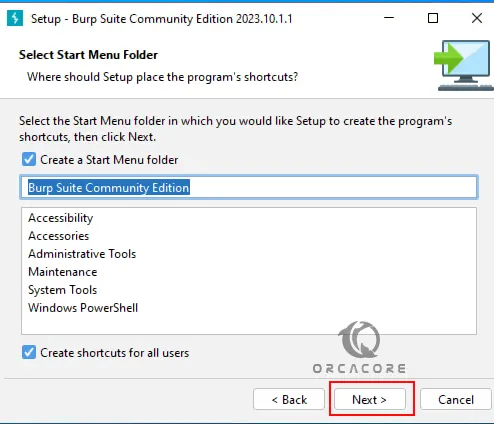
Next, you must select the start menu folder. You can leave everything by default and click Next.
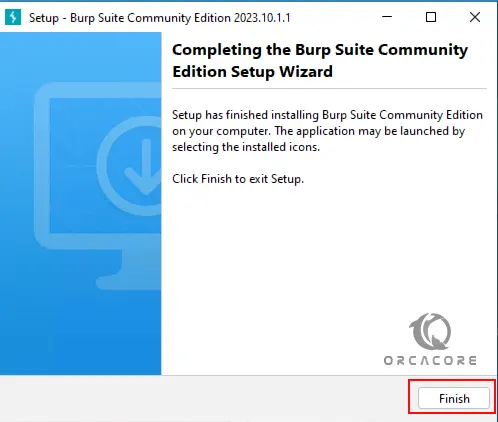
Finally, your Burp suite installation will start. This will take some time to complete. When it is finished, click Finish.
Step 3 – Run Burp Suite Application
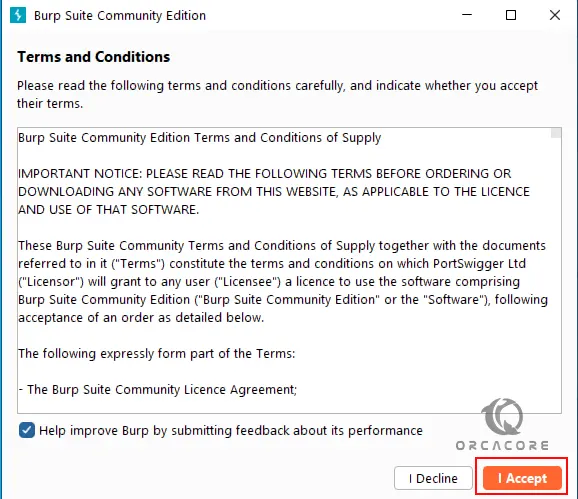
At this point, you have successfully installed your Burp Suite community edition. You can click on the Burp Suite app to open it. Accept the terms and conditions to continue.
Then, you need to create a project. Click on Temporary Project and Next.

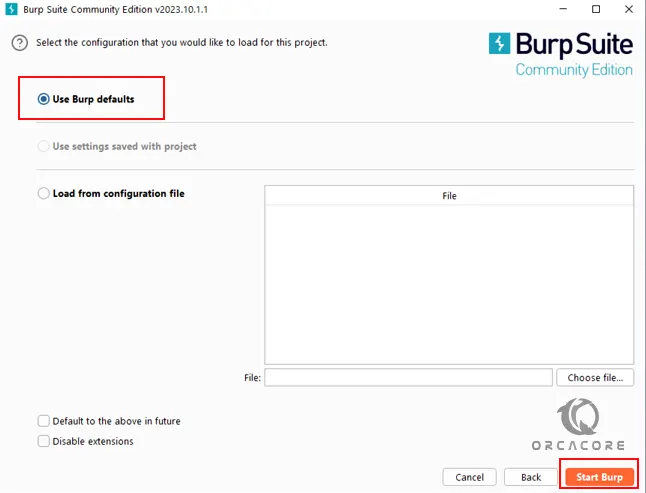
Next, use the Burp defaults and click Start Burp. Your project will start to load.
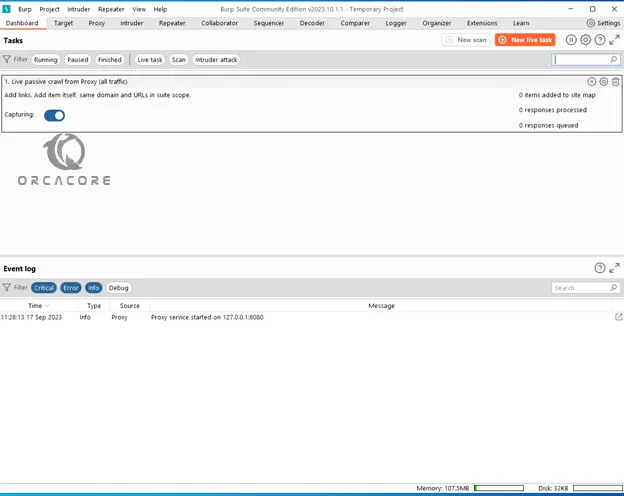
Then, you will see your new project dashboard.
Note: You must get the professional version to use all features of the app.
Conclusion
At this point, you have learned to Set up Burp Suite Community edition which is available for free on a Windows operating system. You can scan the web vulnerabilities with the Burp suite. To use all the features of the app you must purchase the professional version.
Hope you enjoy it. Also, you may like these articles: